Lucille Evening Dress c.1914
Evening Gown, Lucille (1863 - 1935), c. 1914, American, P.93.15.1
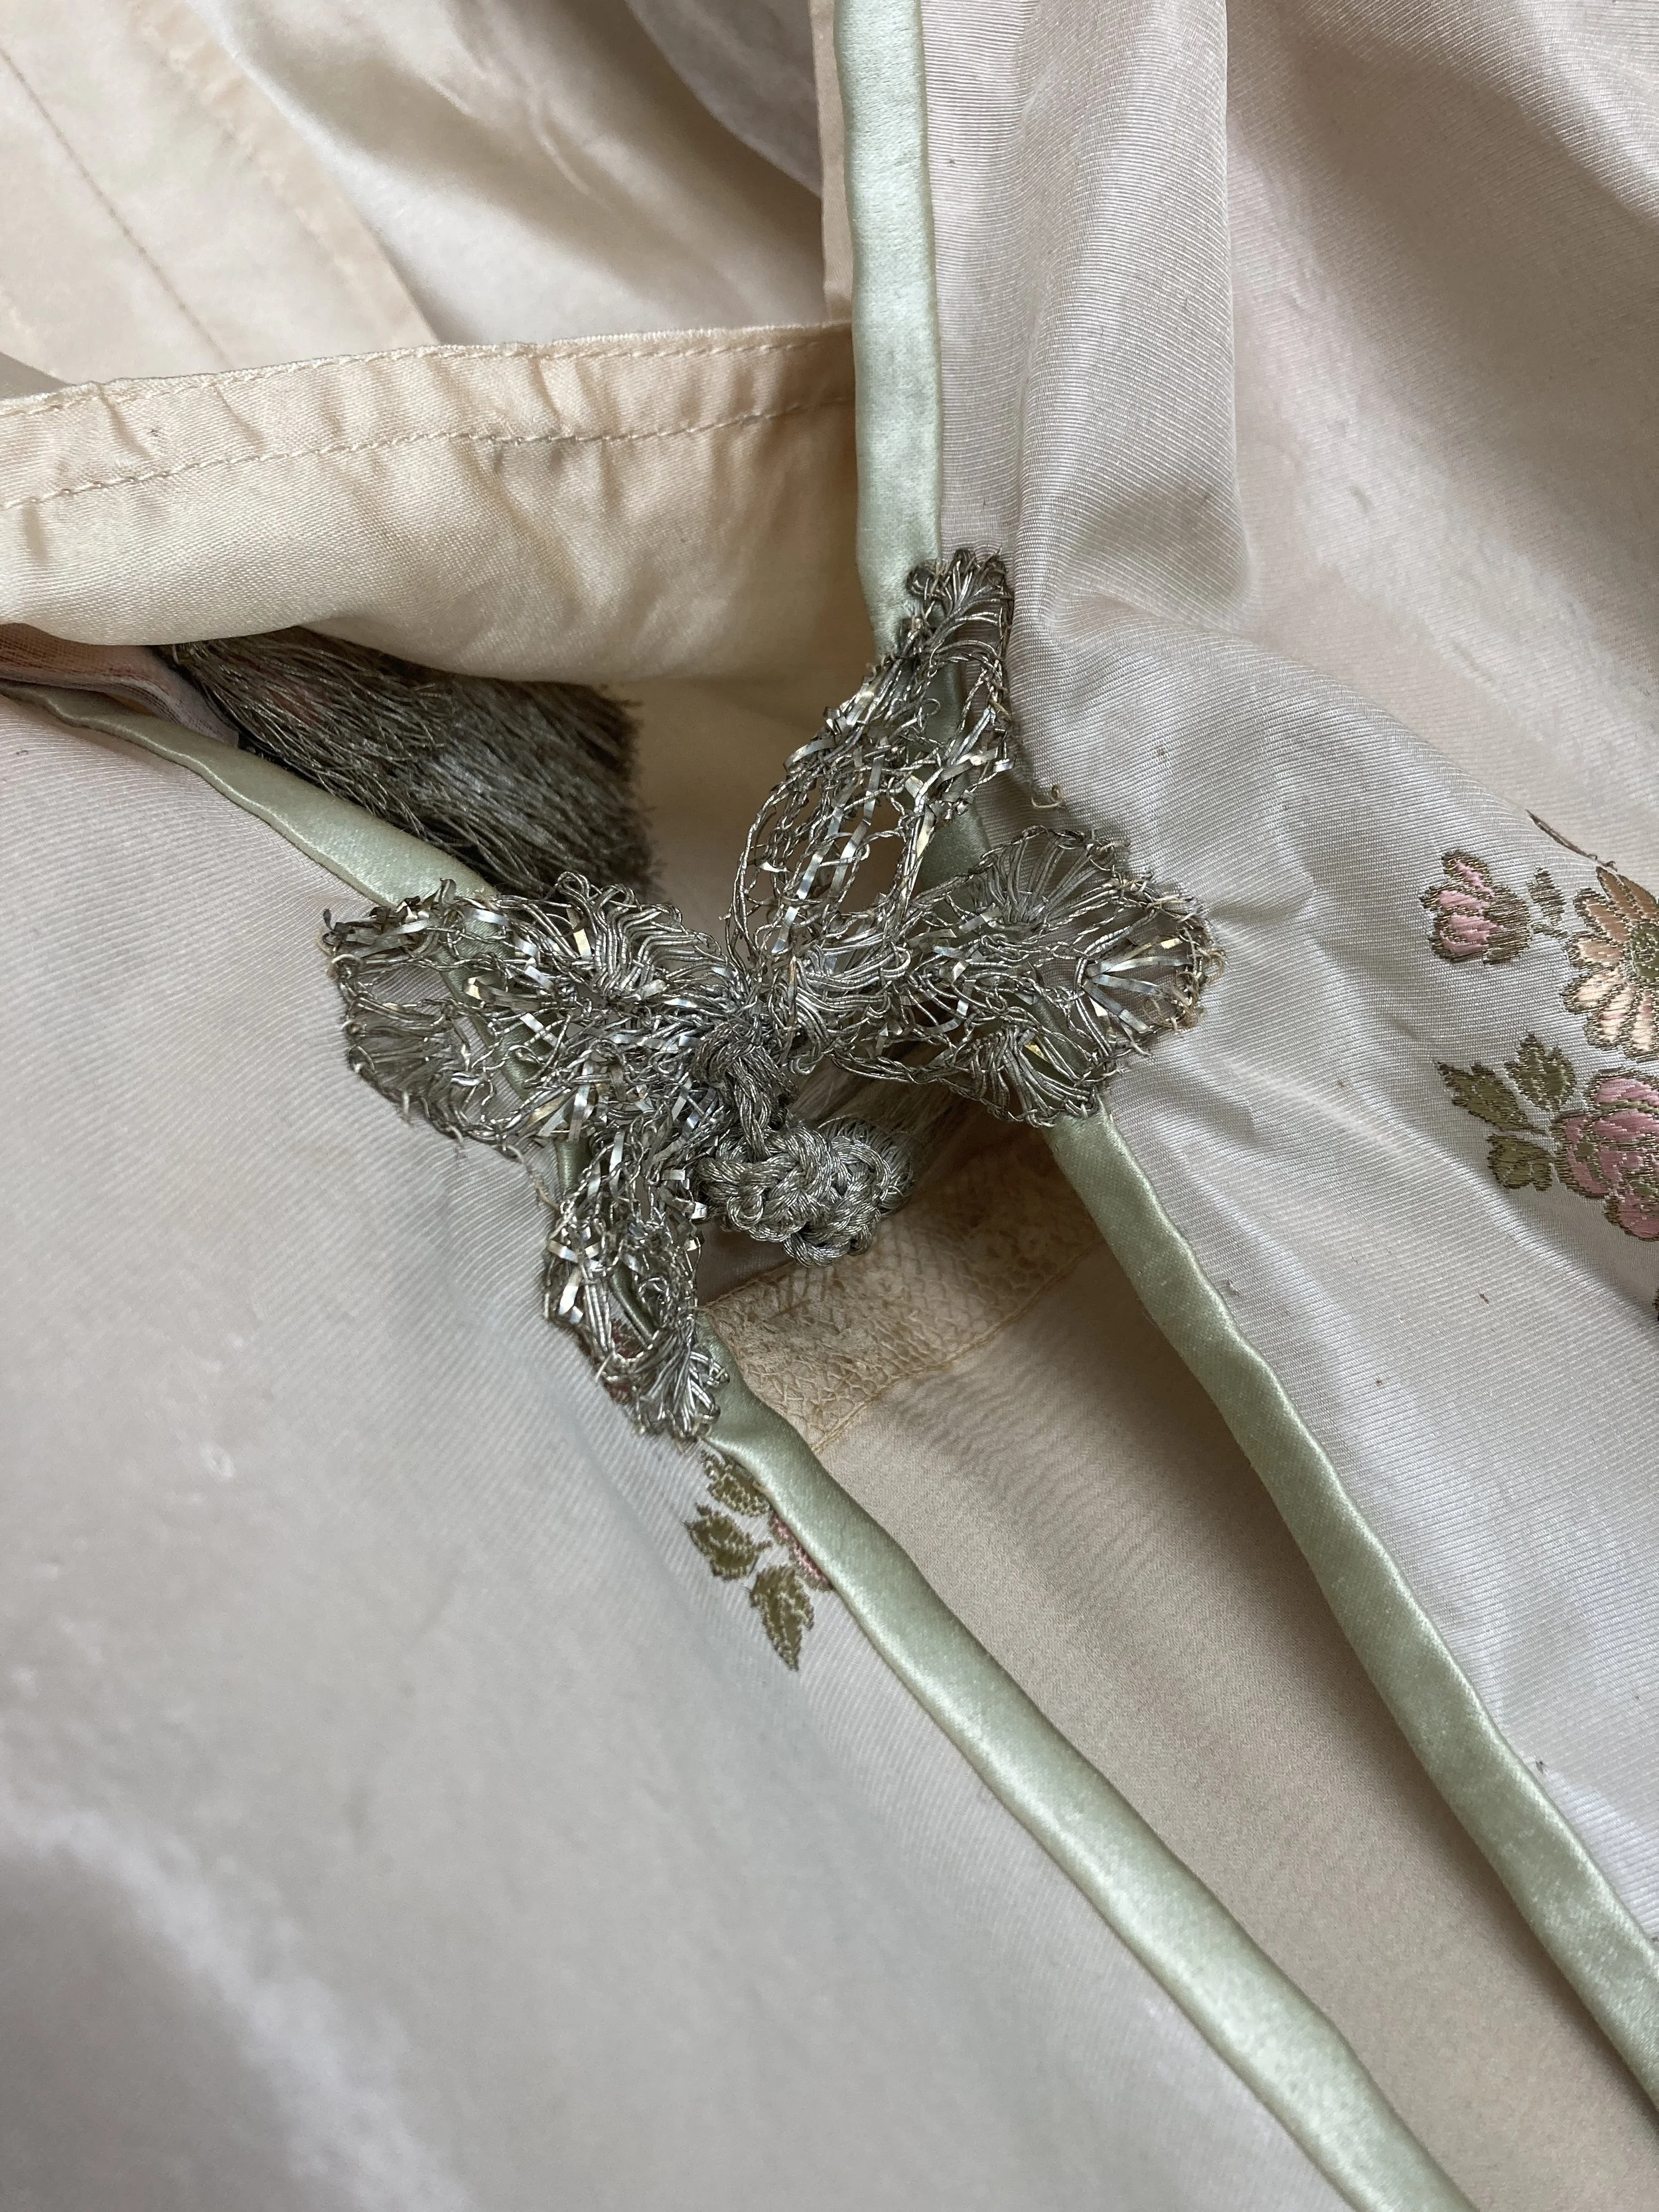
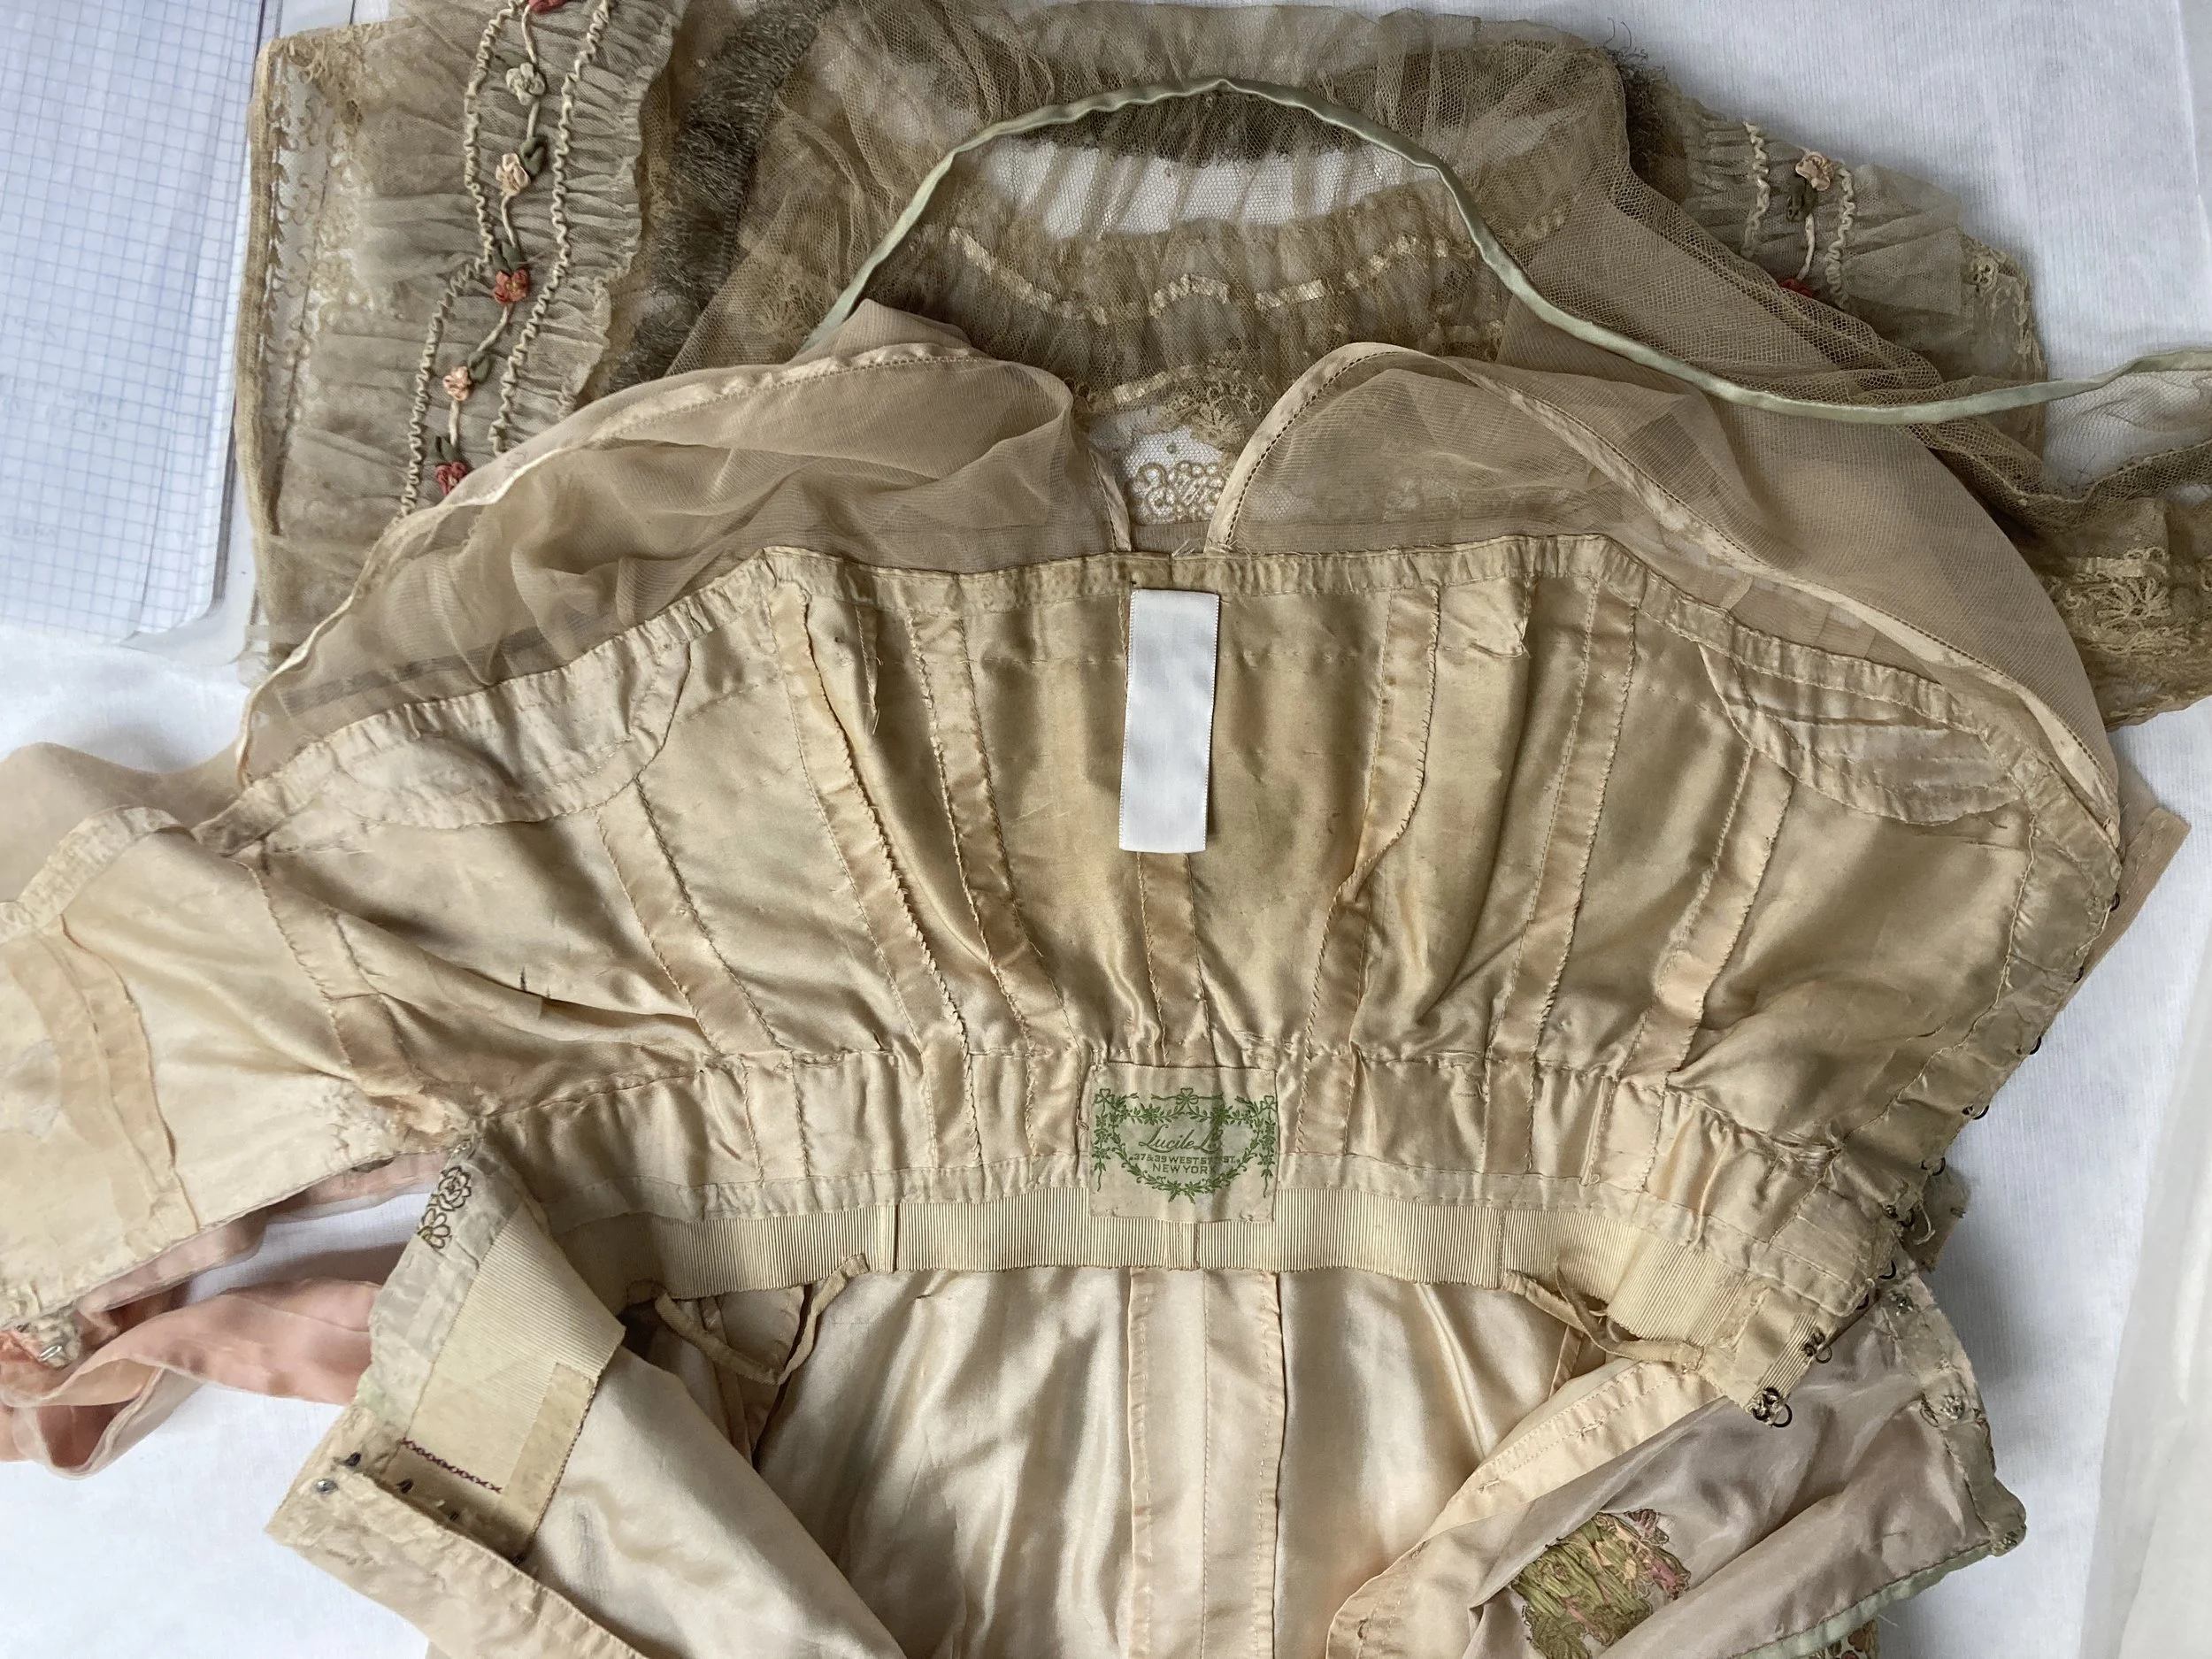
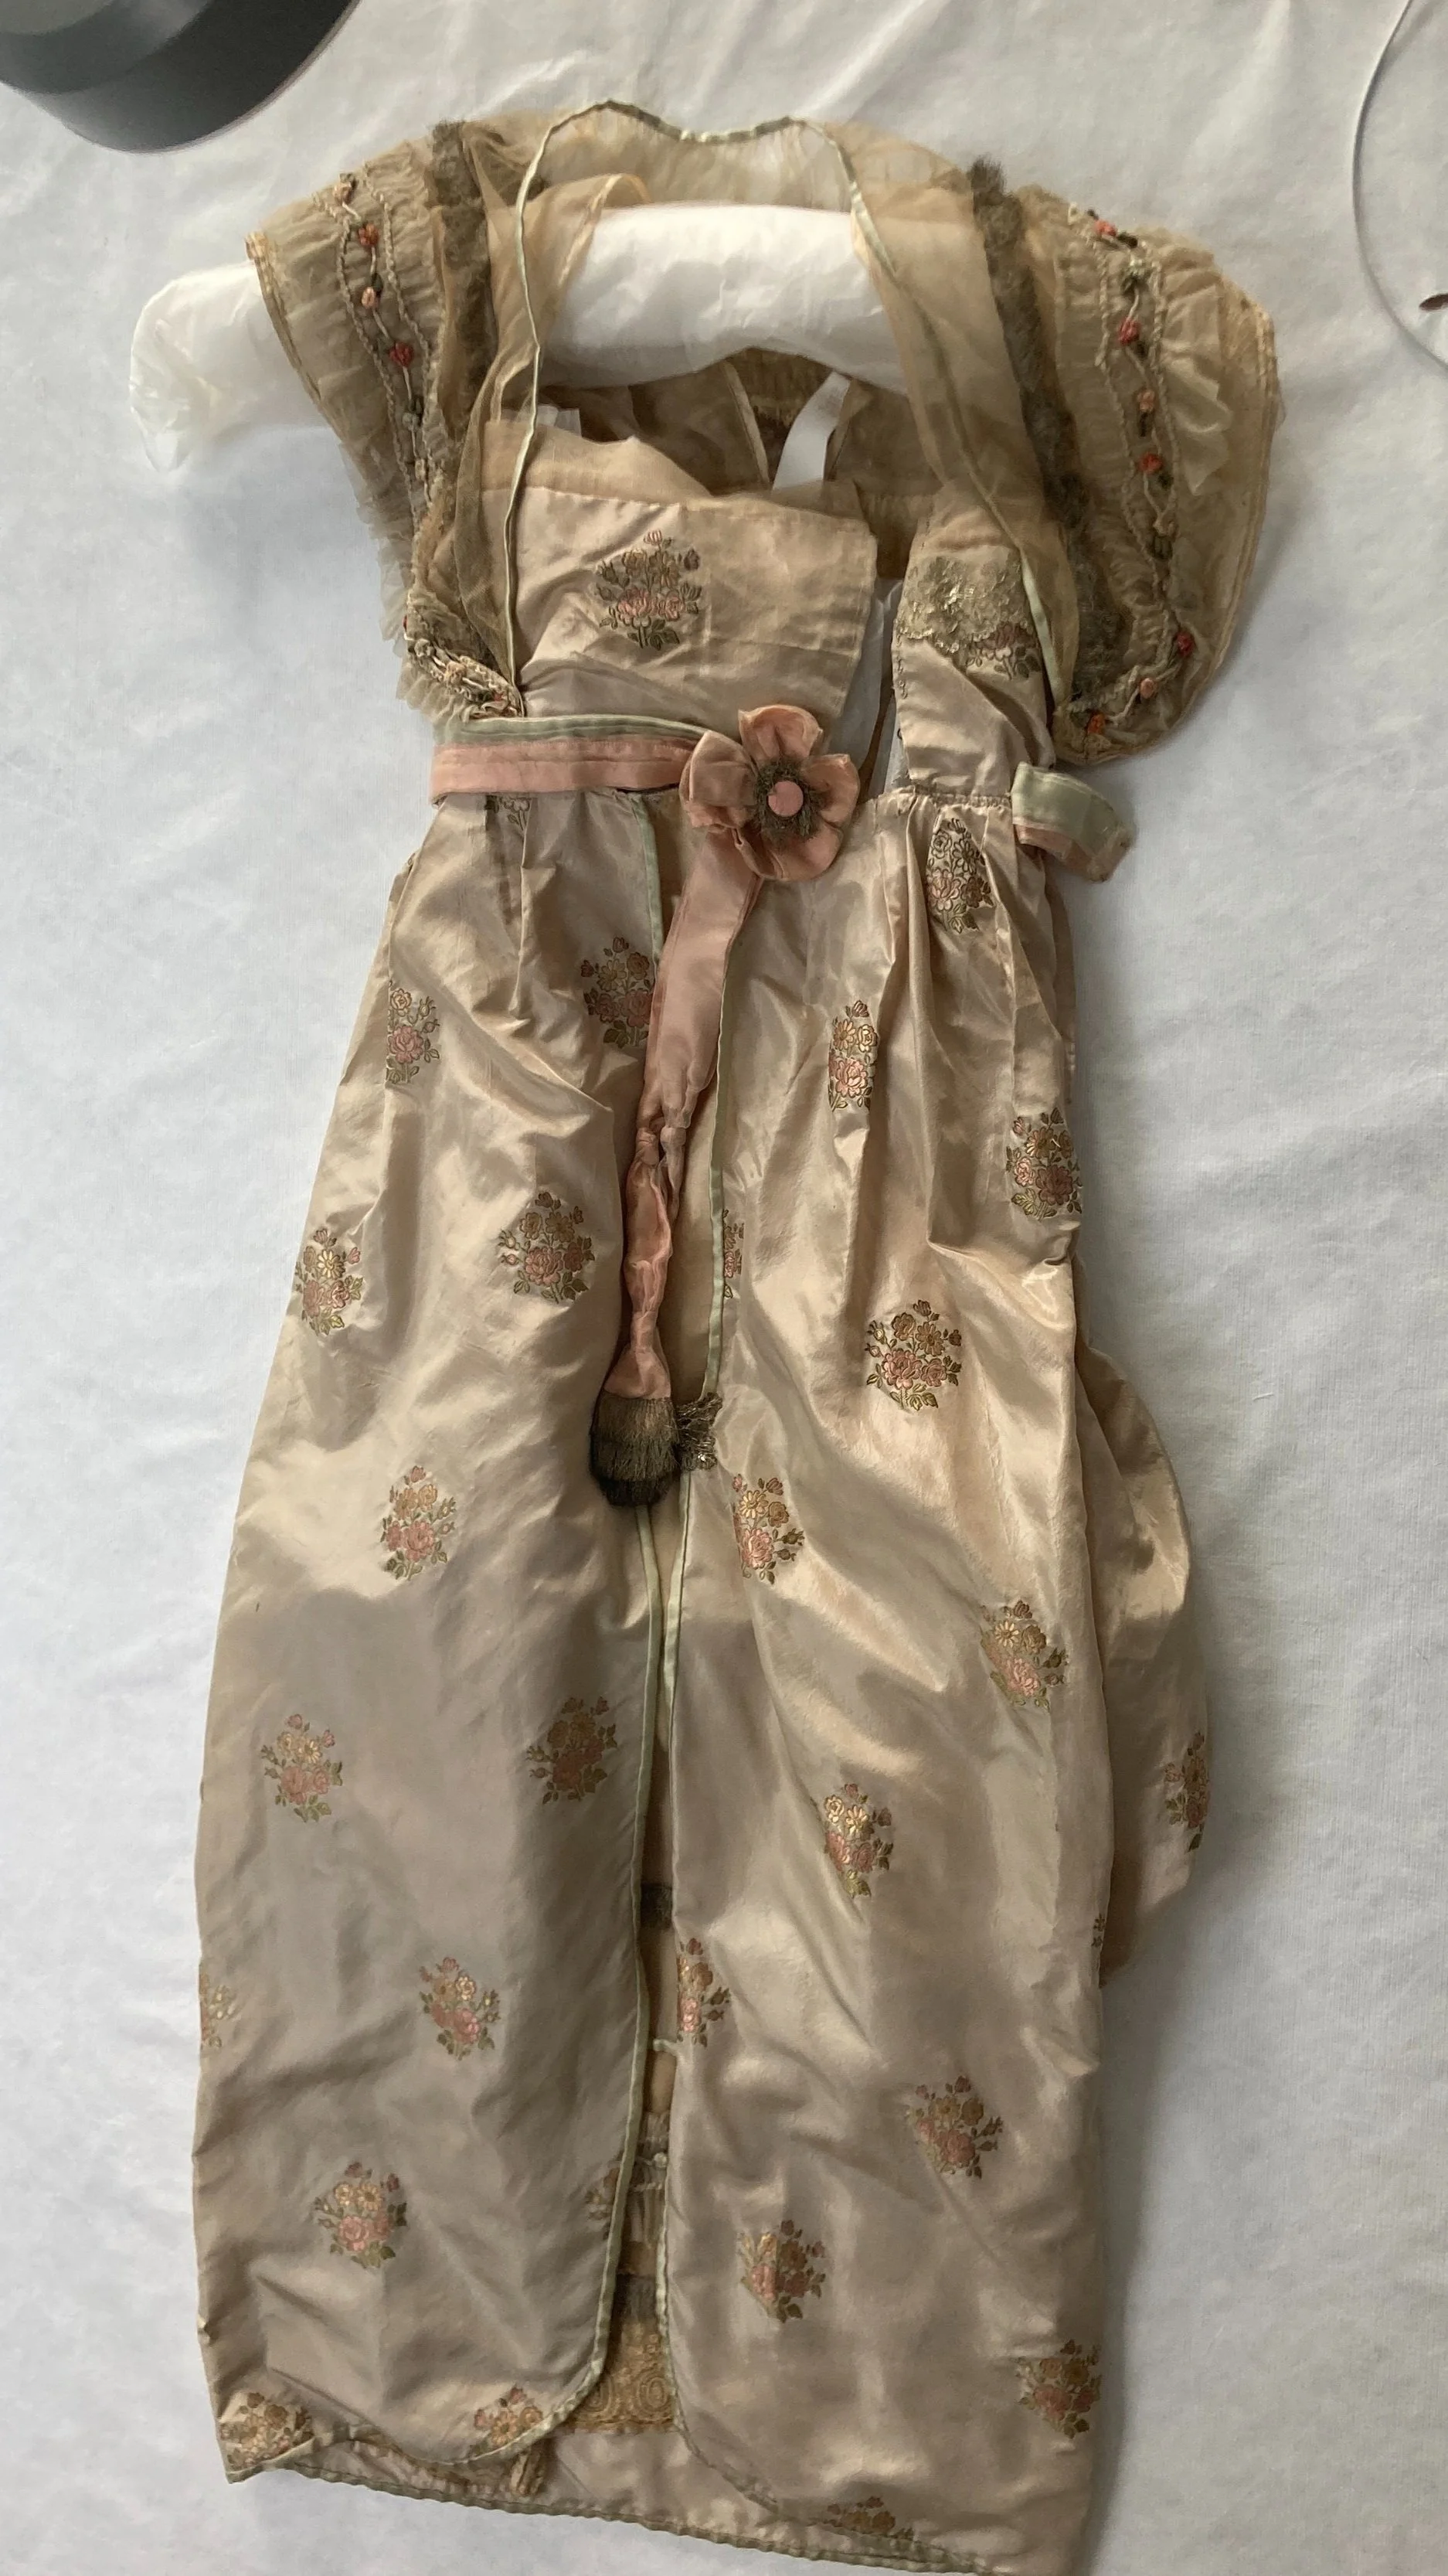
This lovely Lucille evening gown has been featured in several FIT exhibitions including recently in Ravishing: The Rose in Fashion and was slated for Designing Women: Fashion Creators and their Interiors although it was ultimately cut and was not exhibited. Since this dress is from 1914 and has been exhibited quite a bit, the interior weighted silk lining is starting to fracture. Thus the object needed a full bodice lining support as well as a few other small patch repairs to the back skirt opening.
Click HERE to download the full condition and treatment report. Please note MFIT does not prepare treatment proposals and only confers with curatorial when needed.
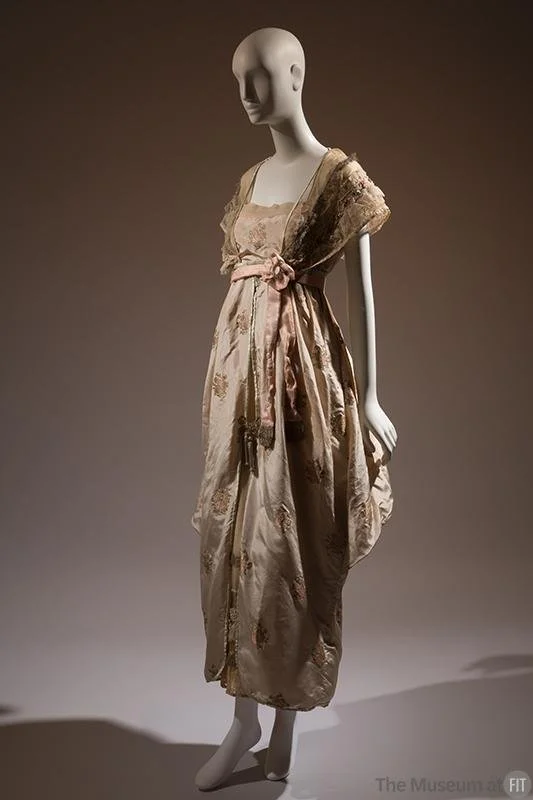
Photo courtesy of FIT online collection
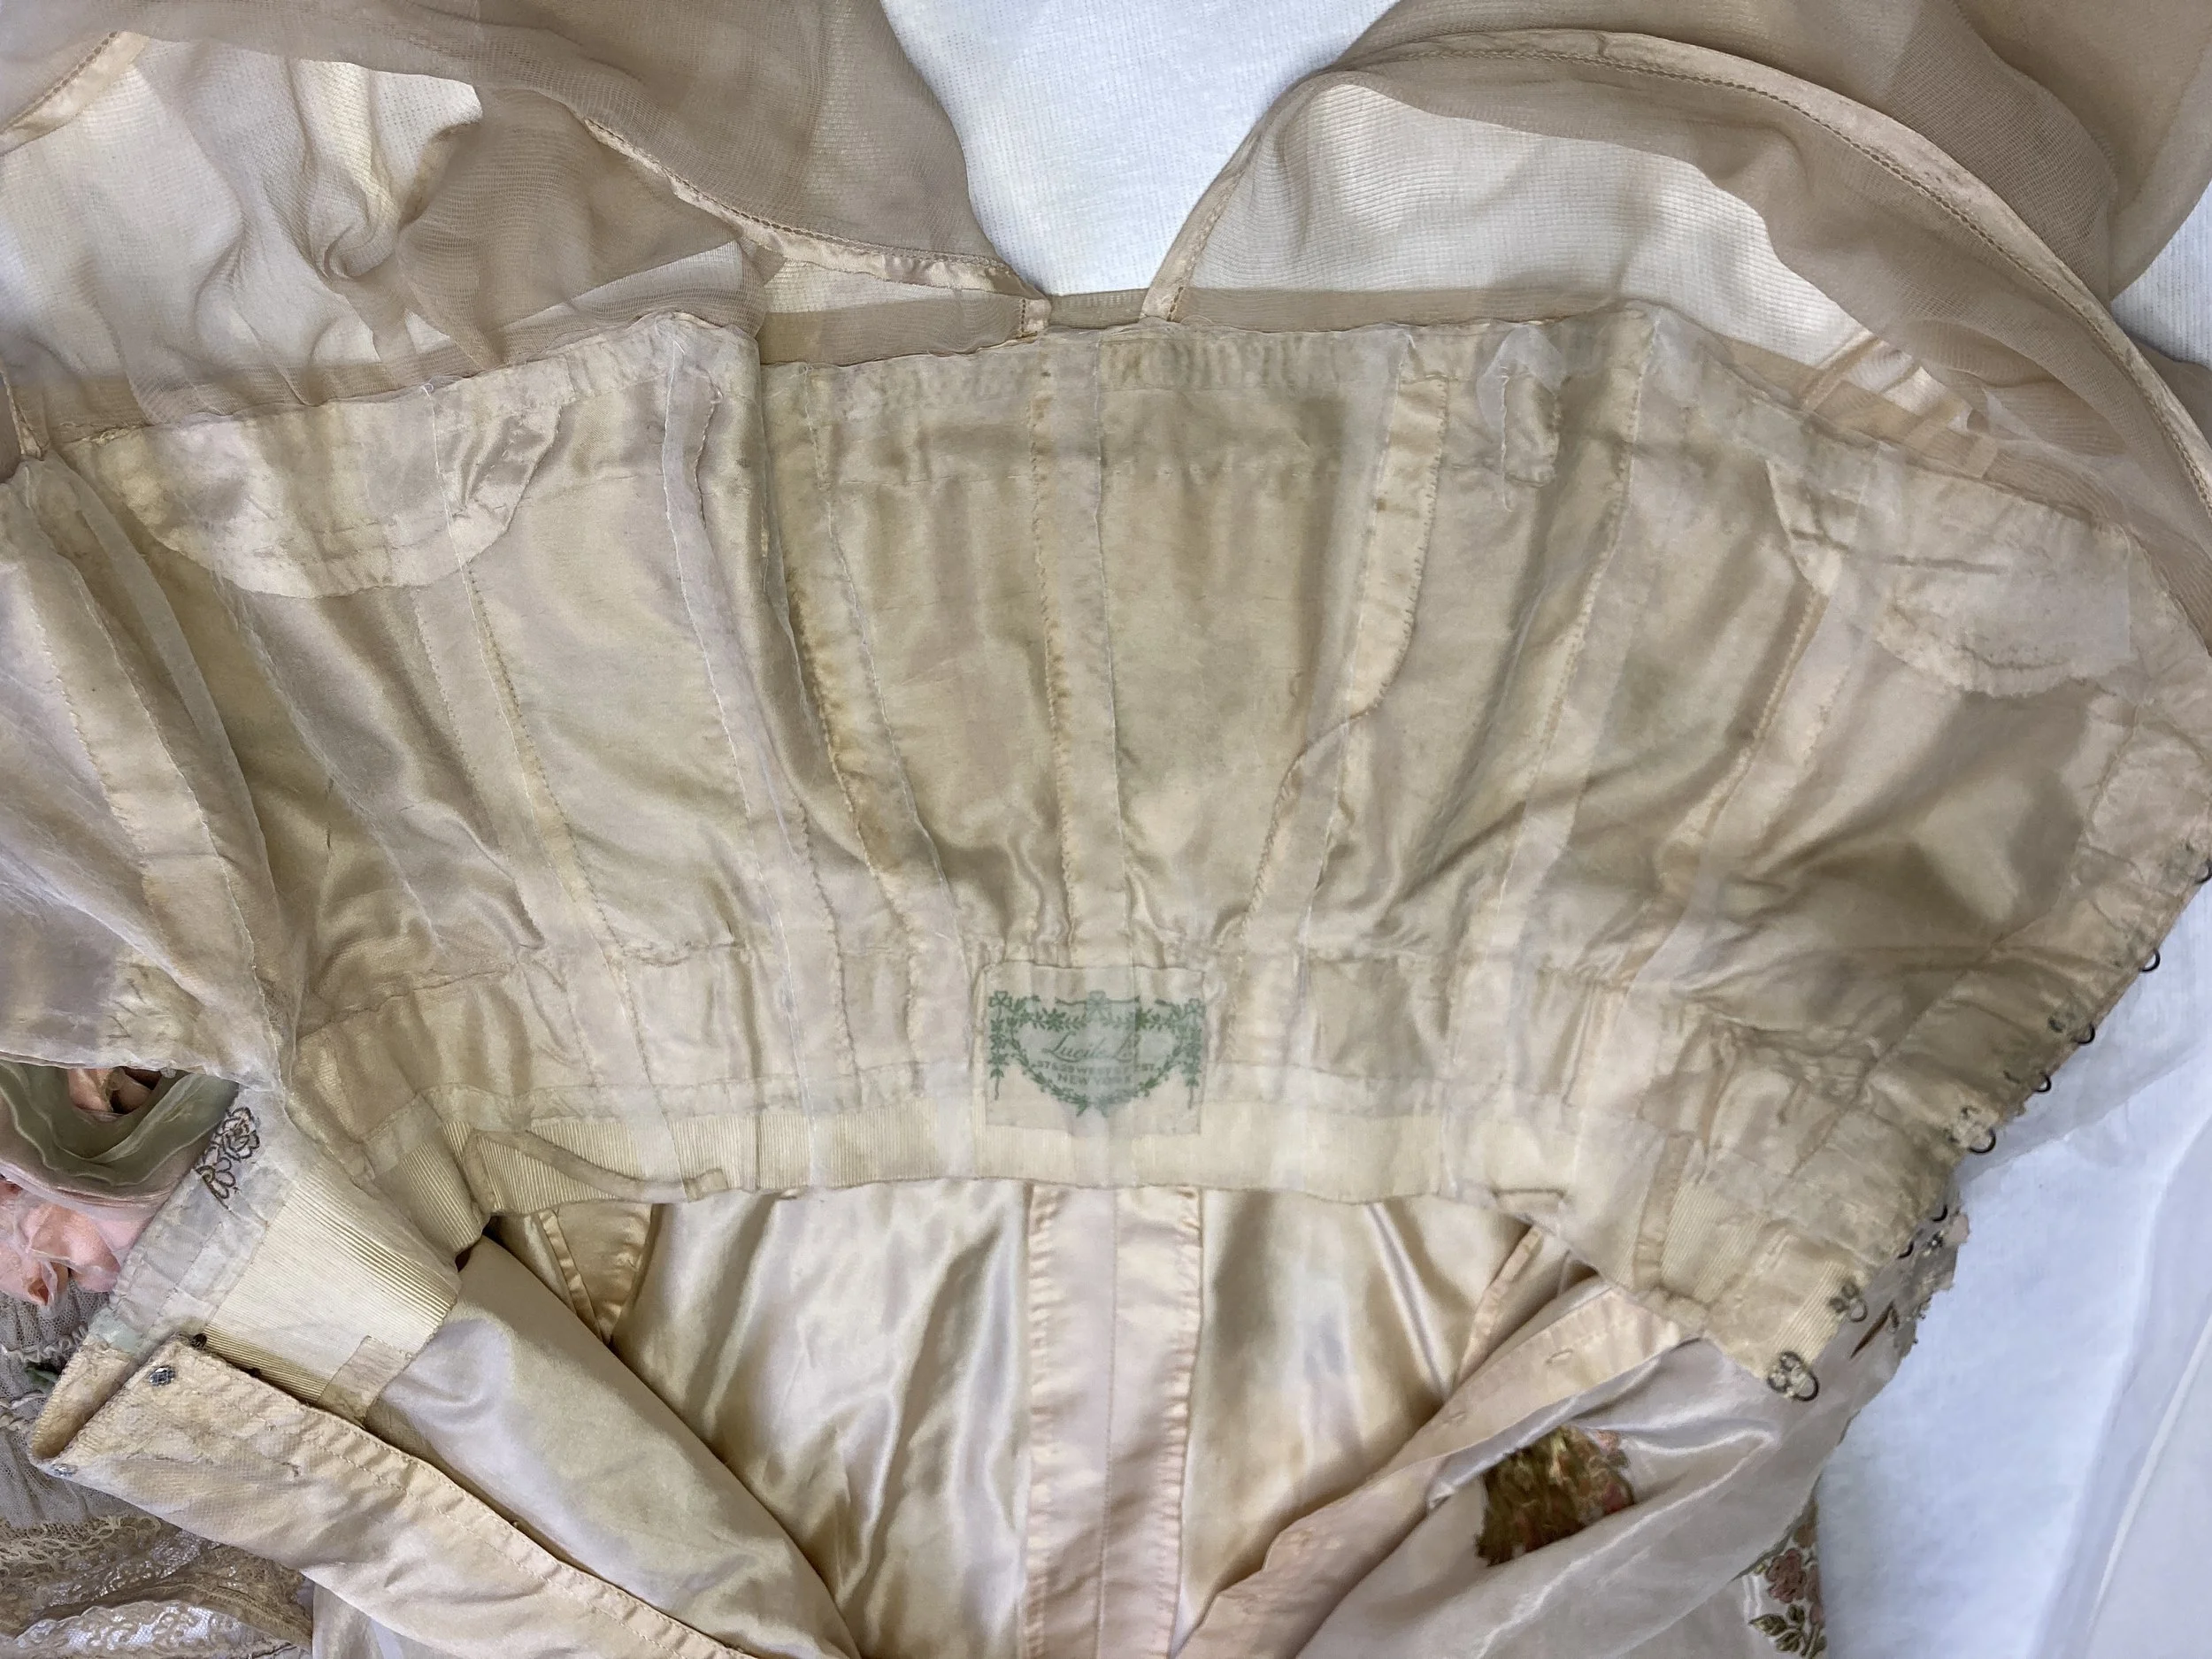
Before Treatment- Interior lining with splits throughout. Photo Credit- Margaret O’Neil
Creating a Support Lining
During Treatment- Interior support lining with basting stitches and unclipped edges. Photo Credit- Margaret O’Neil
After Treatment- Interior support lining finished. Photo Credit- Margaret O’Neil
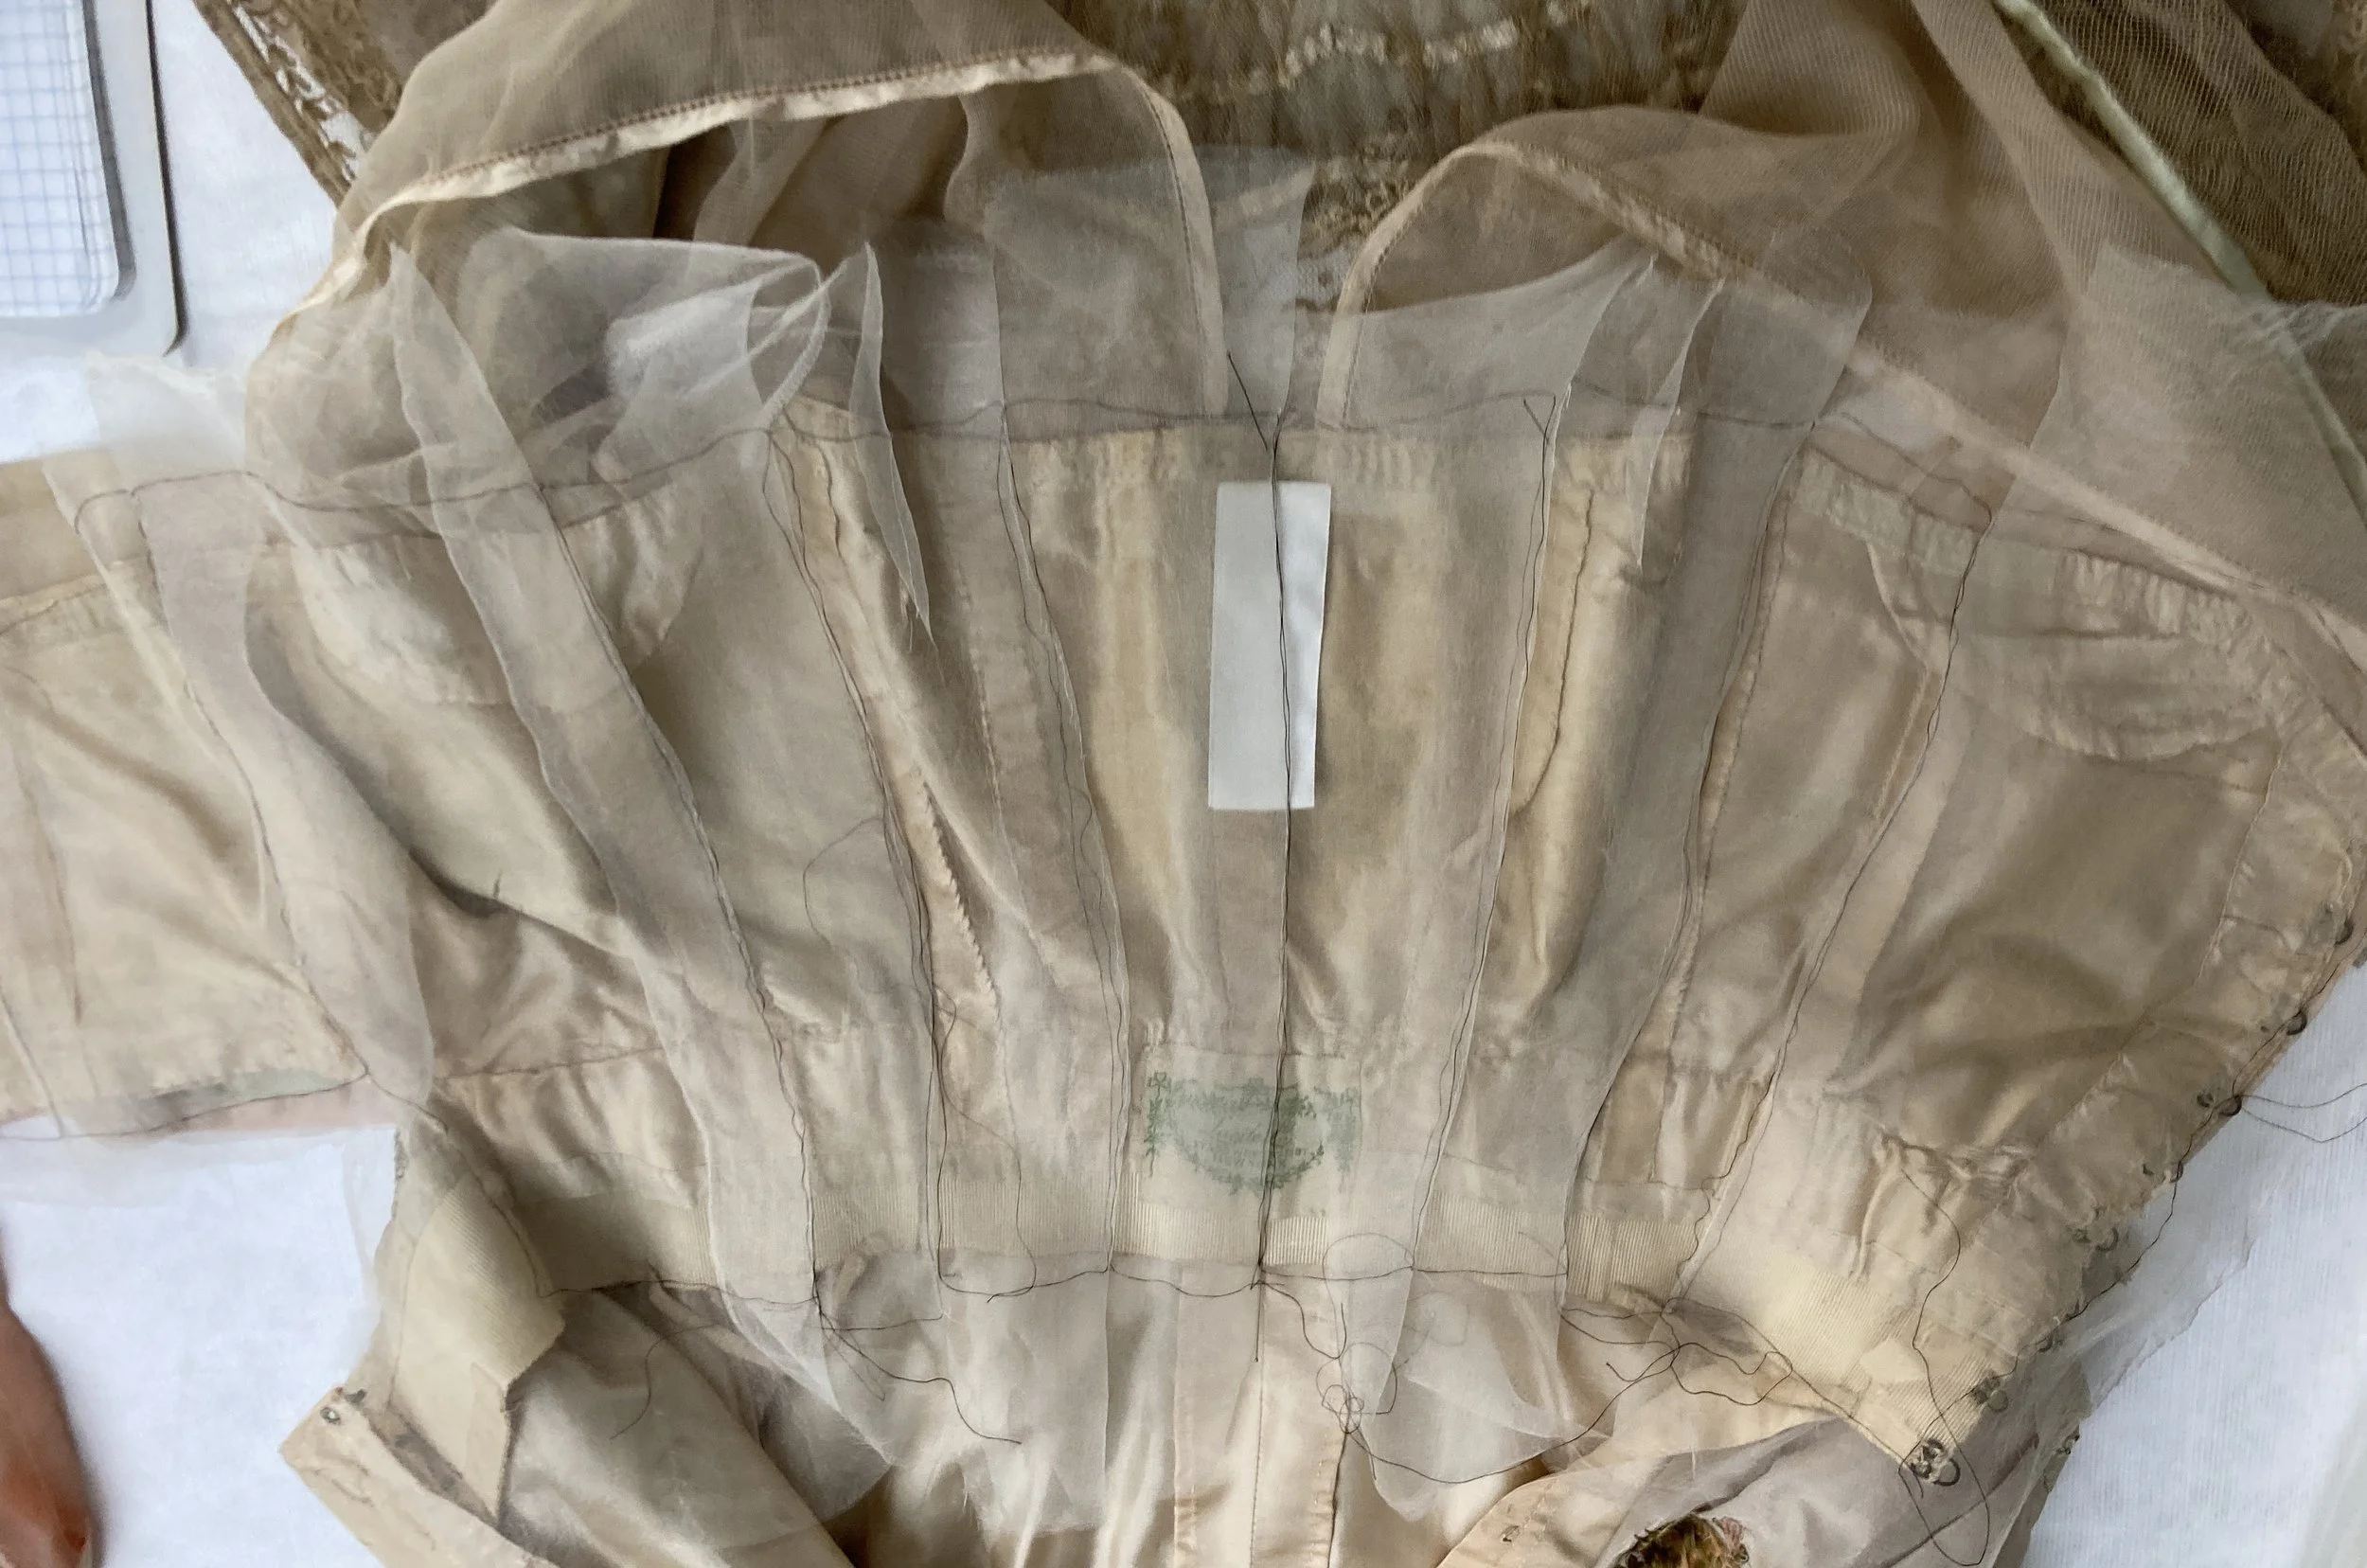
Since the silk habuoti lining was beginning to shatter overall, a full silk chiffon lining was inserted on top. The lining was created by first patterning the original bodice. Tissue paper was used to trace the outline of each piece. The shapes were then transfer onto pattern paper and revised. A muslin mock up was then created and checked against the original bodice. The pattern pieces were then laid out on the silk chiffon and a contrasting color of thread was used to "trace" around the outline of the shape. The shaped were then cut out with a very generous seam allowance. Pulled silk organza threads were used to running back stitch the lining together. The center back was put together first and the chiffon lining was checked against the original to ensure the seams matched up.
Once all of the pieces were stitched together, the seam allowances were pinked, the lining was pinned in with entomology pins, and the center back seam of the chiffon lining was tacked to the original. The top edge of the lining was folded under and tacked and the bottom was folded under and tacked on the center front and folded under the petershim for the rest of the bodice. All was tacked in place with herringbone stitches. Holes were cut to facilitate the use of the hooks and eyes. Laid and couch stitches were used to consolidate the splits on the PR lining.

After Treatment- Detail of laid and couch stitching on split under support lining. Photo Credit- Margaret O’Neil
Additional Consolidation
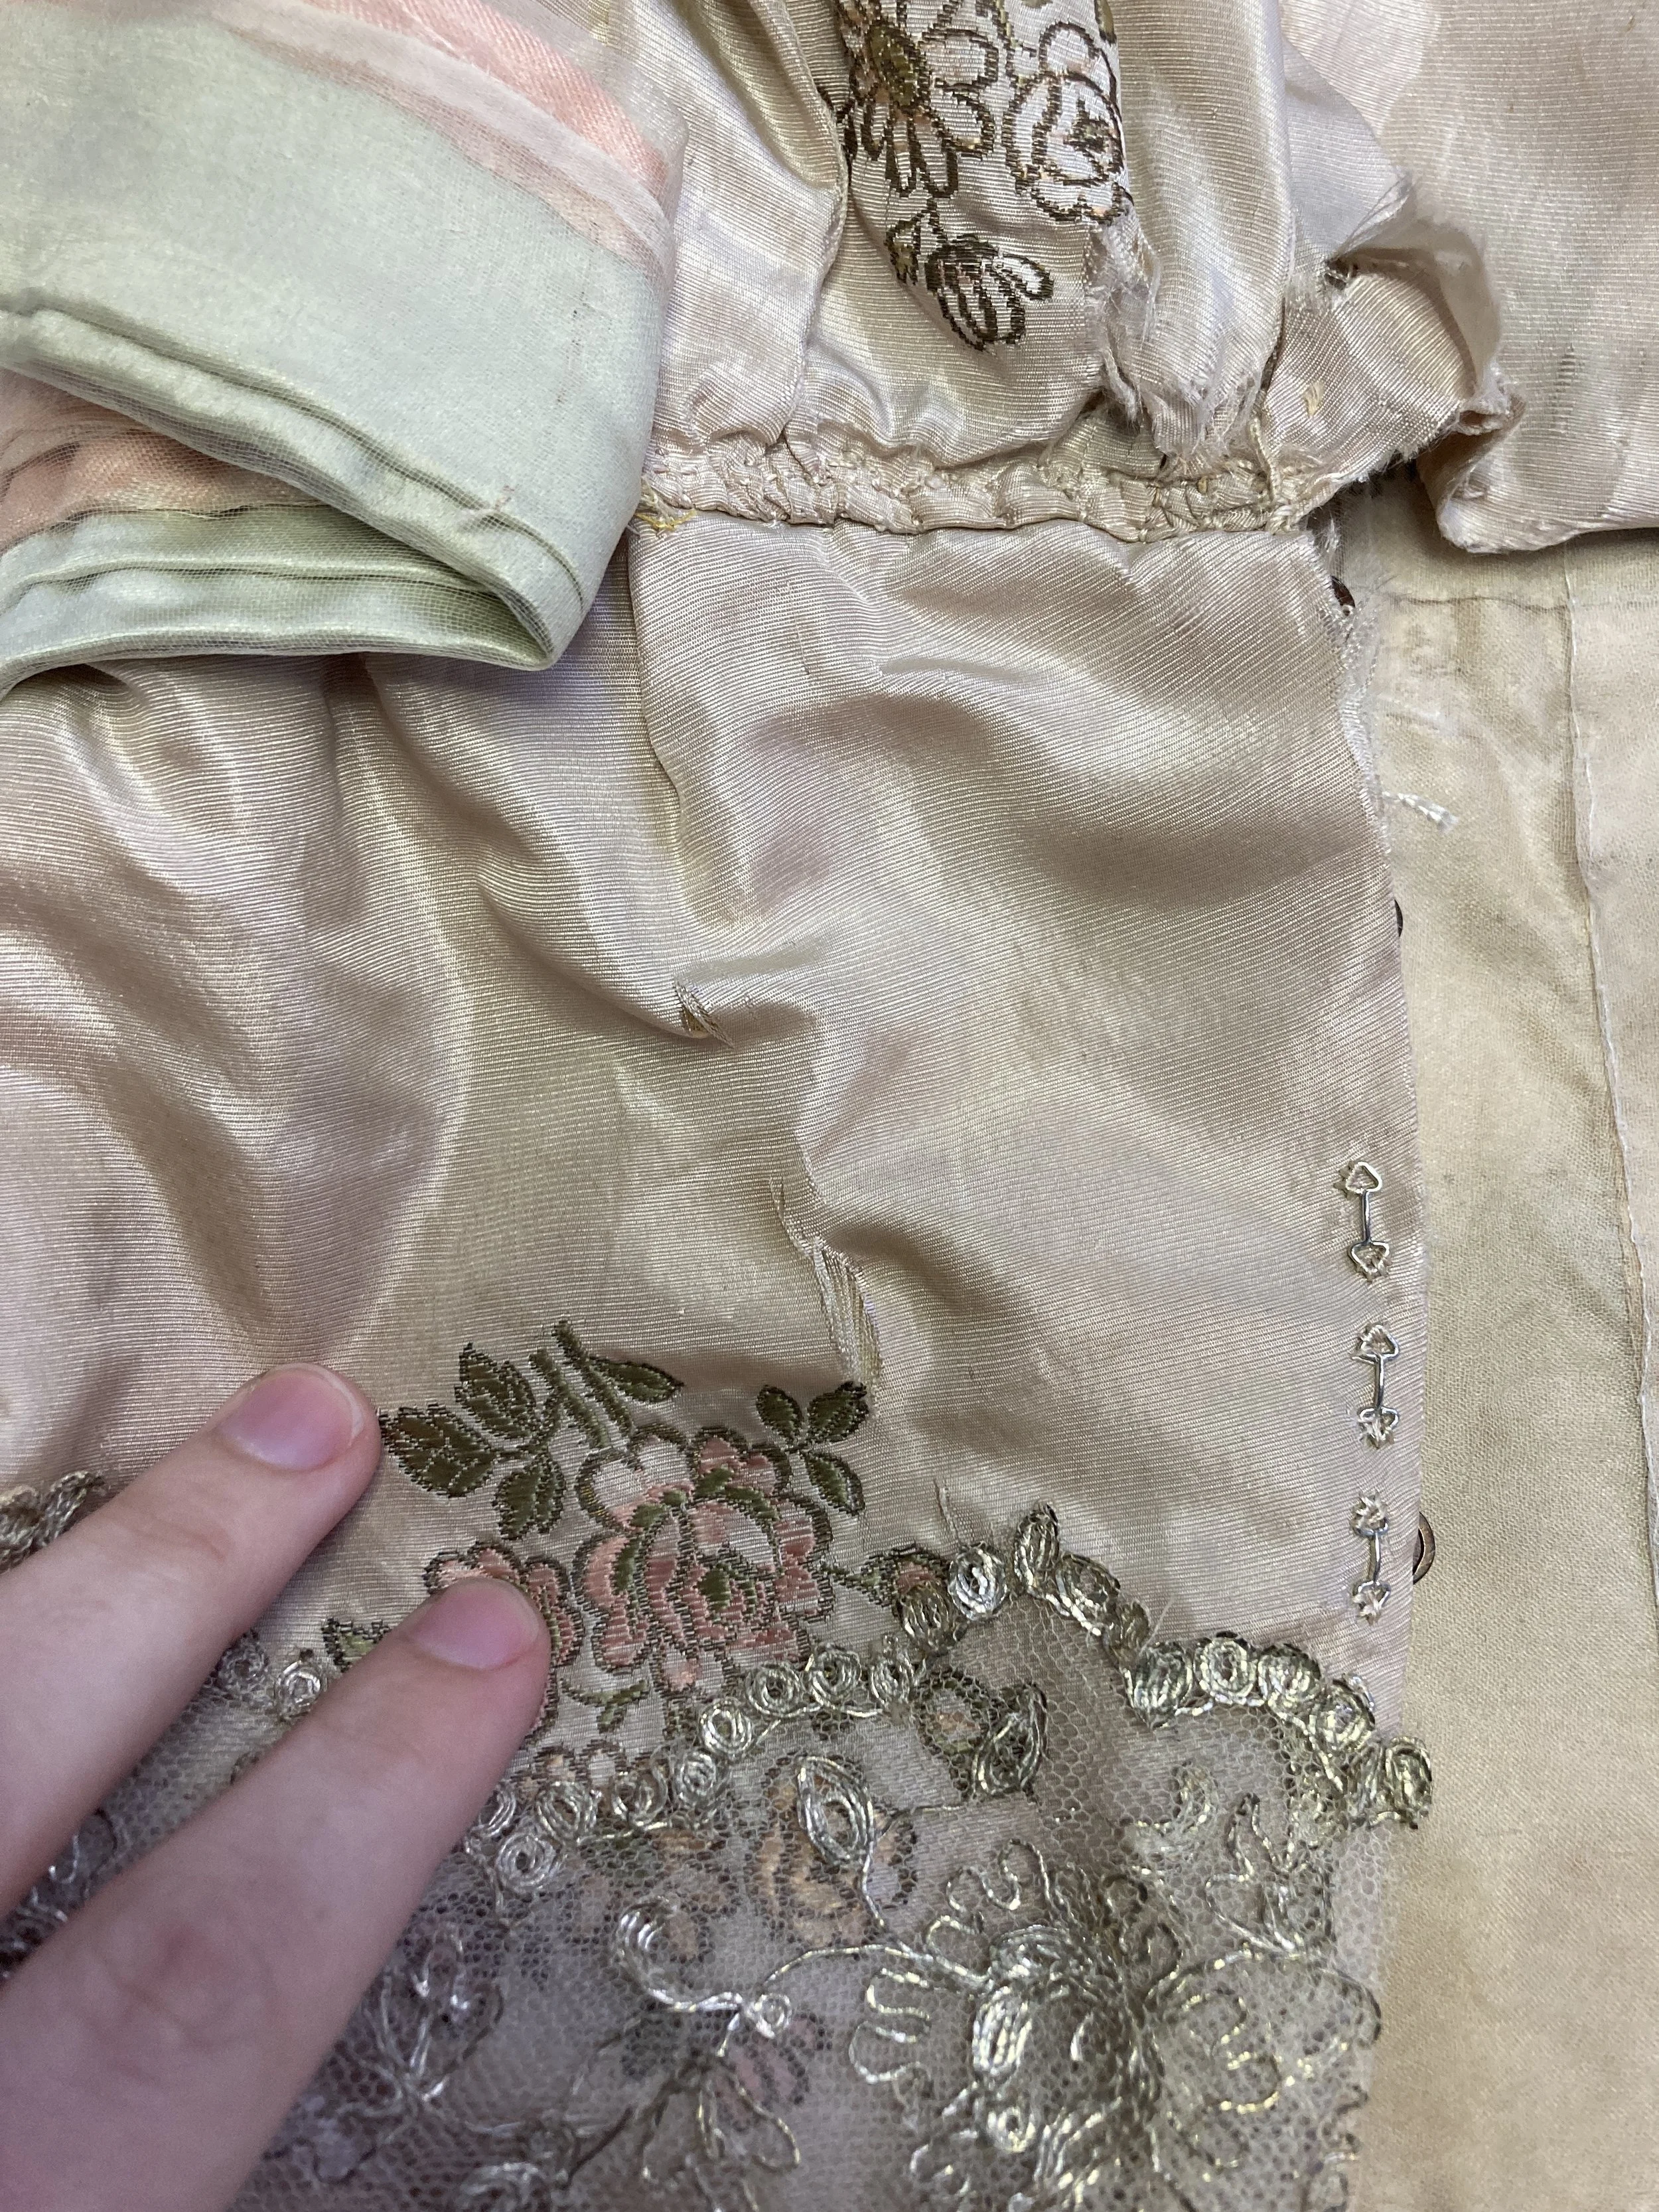
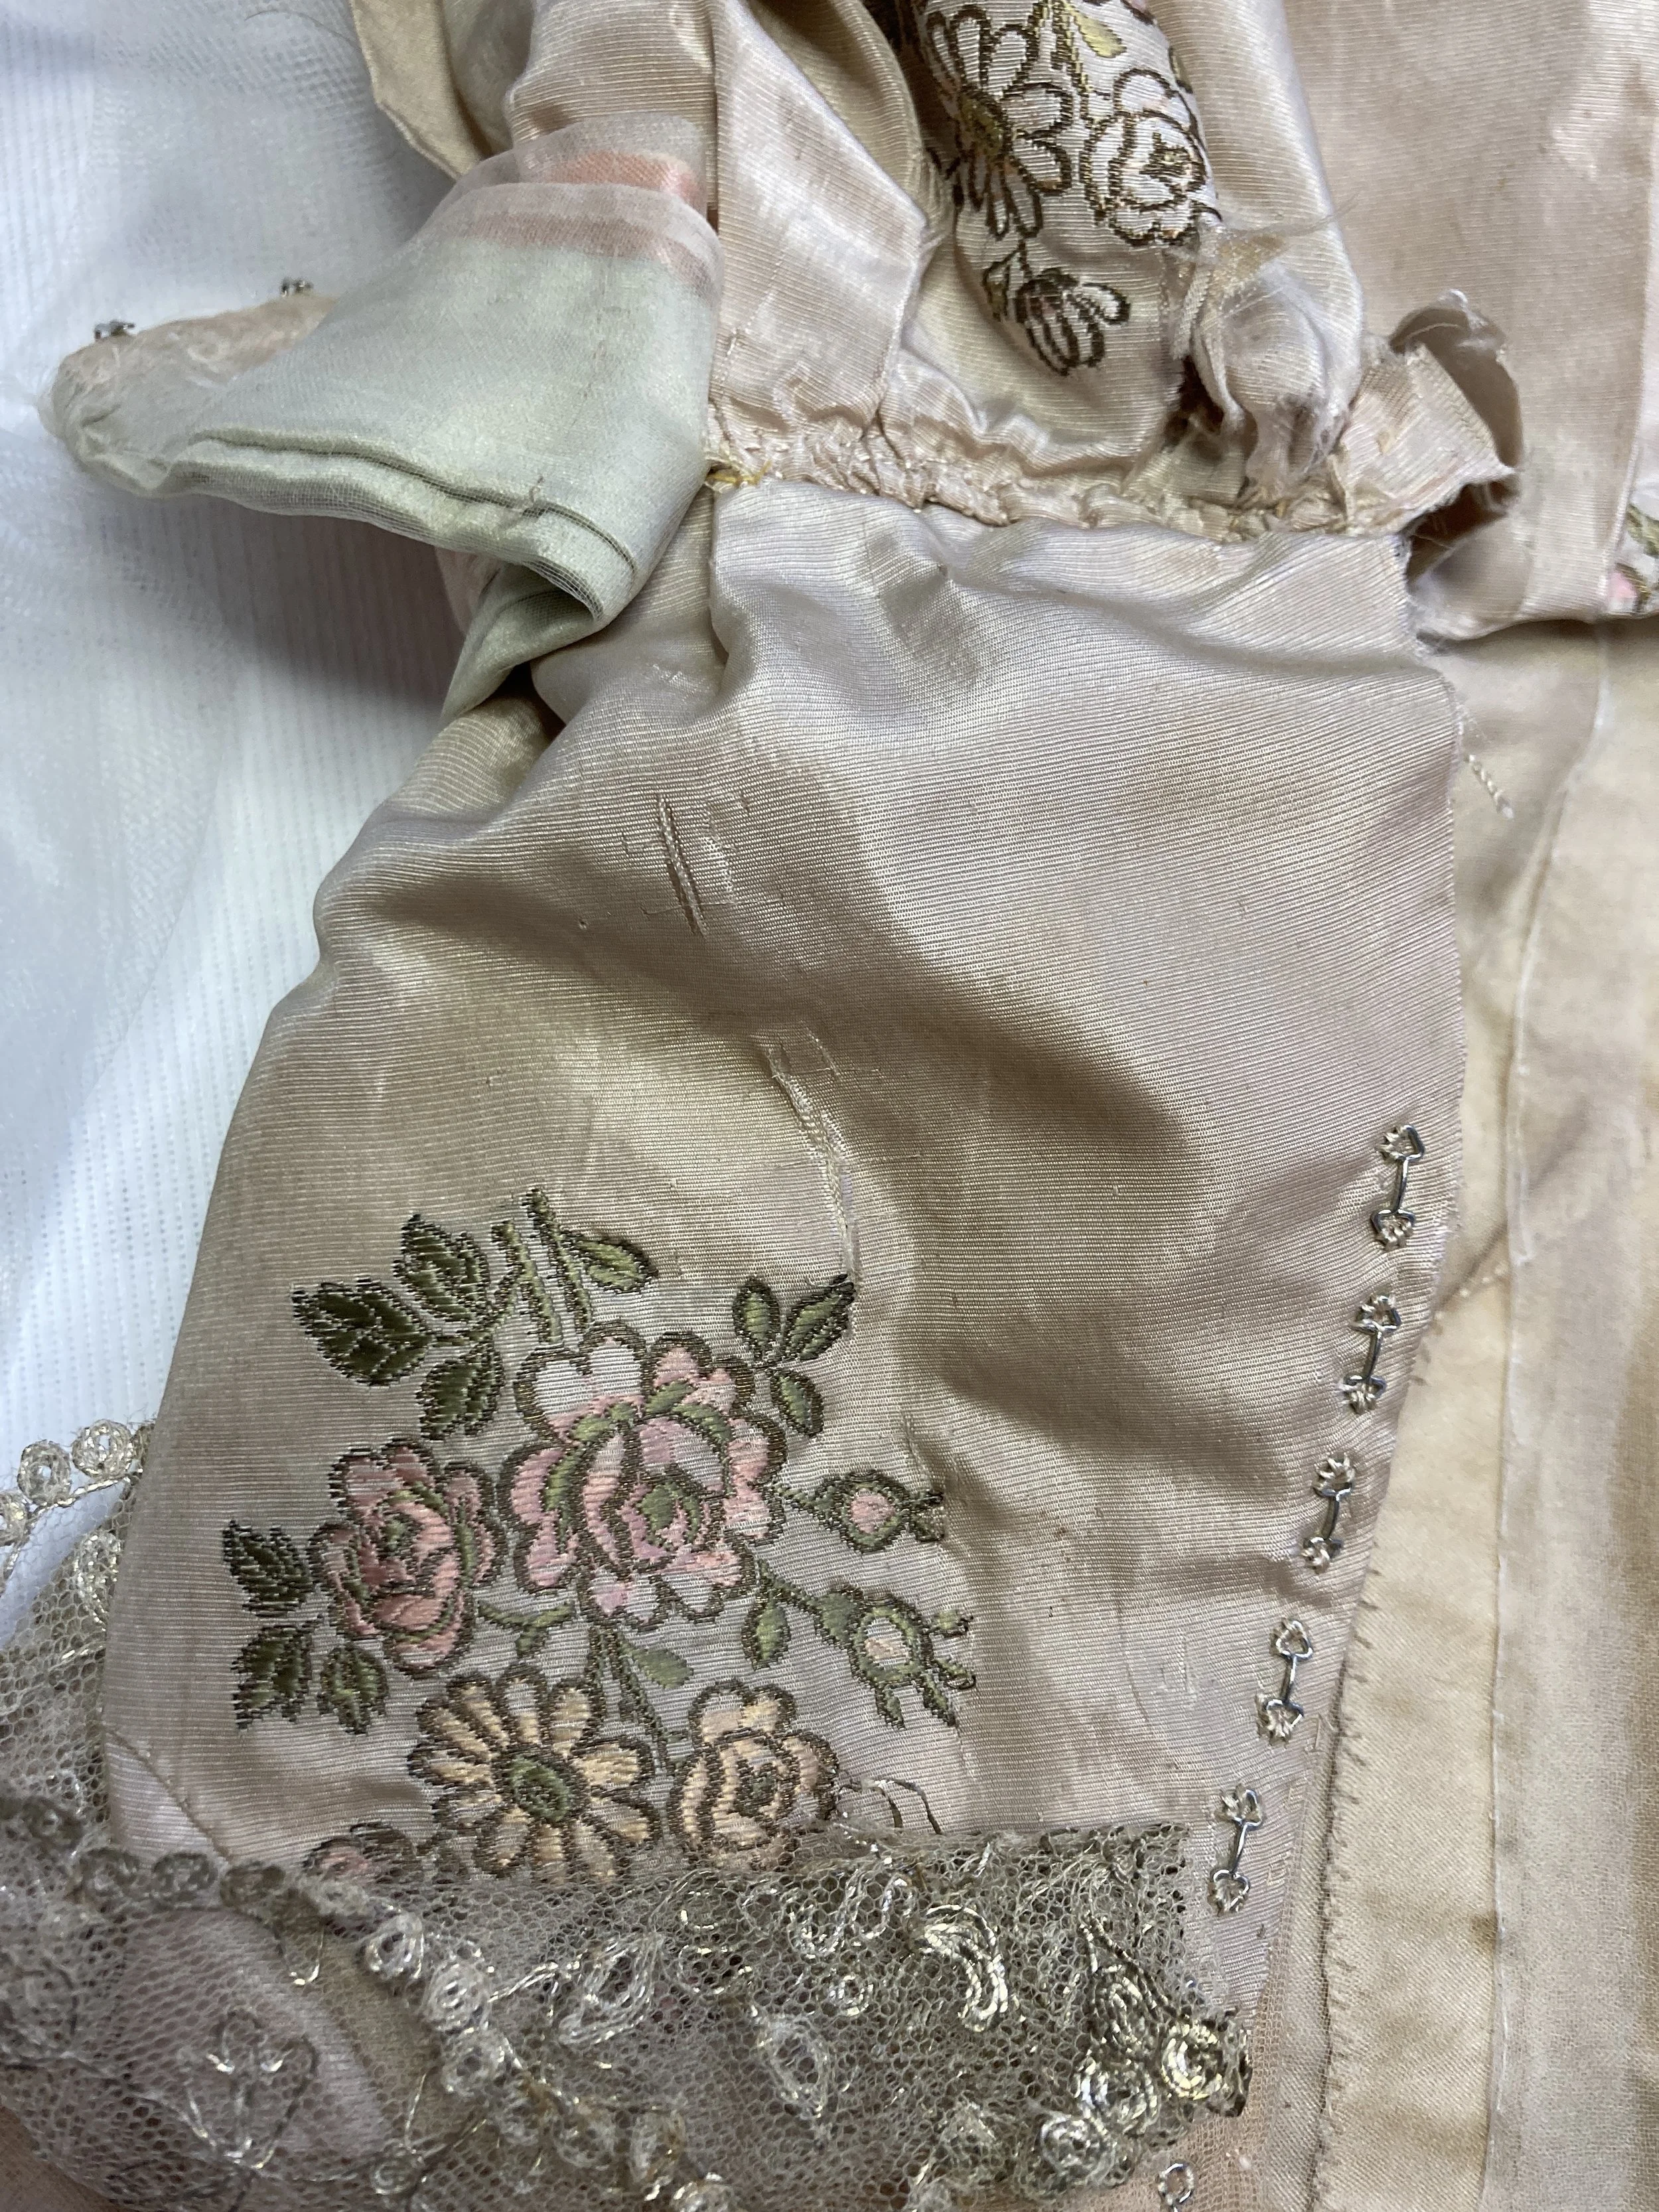
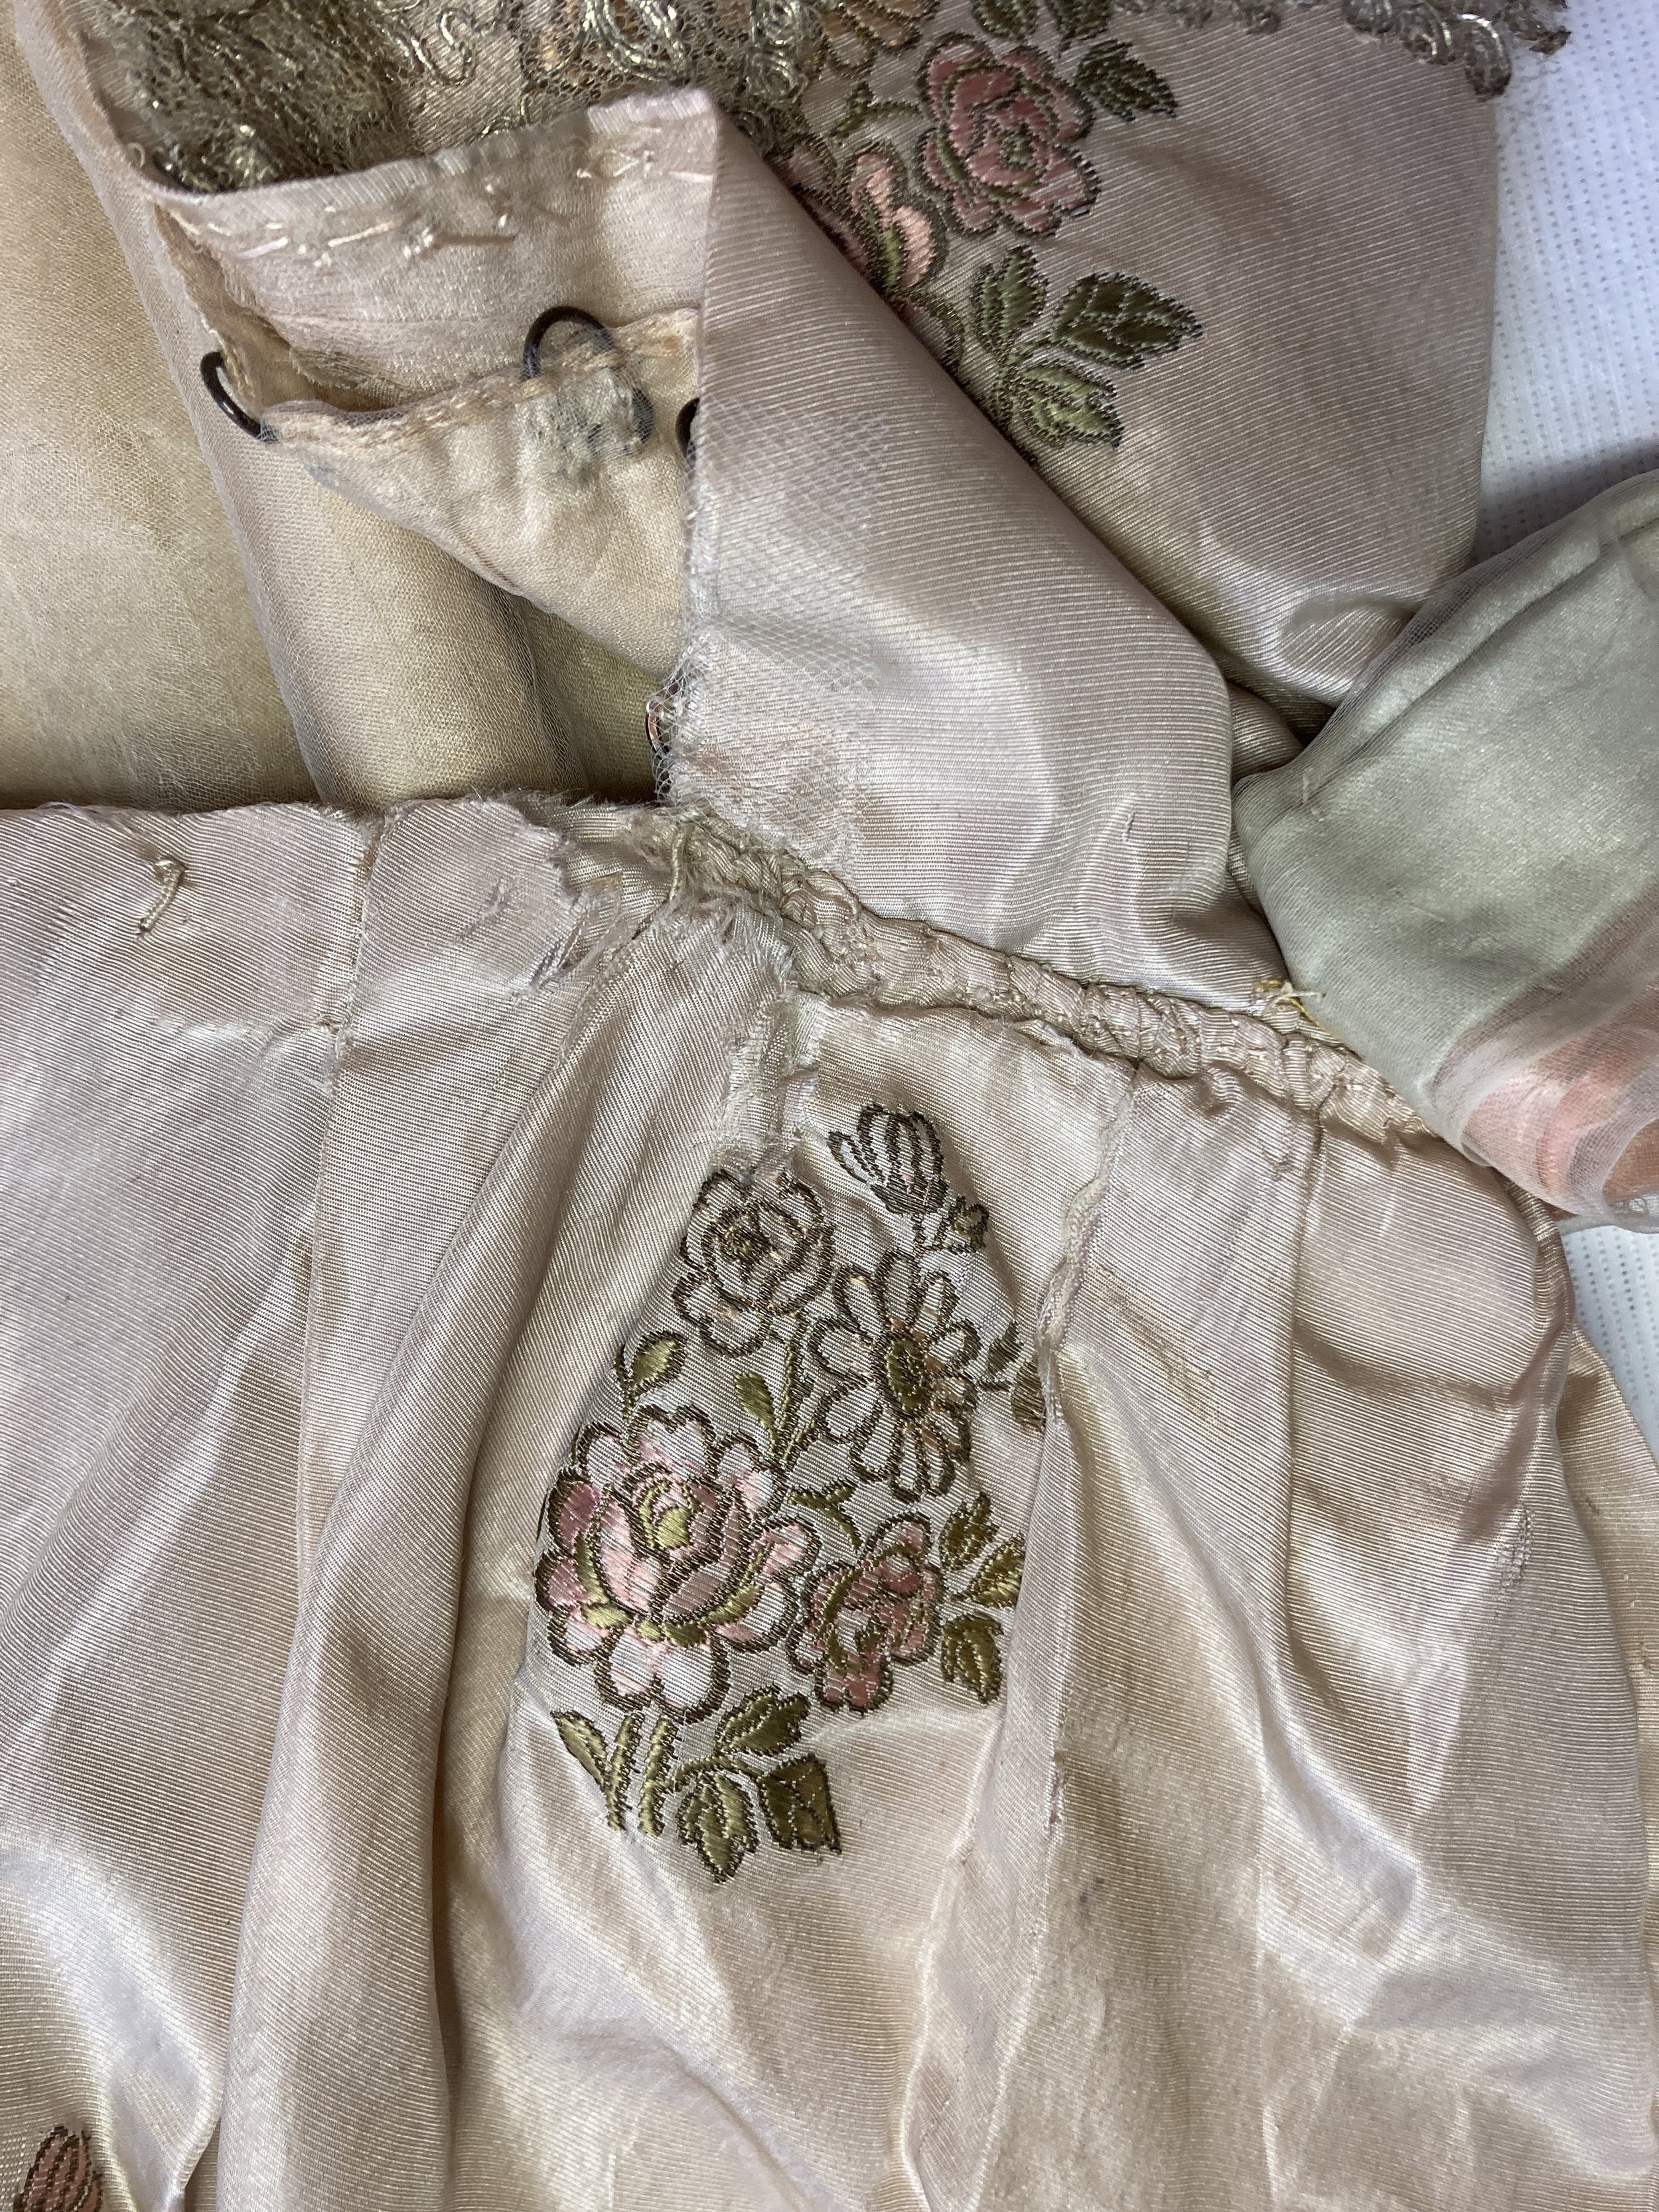
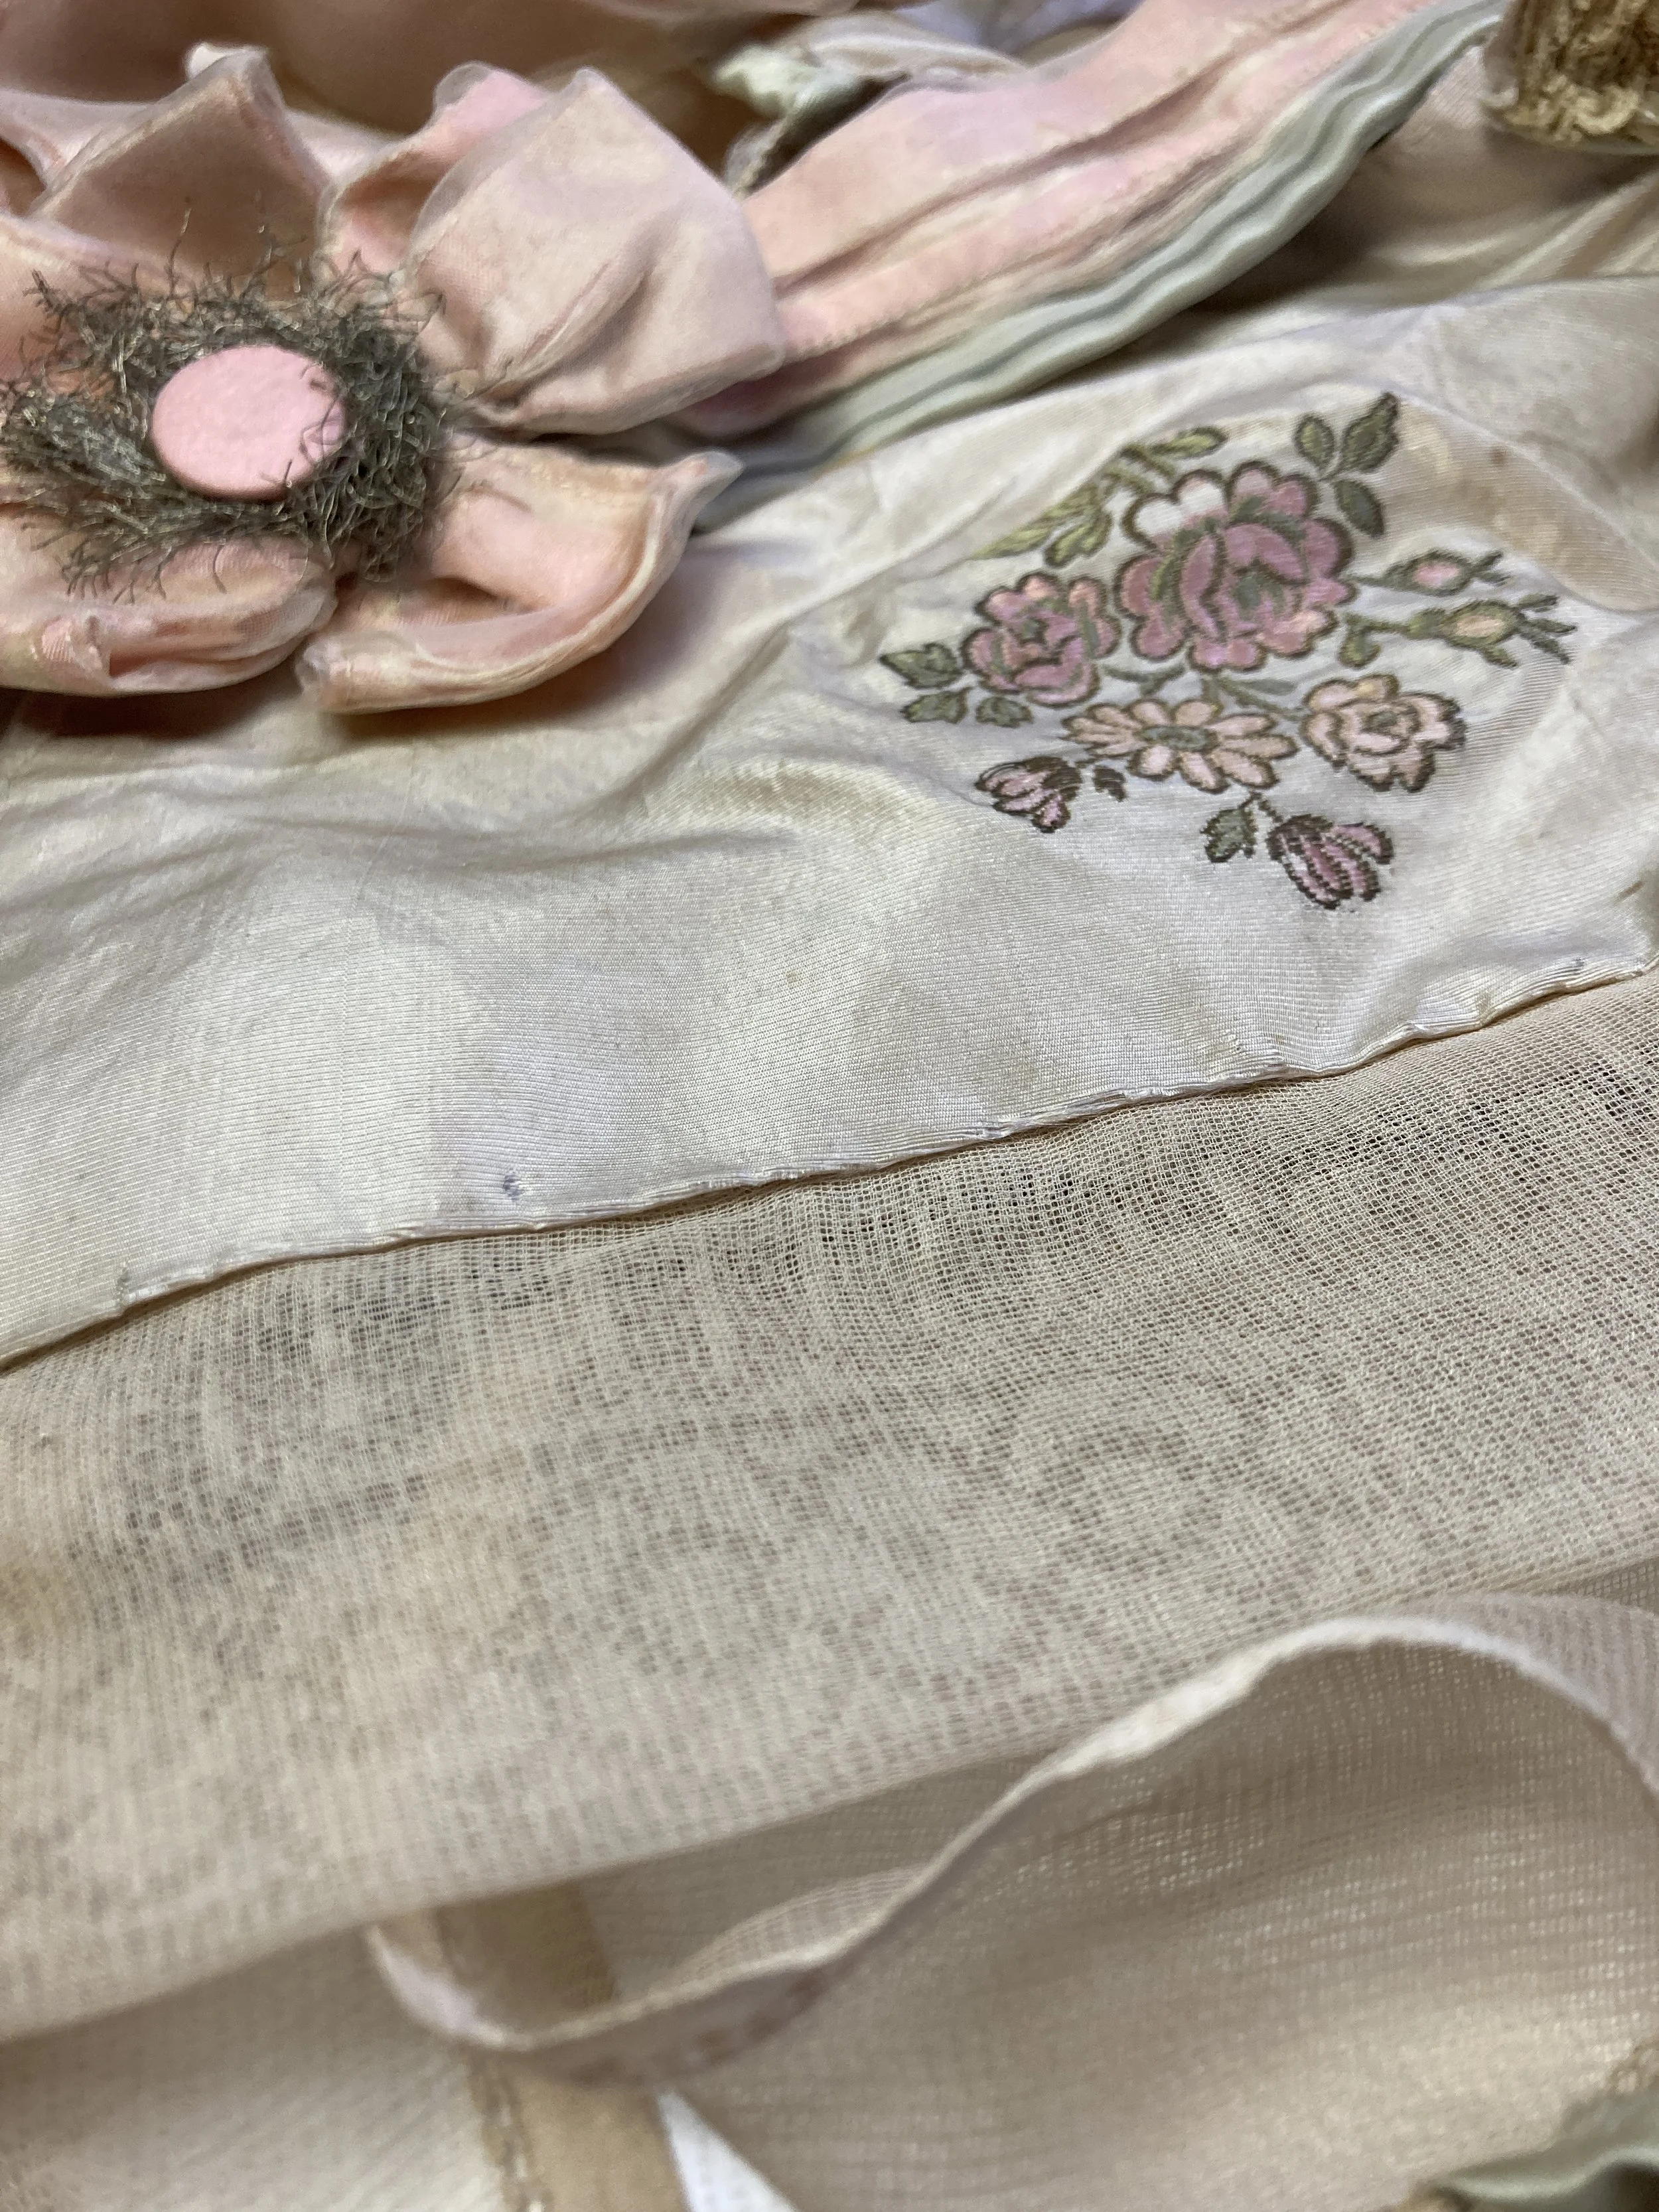
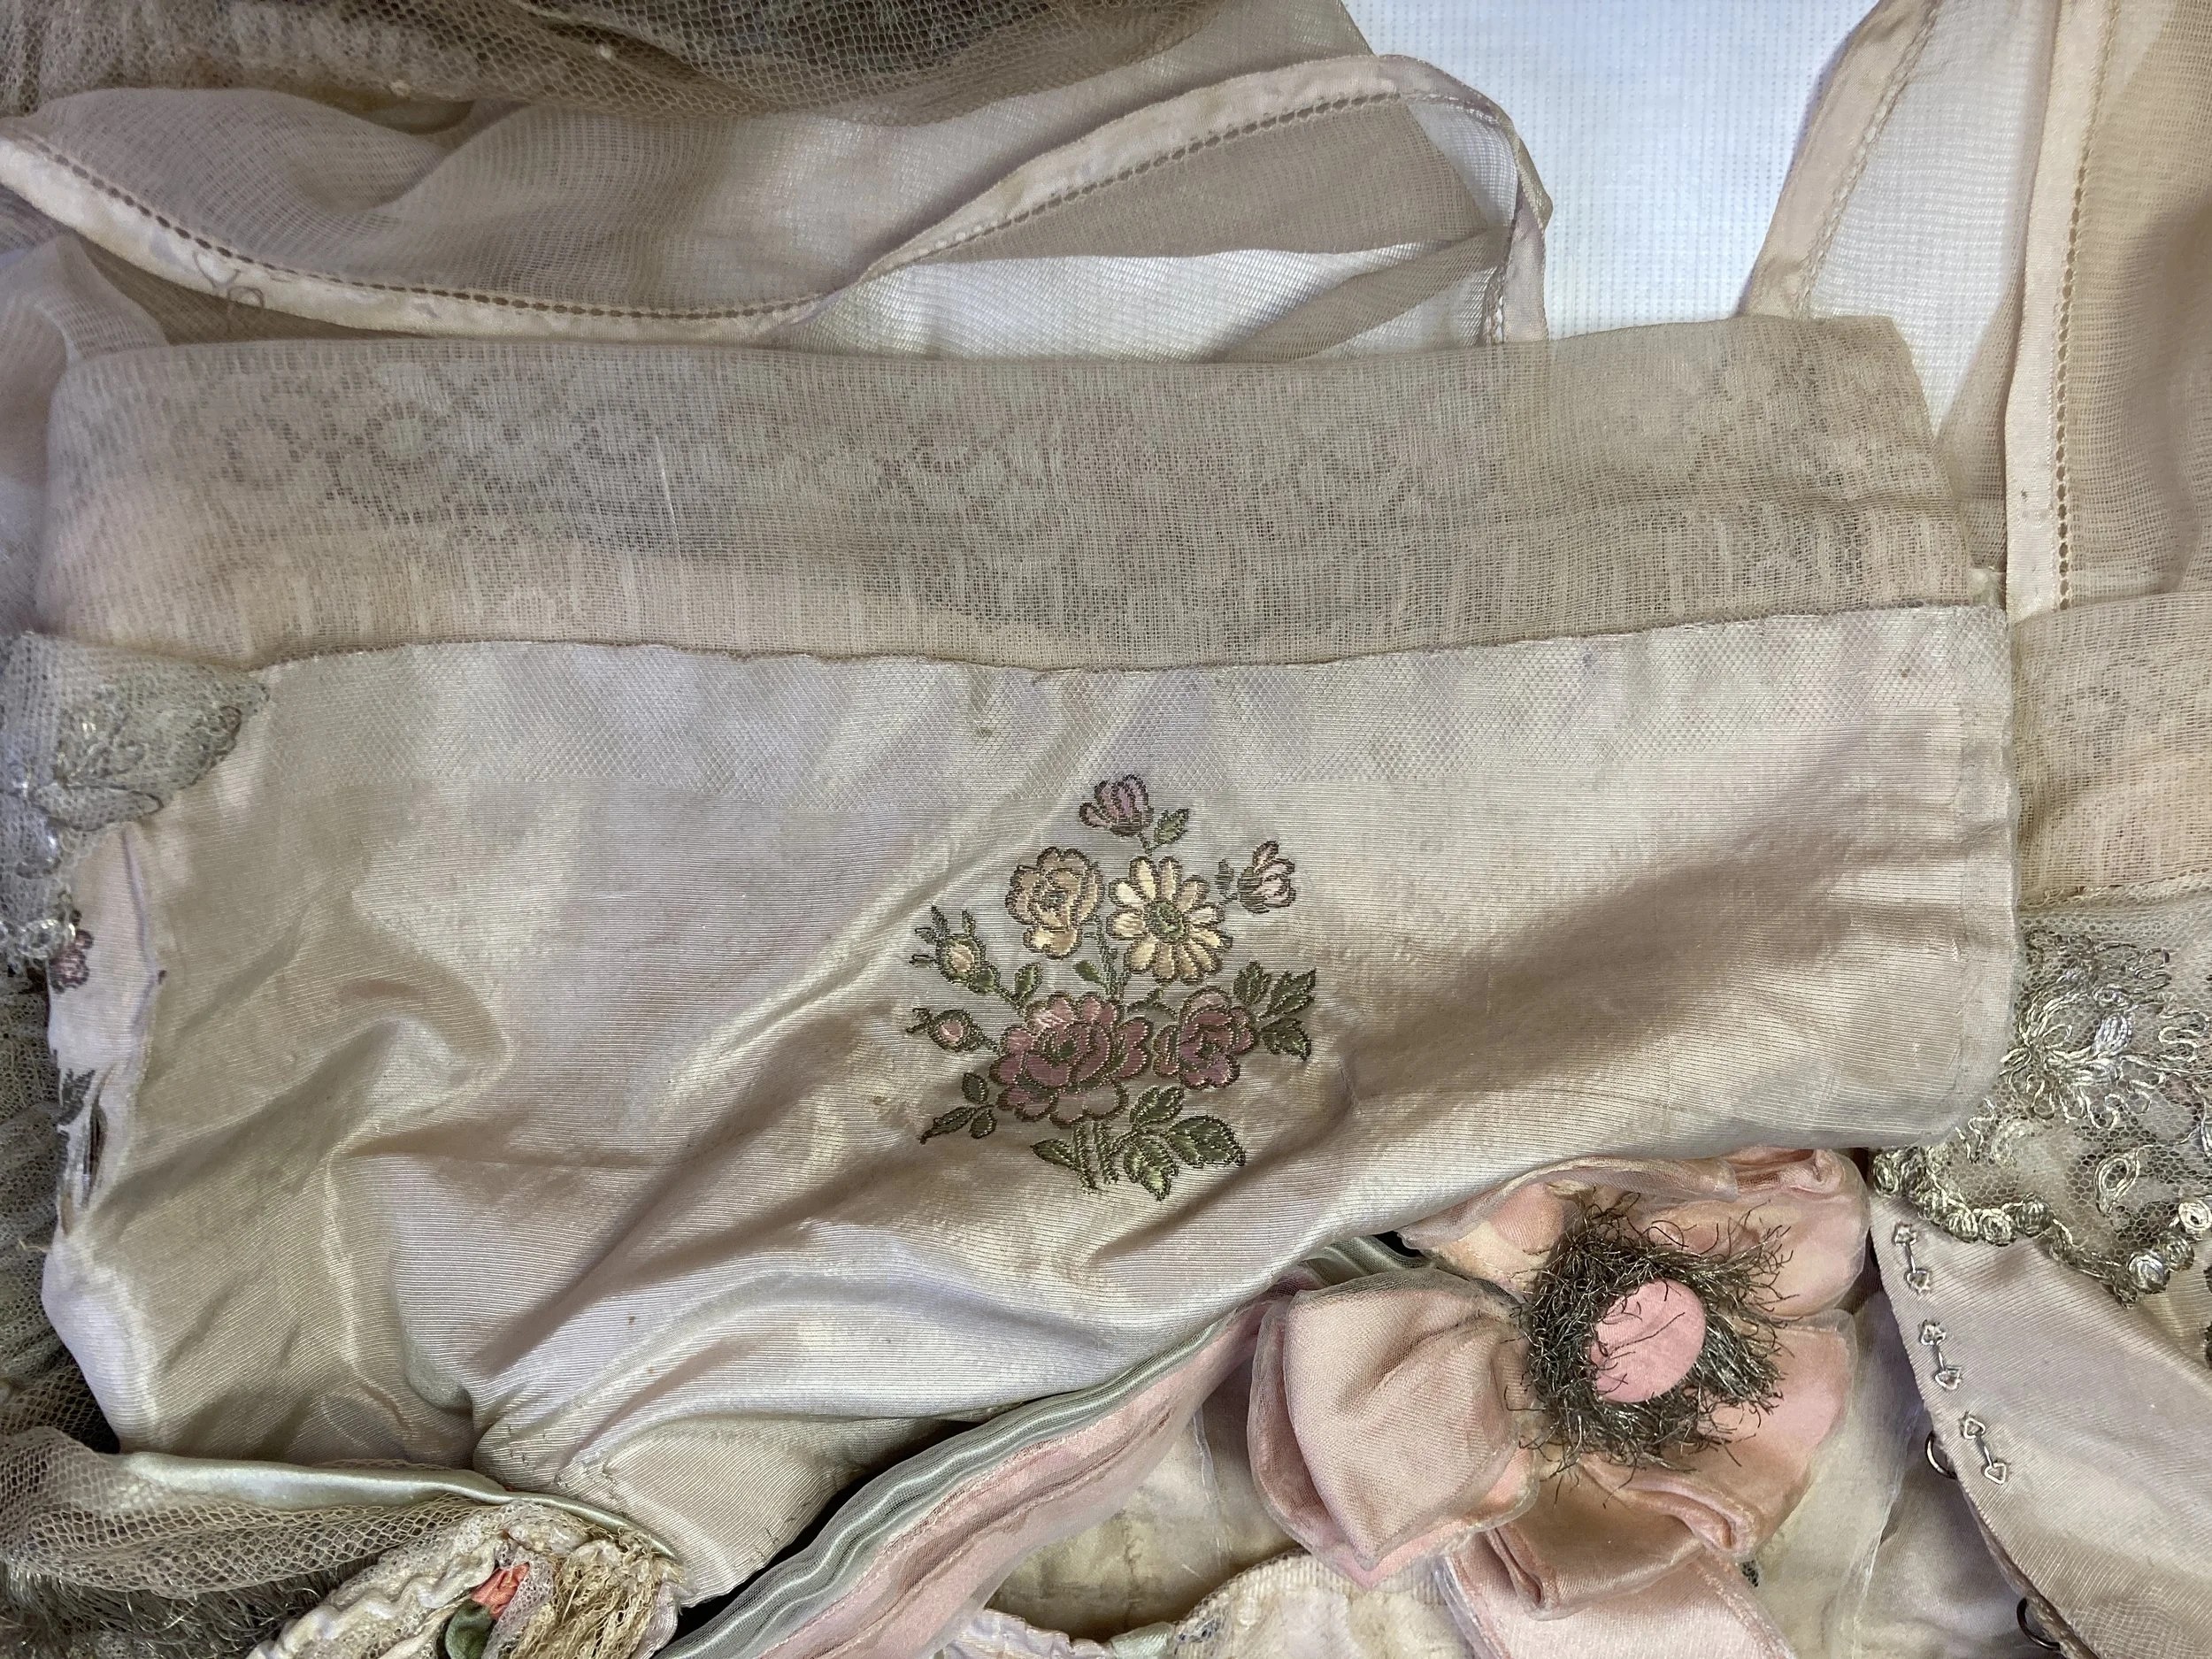
Next, the PL front waistline was addressed. There were multiple splits in the silk brocade and in the silk habouti lining. A patch of silk habotai was cut with pinking shears and placed between the silk lining and brocade. The patch was long enough so that it was folded in half and the fold abutted the waist seam. Herringbone stitches were used to secure the patch to the brocade and the lining separately. Laid and couching stitches were used to consolidate the splits on the brocade. On the lining, a net overlay was placed on the interior, and laid and couching stitches were used to consolidate the splits.
Small net overlays were placed along the front placket to consolidate the splits forming in the fold on the top and side of the PL front opening. Herringbone stitches were used to hold these in place.
A silk habotai patch was placed on the PL skirt front. Laid and couching stitches were used to consolidate the split. This was repeated for a split on the PL bodice front.
A small piece of nylon net was placed over the shattering hook lining on the petershim. Small holes were cut to thread the hooks though and herringbone stitches were used to tack it in place.
The top edge of the brocade on the center front bodice was consolidated with a net overlay. The bottom edge of the overlay was secured using herringbone stitches. The top edge was trimmed and slits were cut for the stitches that hold the brocade to the lining. The top edge was threaded through and the top edge was secured with herringbone stitches.
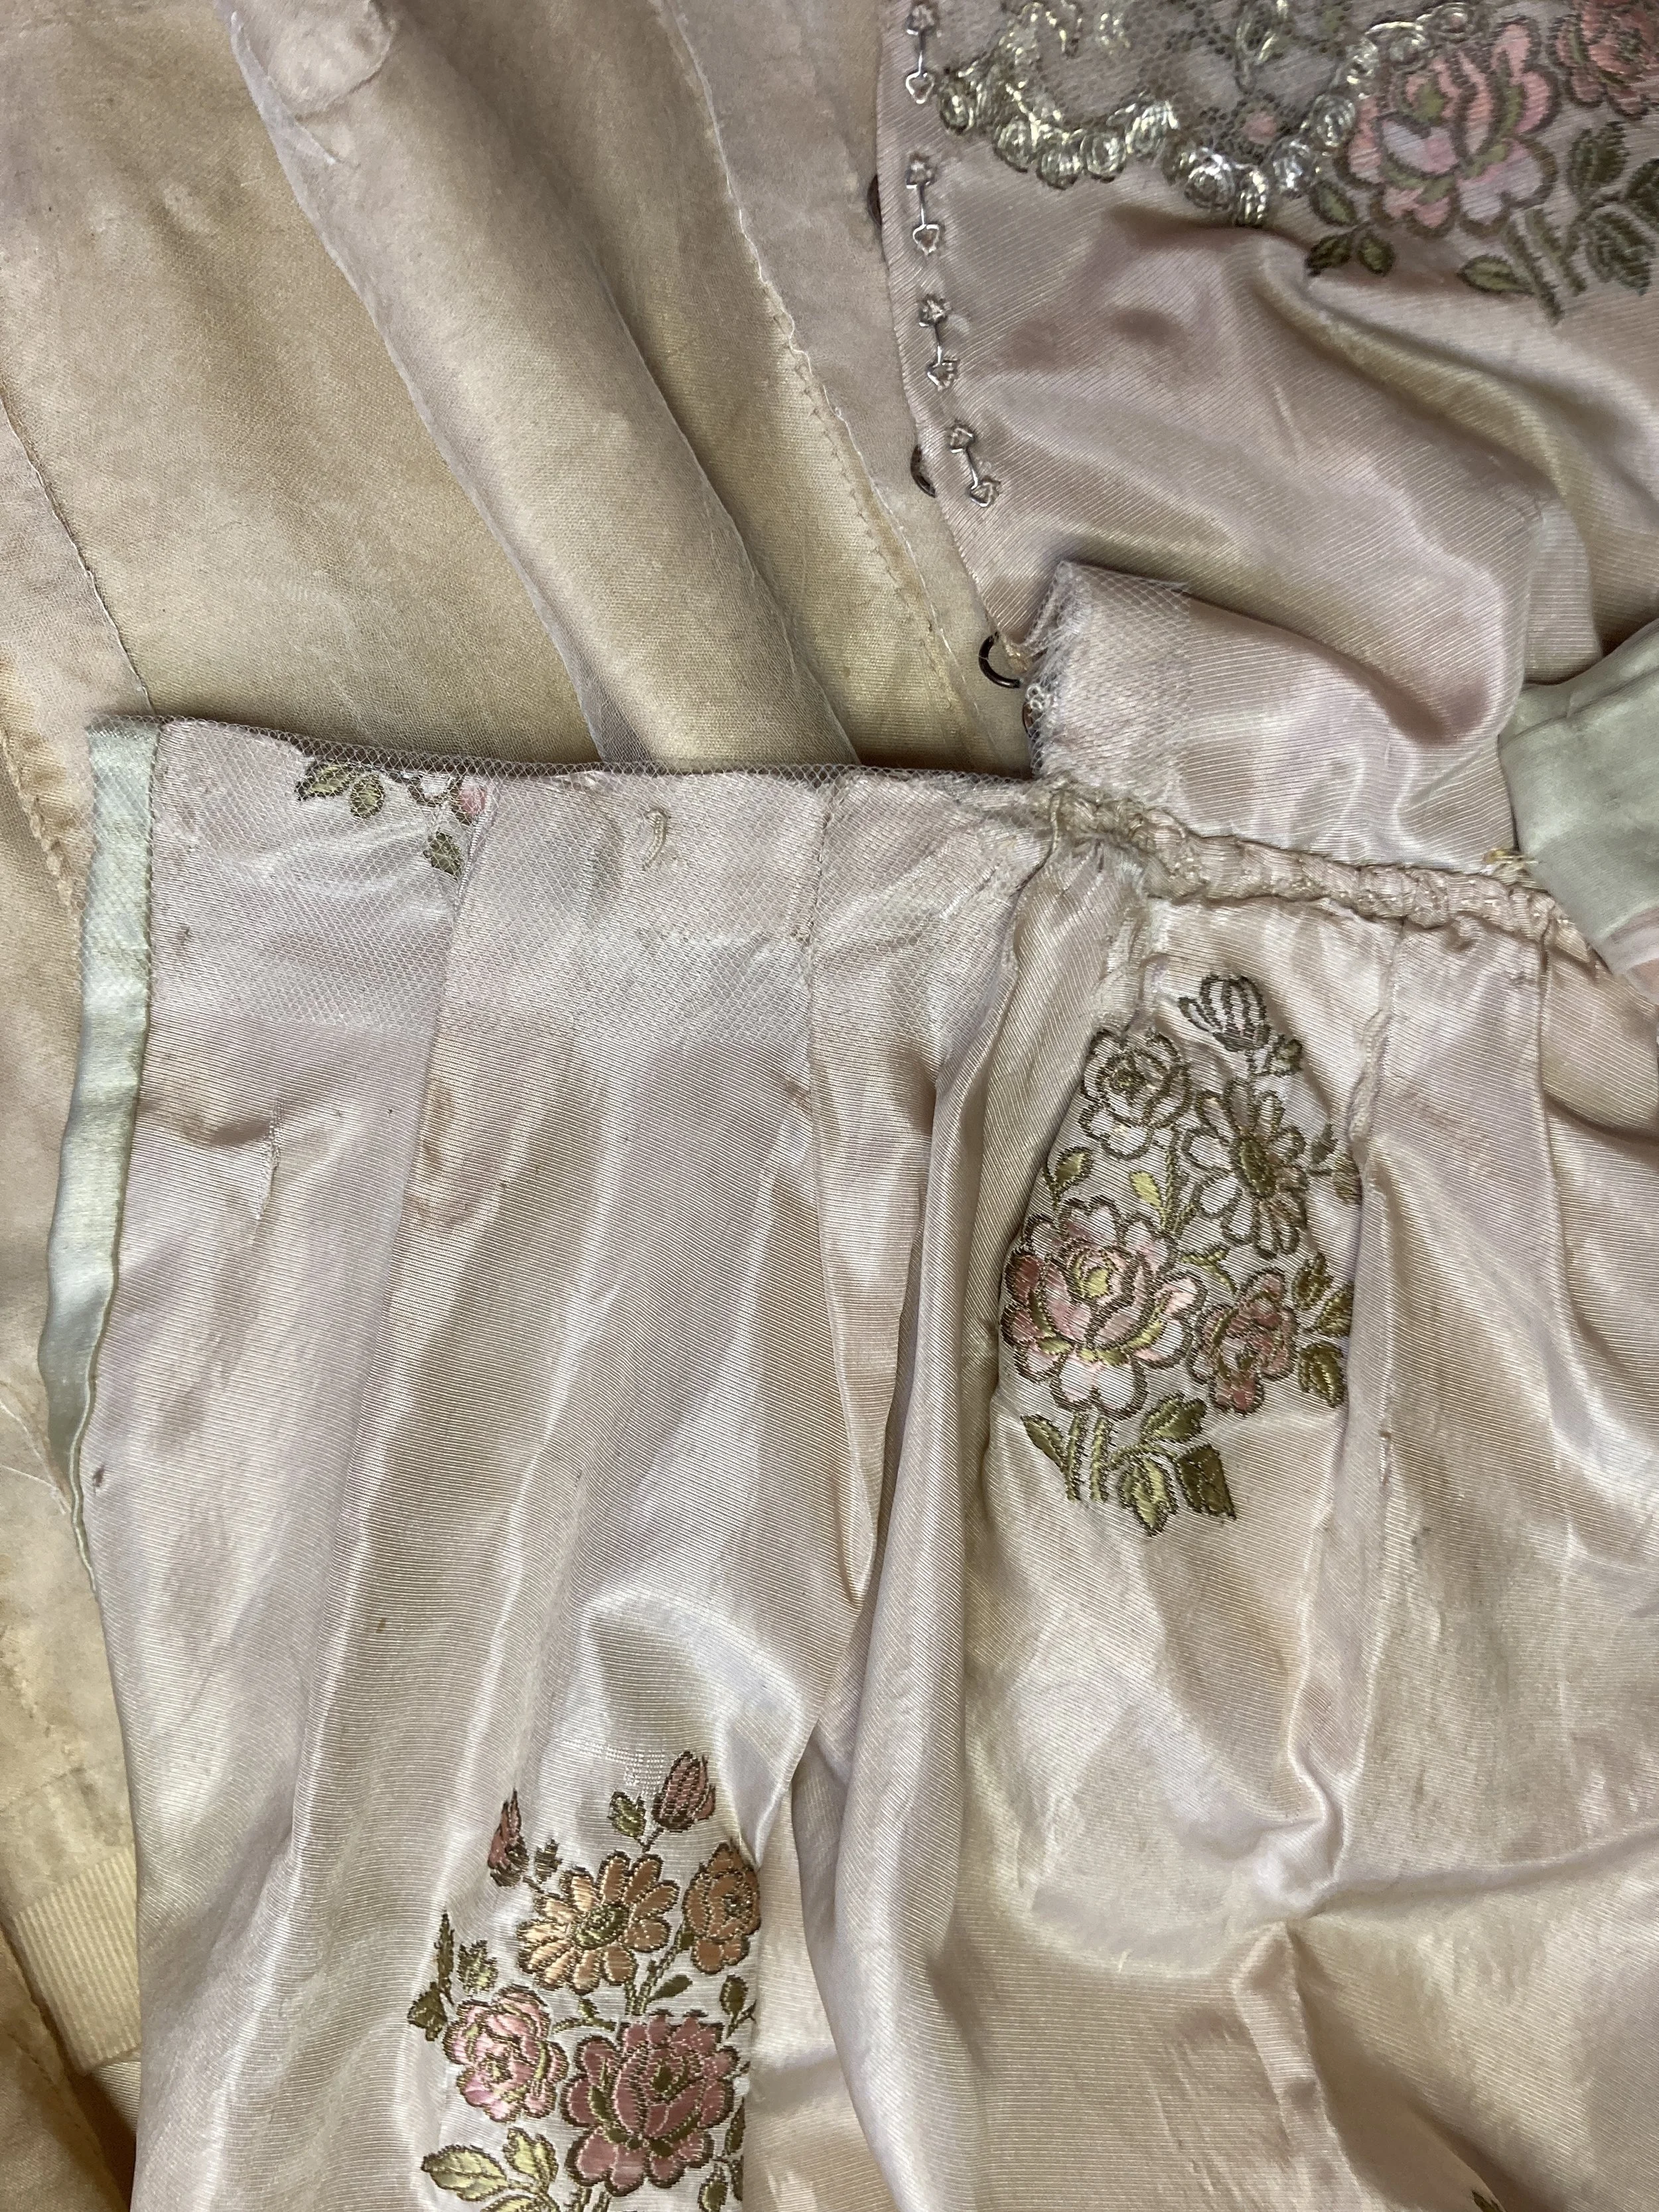
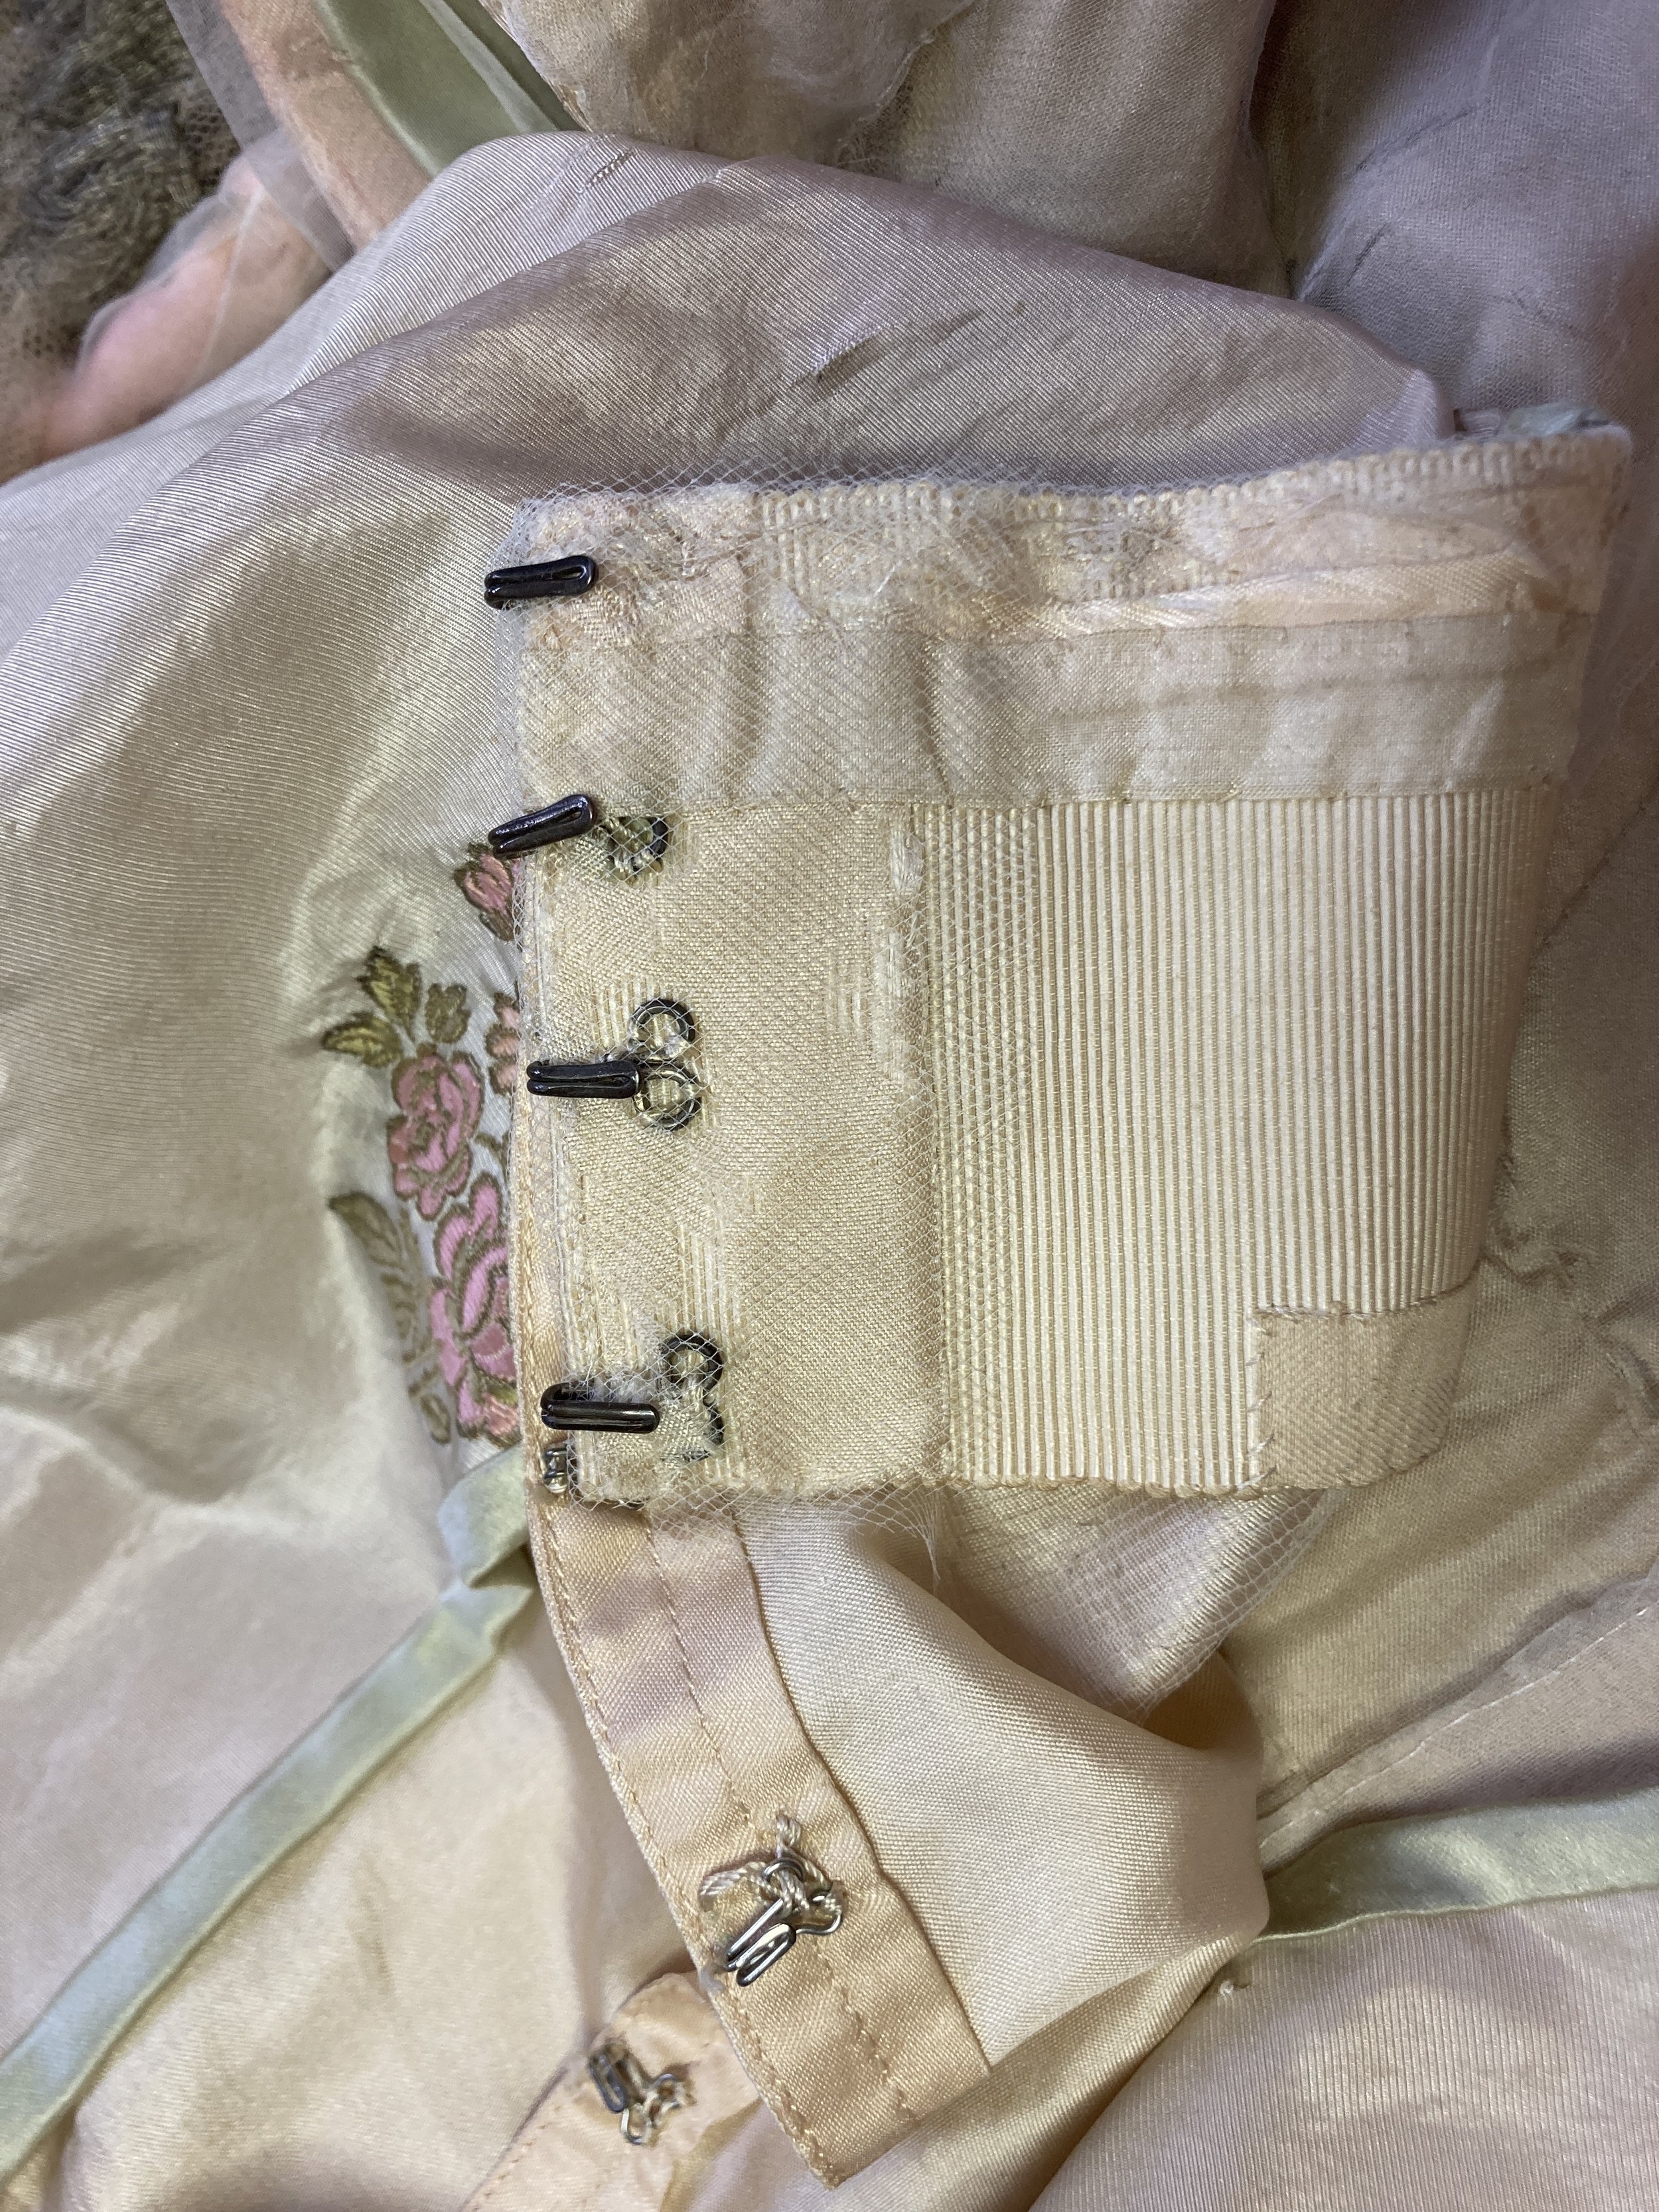
Before Treatment- Splits in back bodice. Photo Credit: Margaret O'Neil
After Treatment- Splits in back bodice consolidated with laid and couching stitches. Photo Credit: Margaret O'Neil
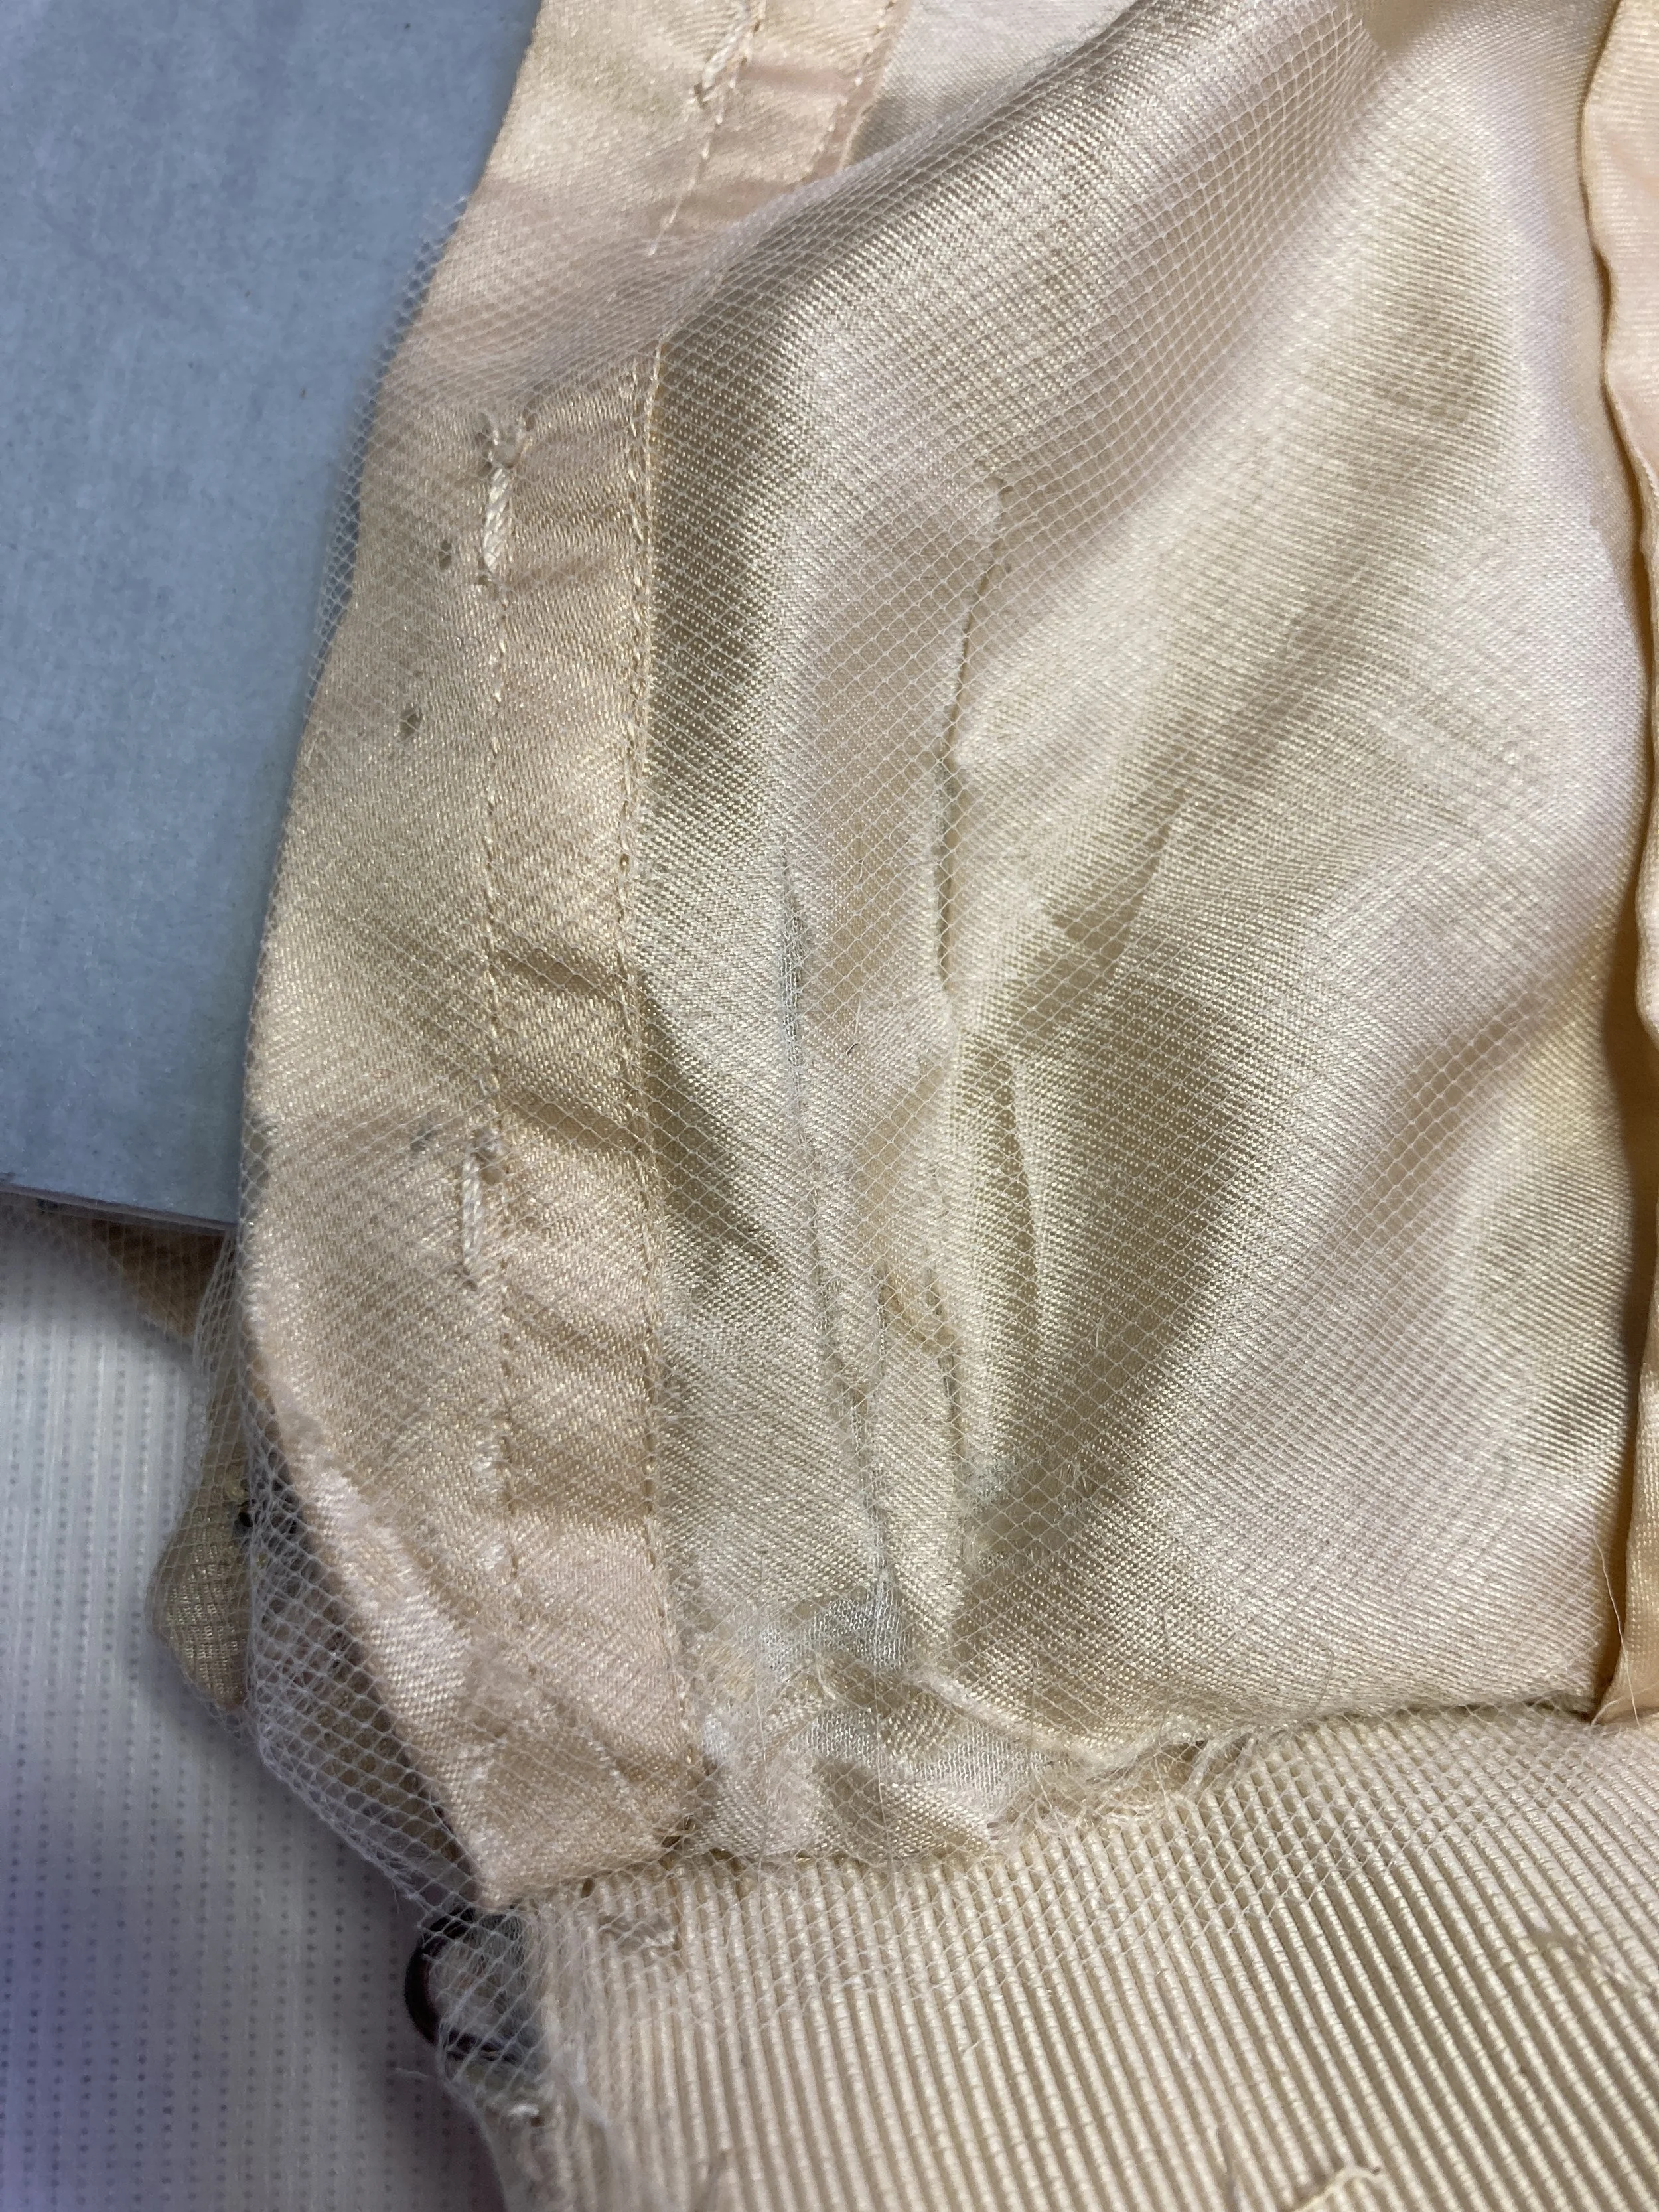
Before Treatment- Shattering silk along the top of the back skirt opening. Photo Credit: Margaret O'Neil
After Treatment- Back skirt bodice opening consolidated with net overlay. Photo Credit: Margaret O'Neil
Before Treatment- Shattering skirt lining near back skirt opening. Photo Credit: Margaret O'Neil
After Treatment- Silk skirt lining near center back opening consolidated with net overlay. Photo Credit: Margaret O'Neil
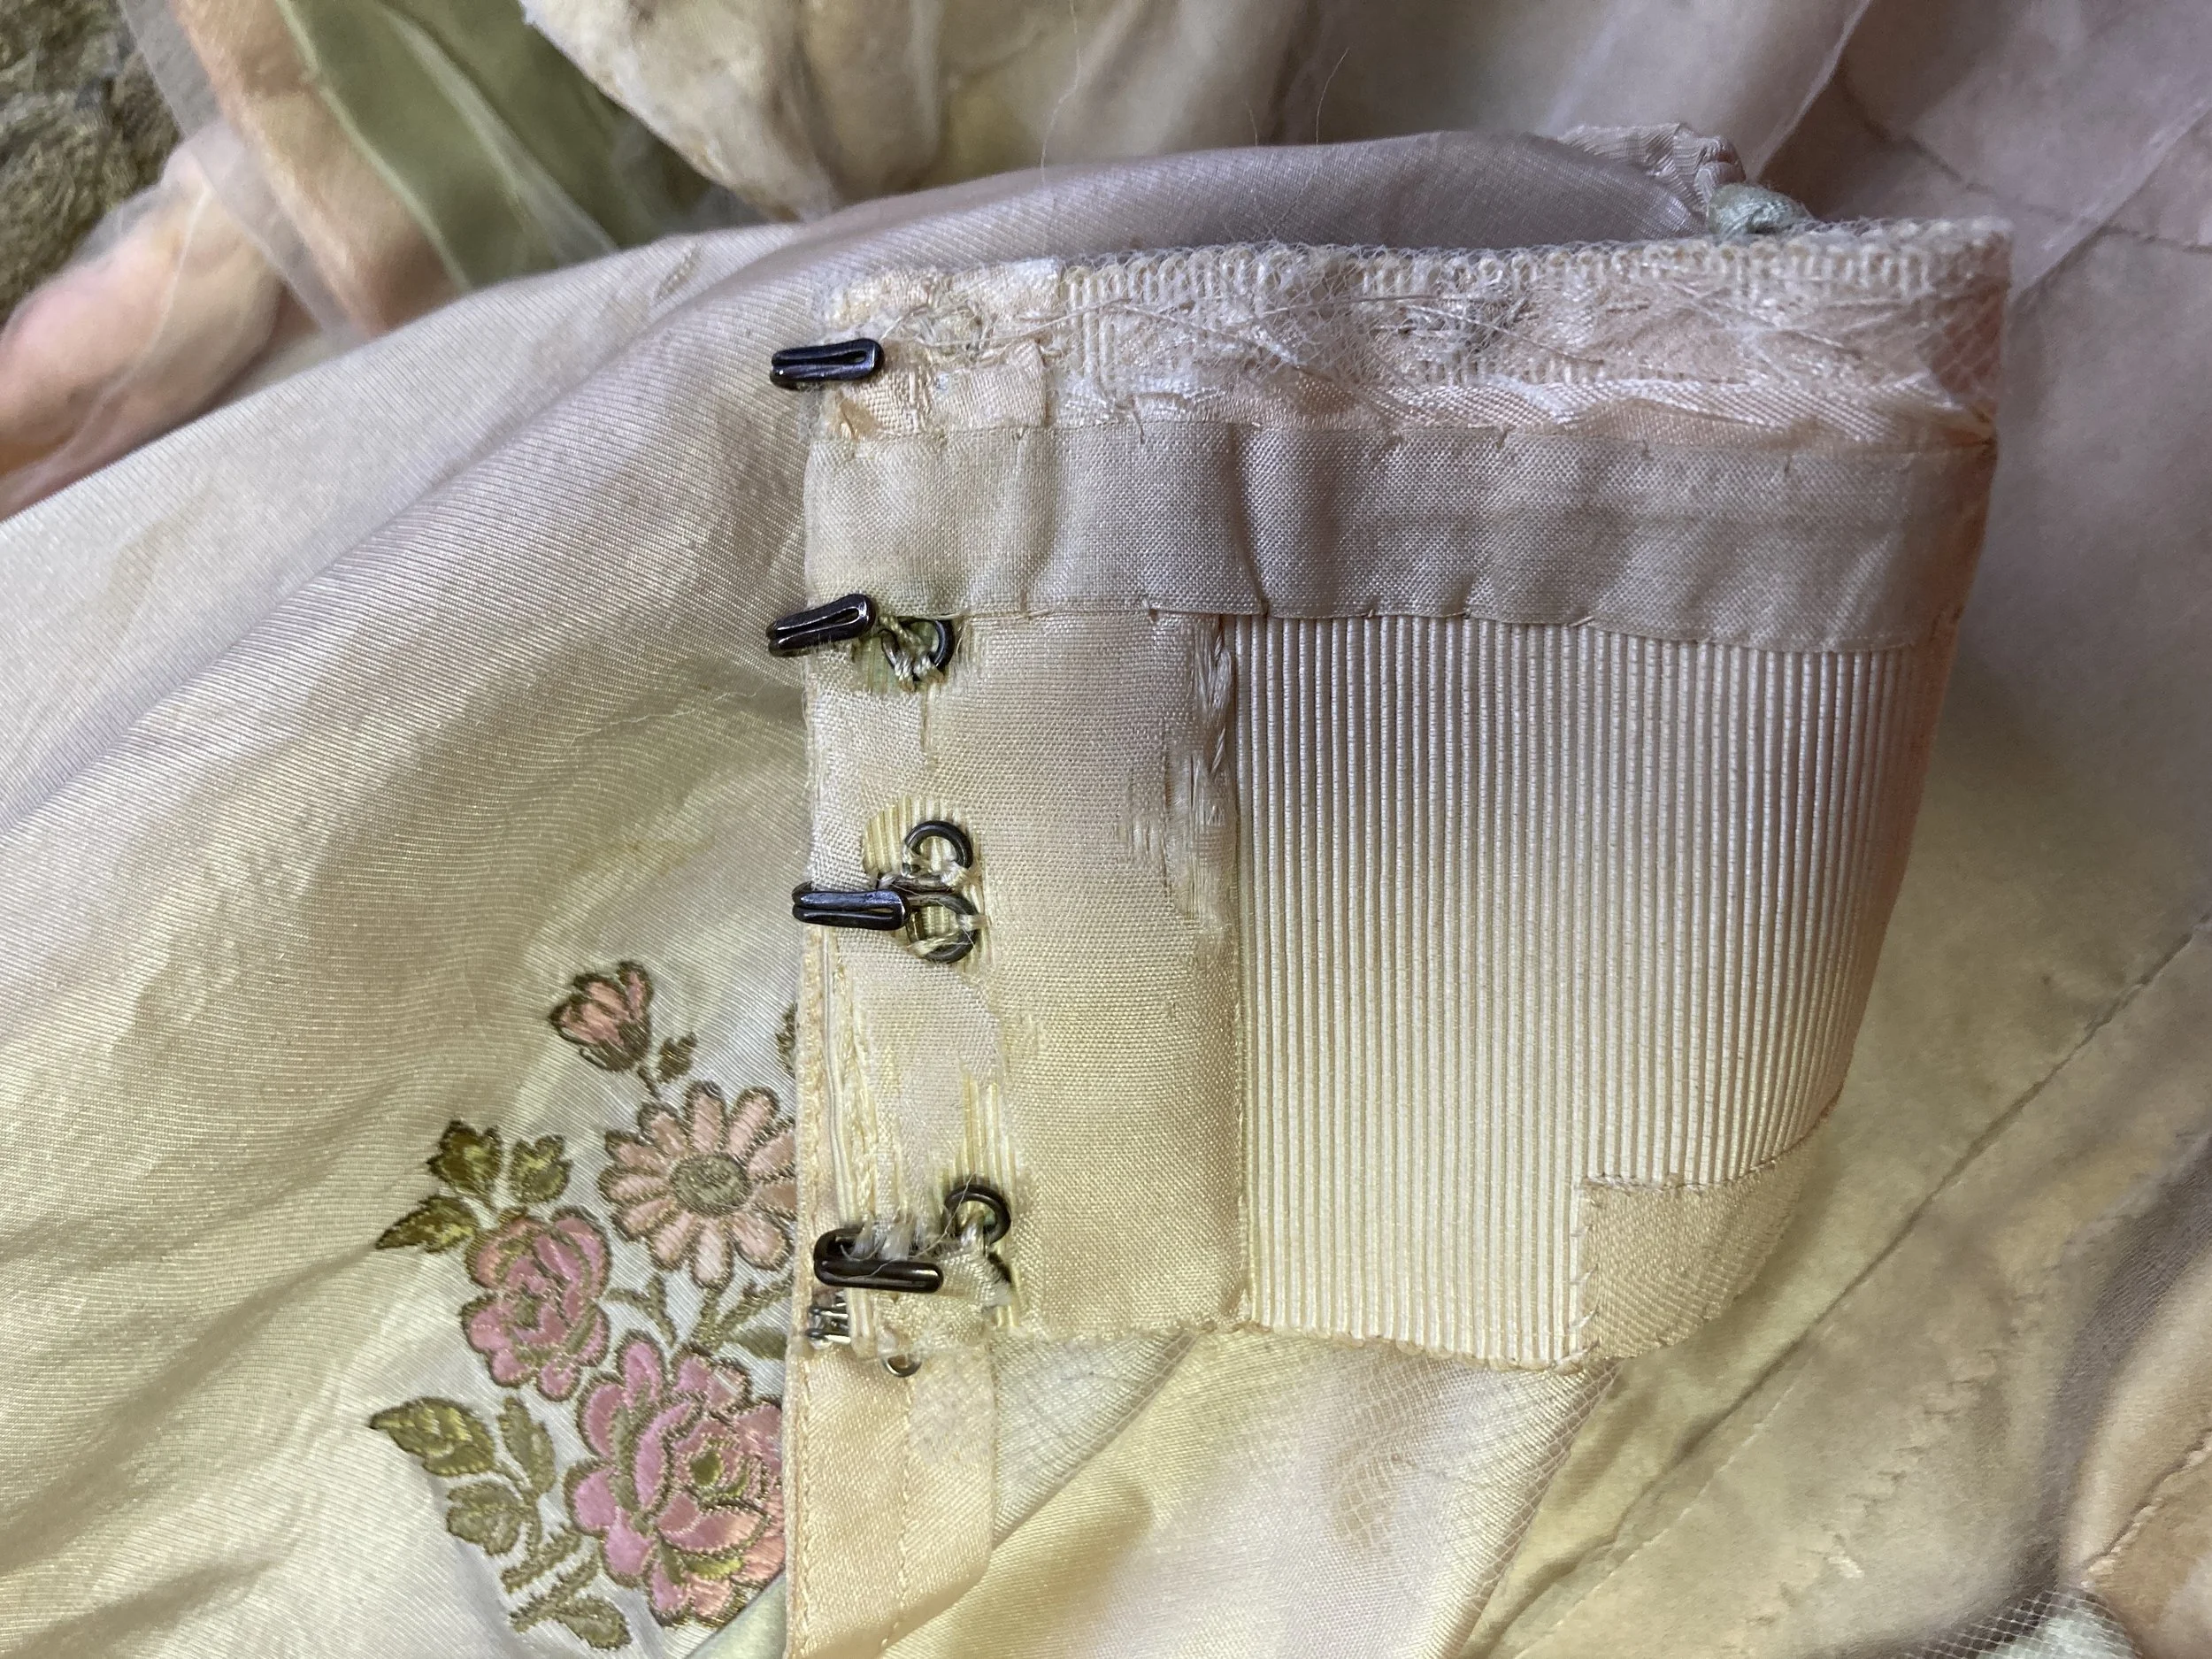
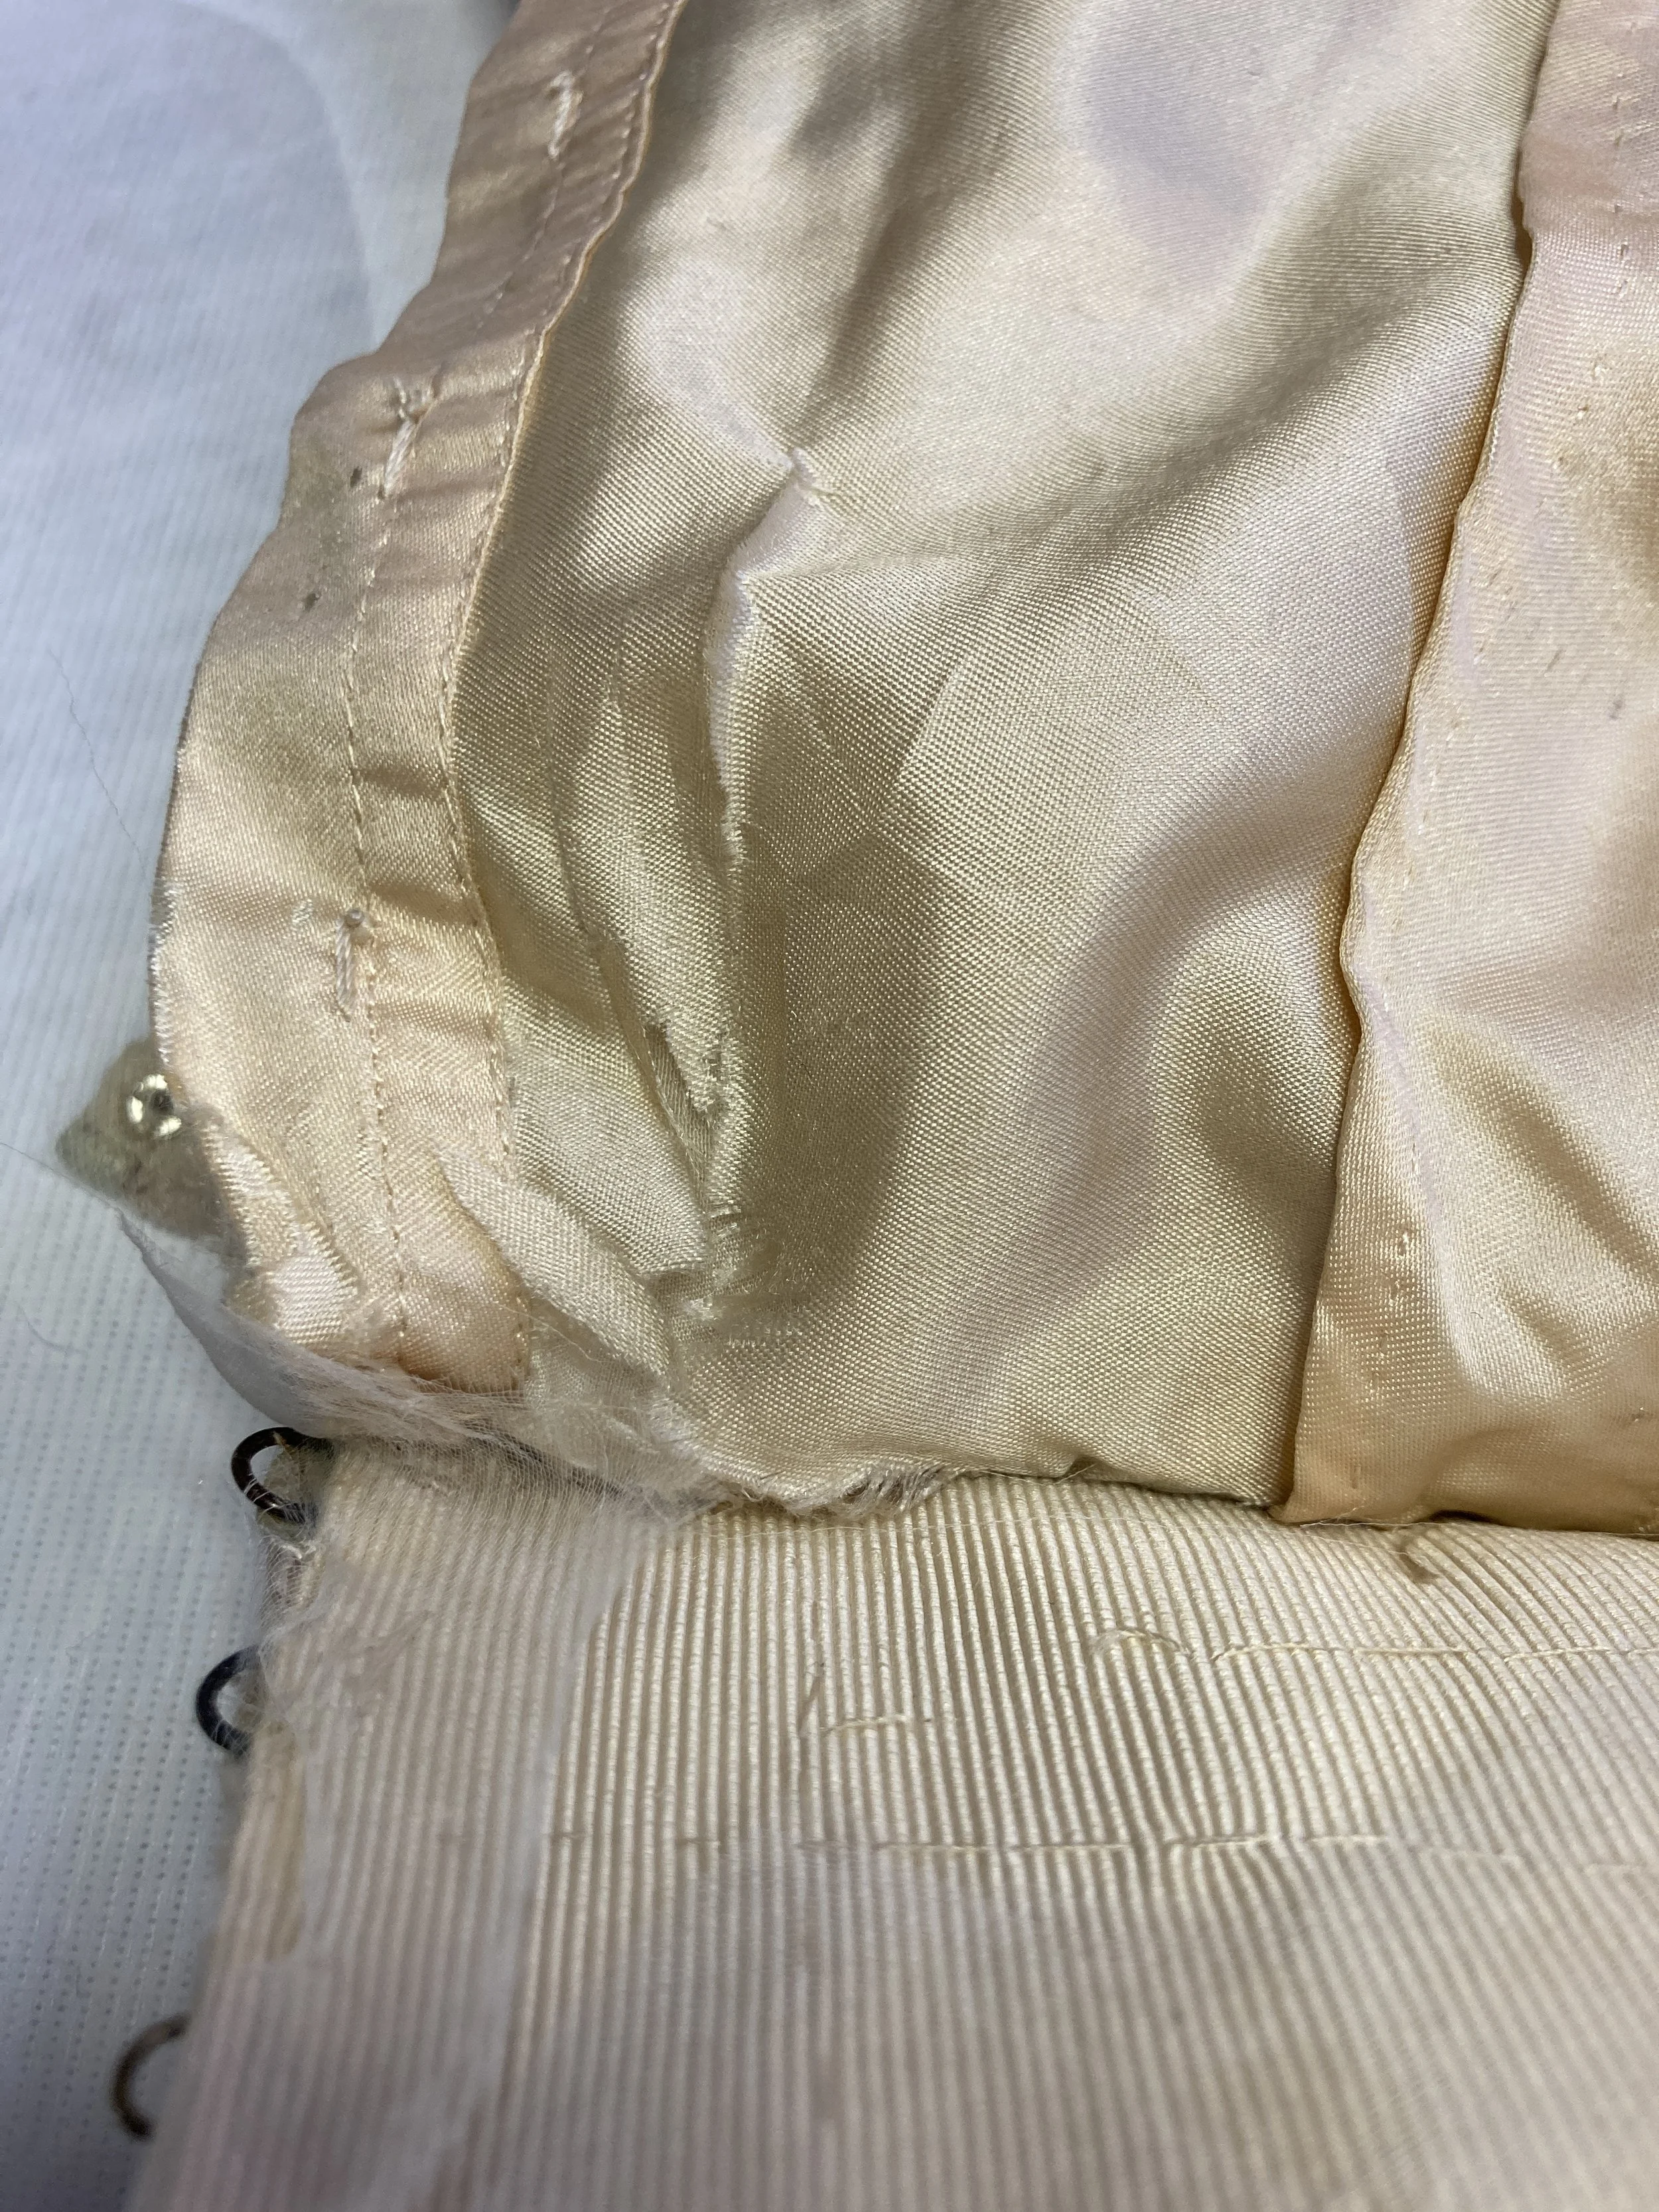
Before Treatment- Shattering silk hook facing. Photo Credit: Margaret O'Neil
After Treatment- Shattering silk hook facing consolidated with nylon net. Photo Credit: Margaret O'Neil
Before Treatment- Shattering silk along fold on top back bodice. Photo Credit: Margaret O'Neil.
After Treatment- Silk shattering along fold on back bodice consolidated with nylon net overlay. Photo Credit: Margaret O'Neil.
Mannequin Mounting
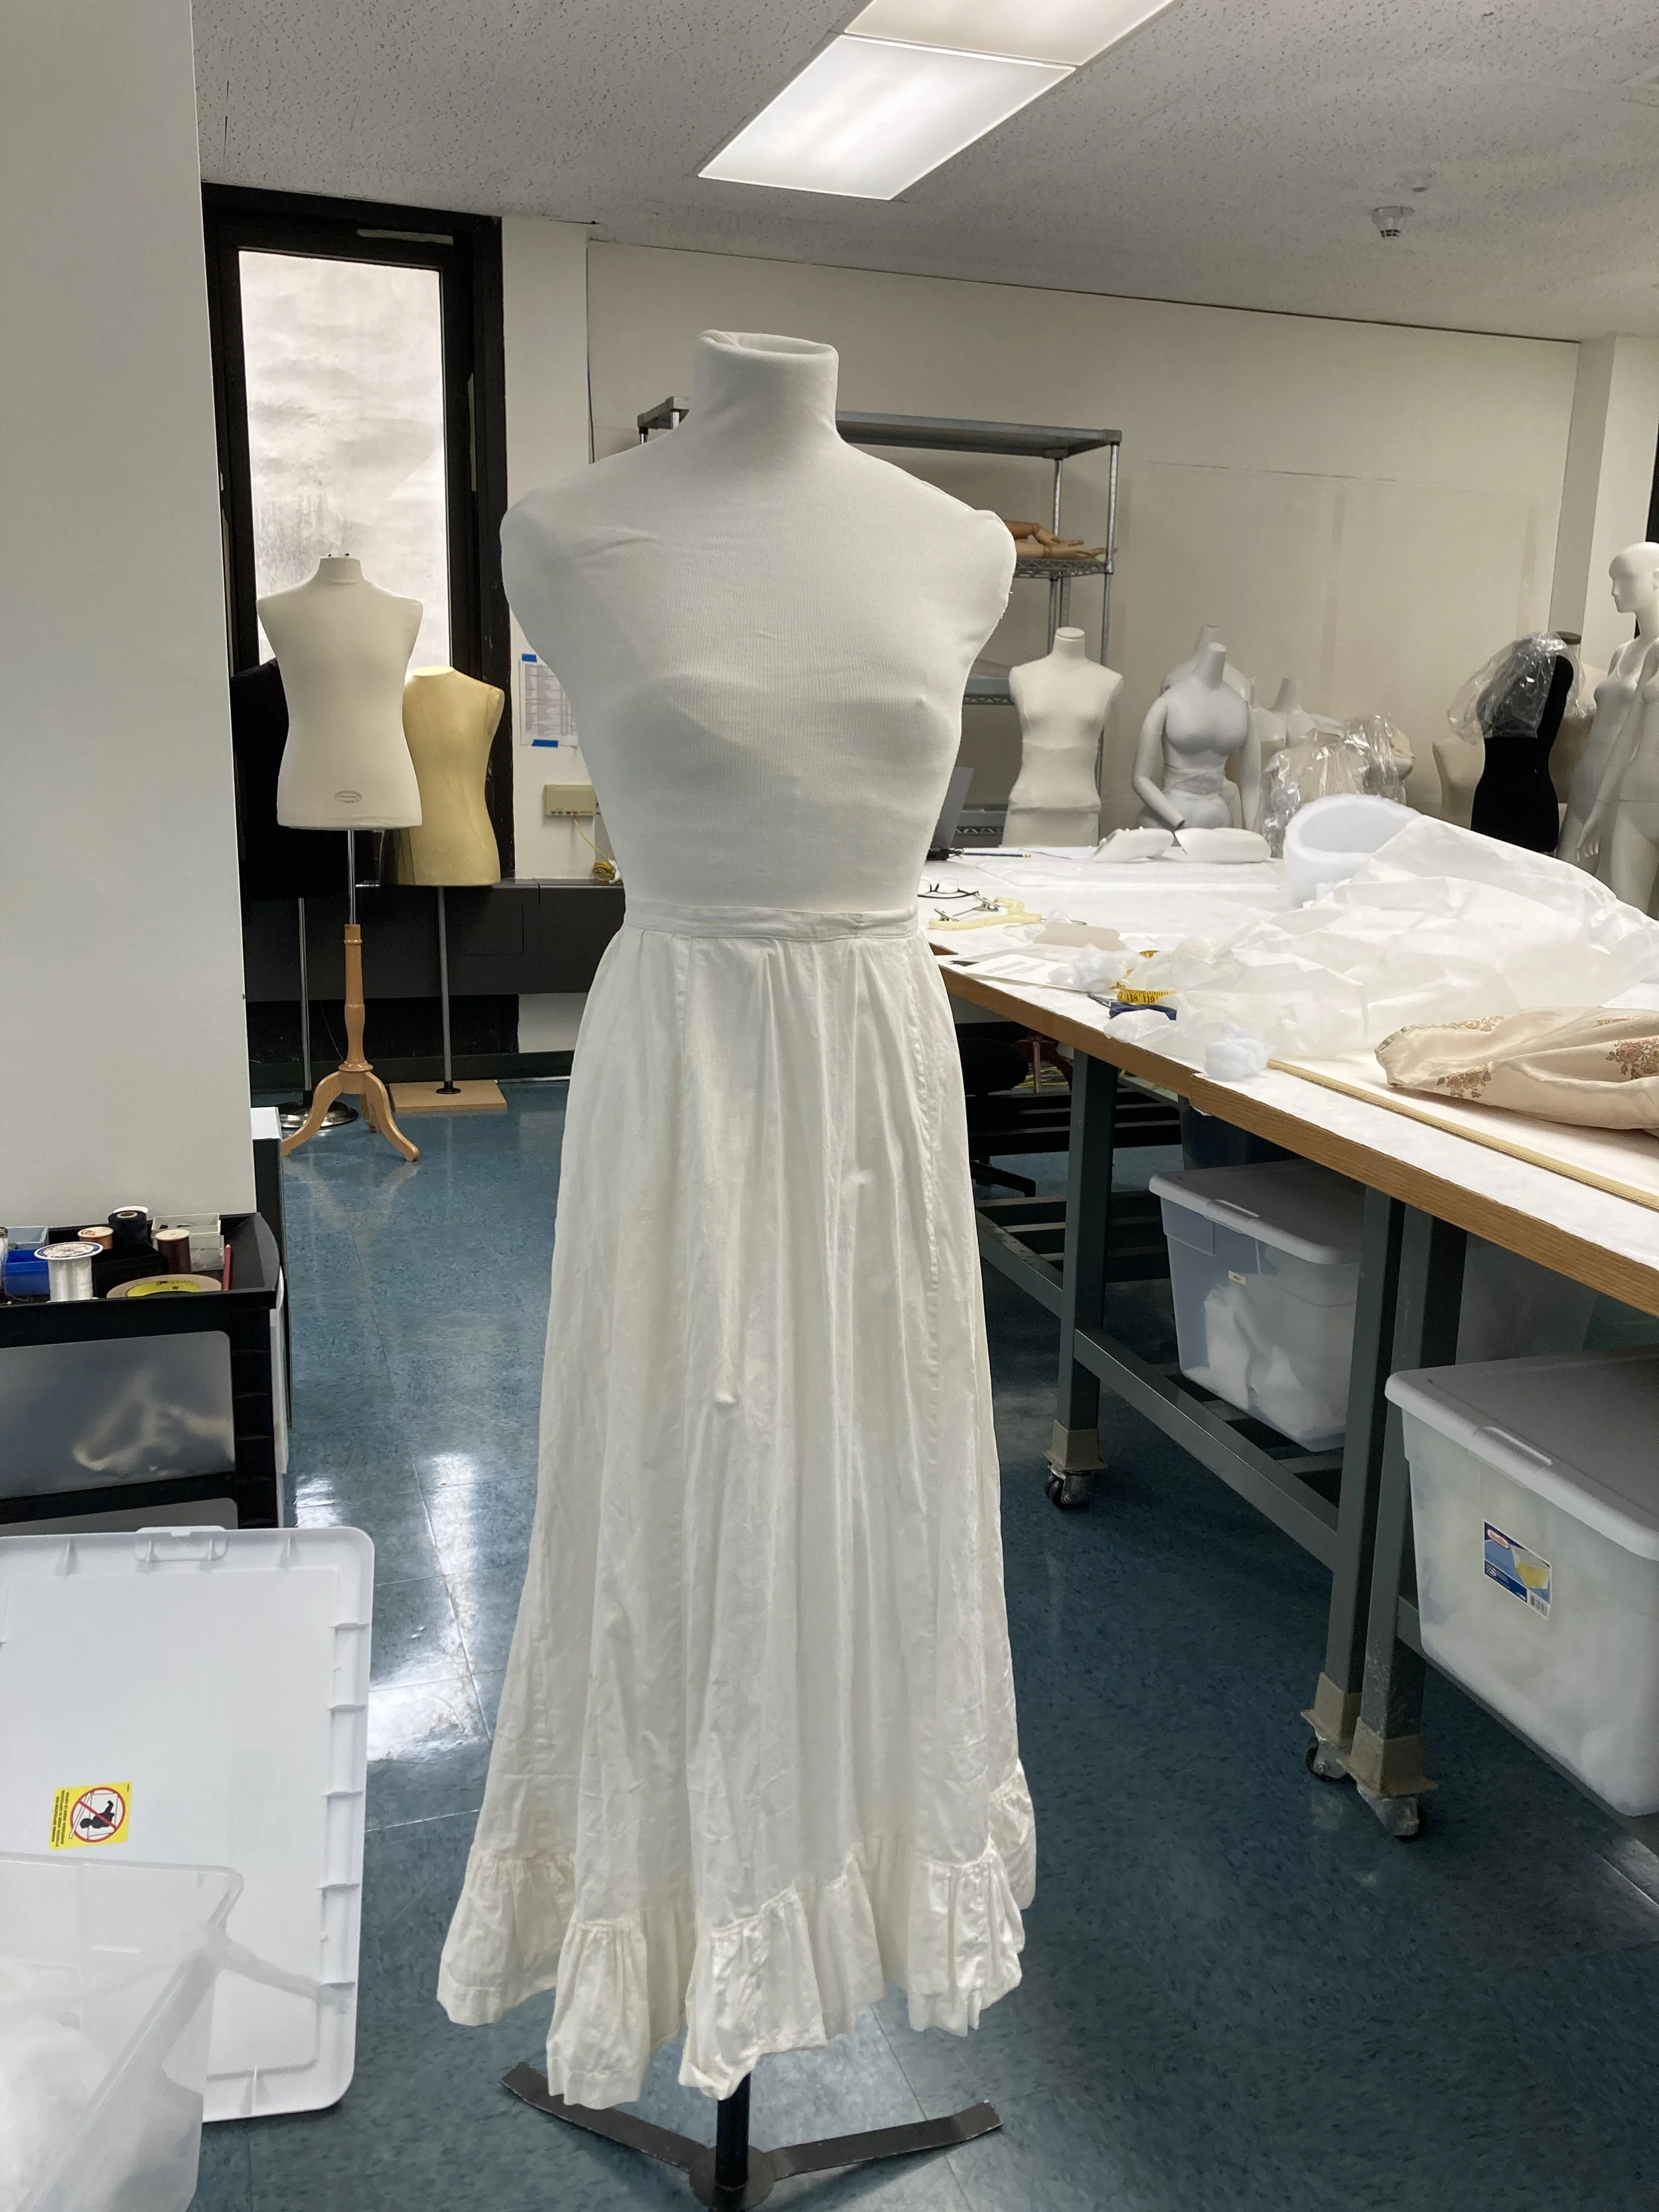
MFIT mounts all of their costume in-house with their large stock of mannequins. The piece is measured and a mannequin/dress form is chosen based on fit and style requirements. This means that often many different types of forms are used in each show. This method allows for very fast dressing of shows, which is important when dressing five costume shows (some with 40+ ensembles) a year.
This evening gown was mounted on a dress form and padded out with bra cups and polyester batting covered with a white cover. A cotton petticoat was used to add volume to the skirt.
Finished mannequin for Lucille evening gown. Photo Credit- Margaret O’Neil
Finished mounted Lucille evening gown. Photo Credit- Margaret O’Neil
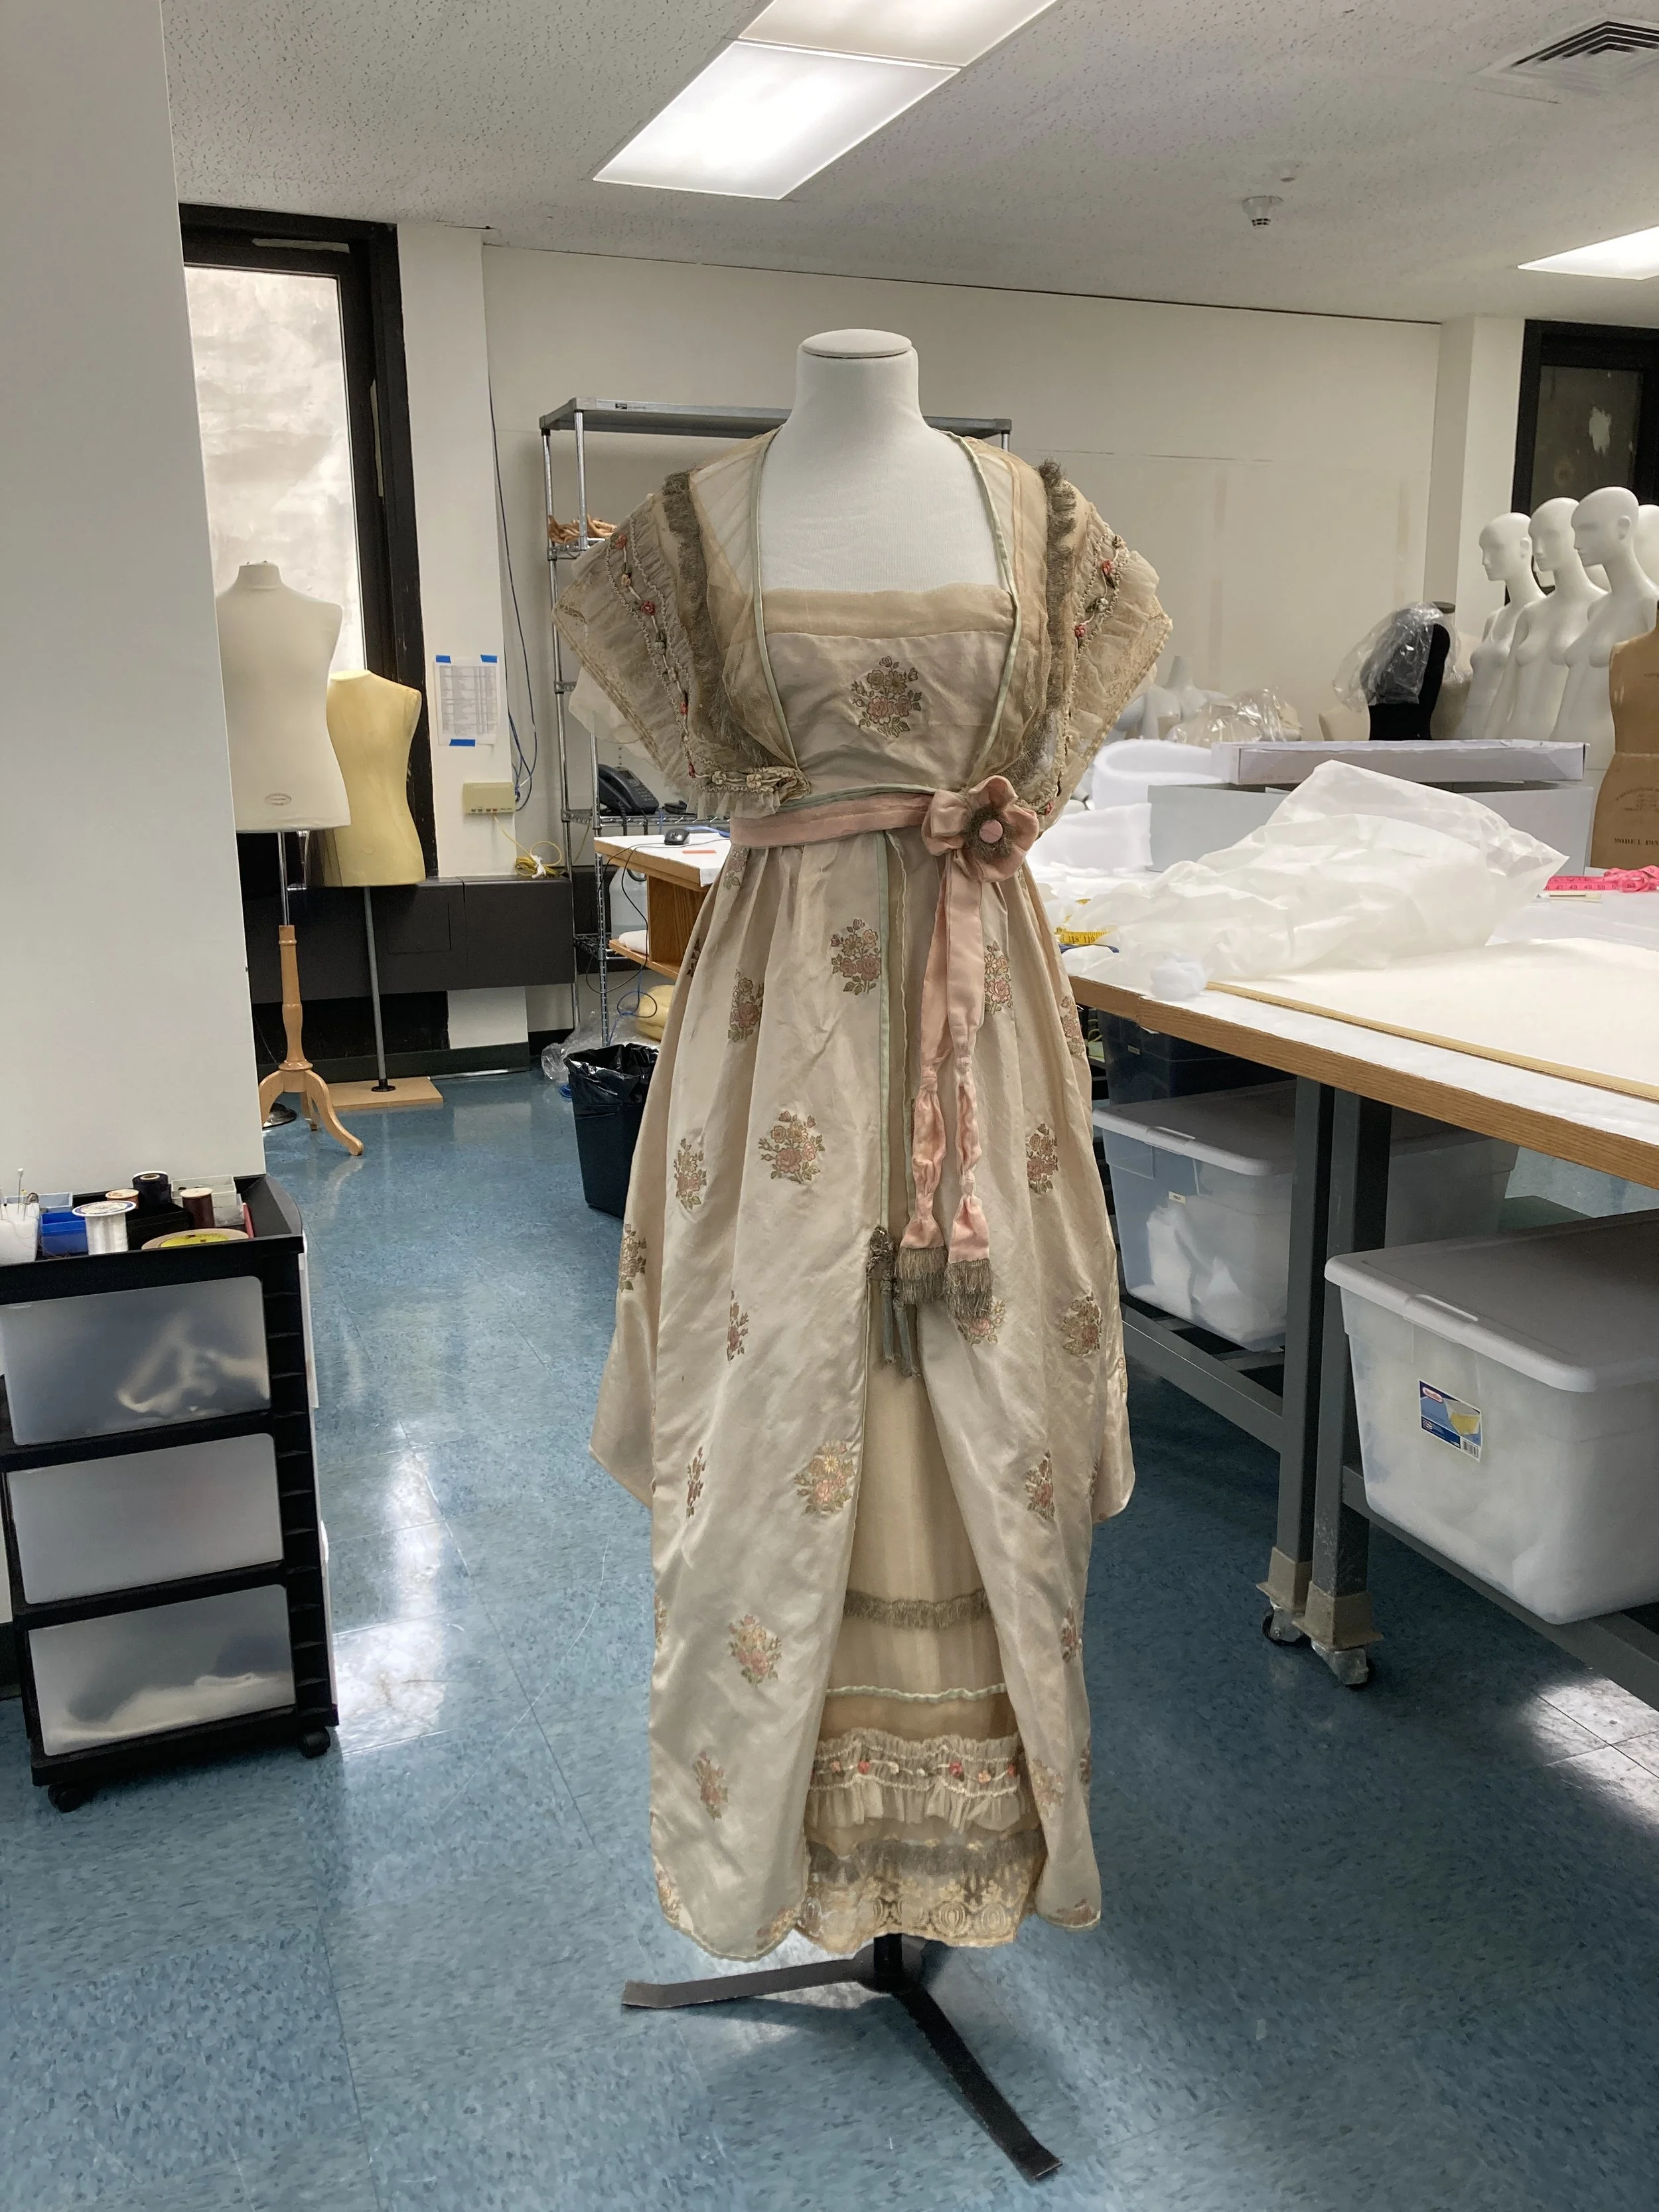
Before Treatment, Overall Front. Photo Credit: Margaret O’Neil
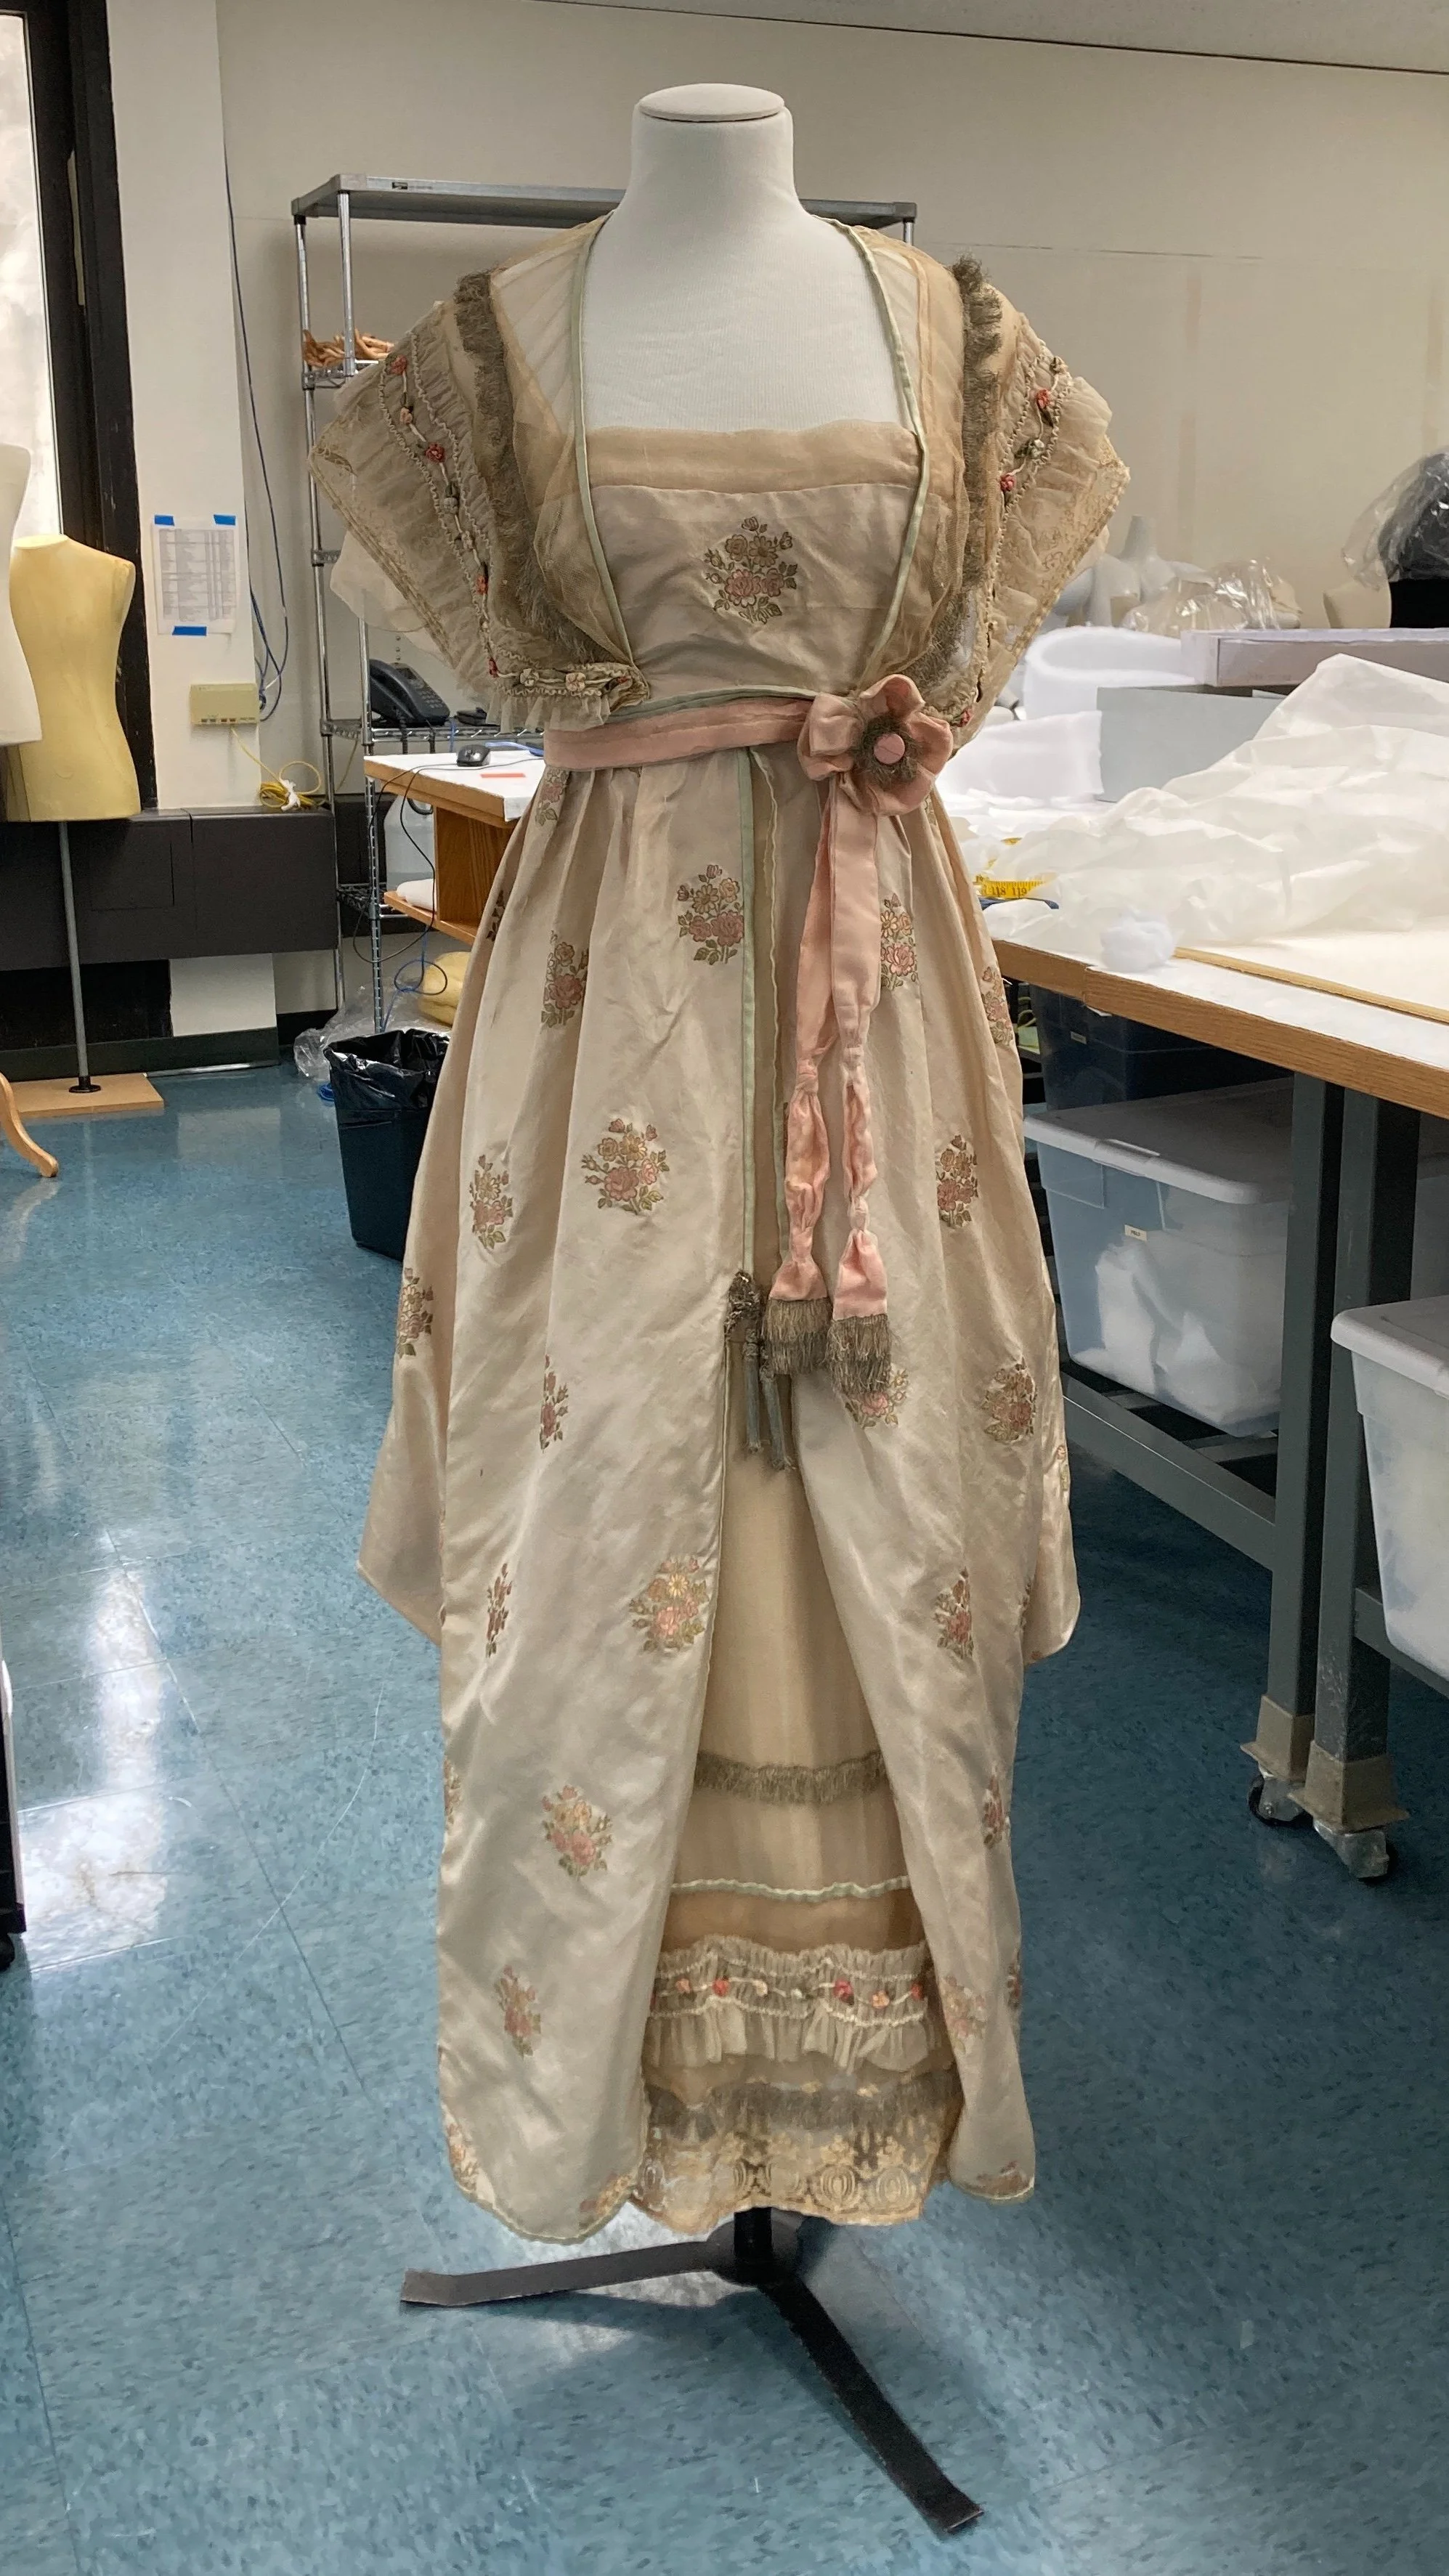
After Treatment, Overall Front. Photo Credit: Margaret O’Neil
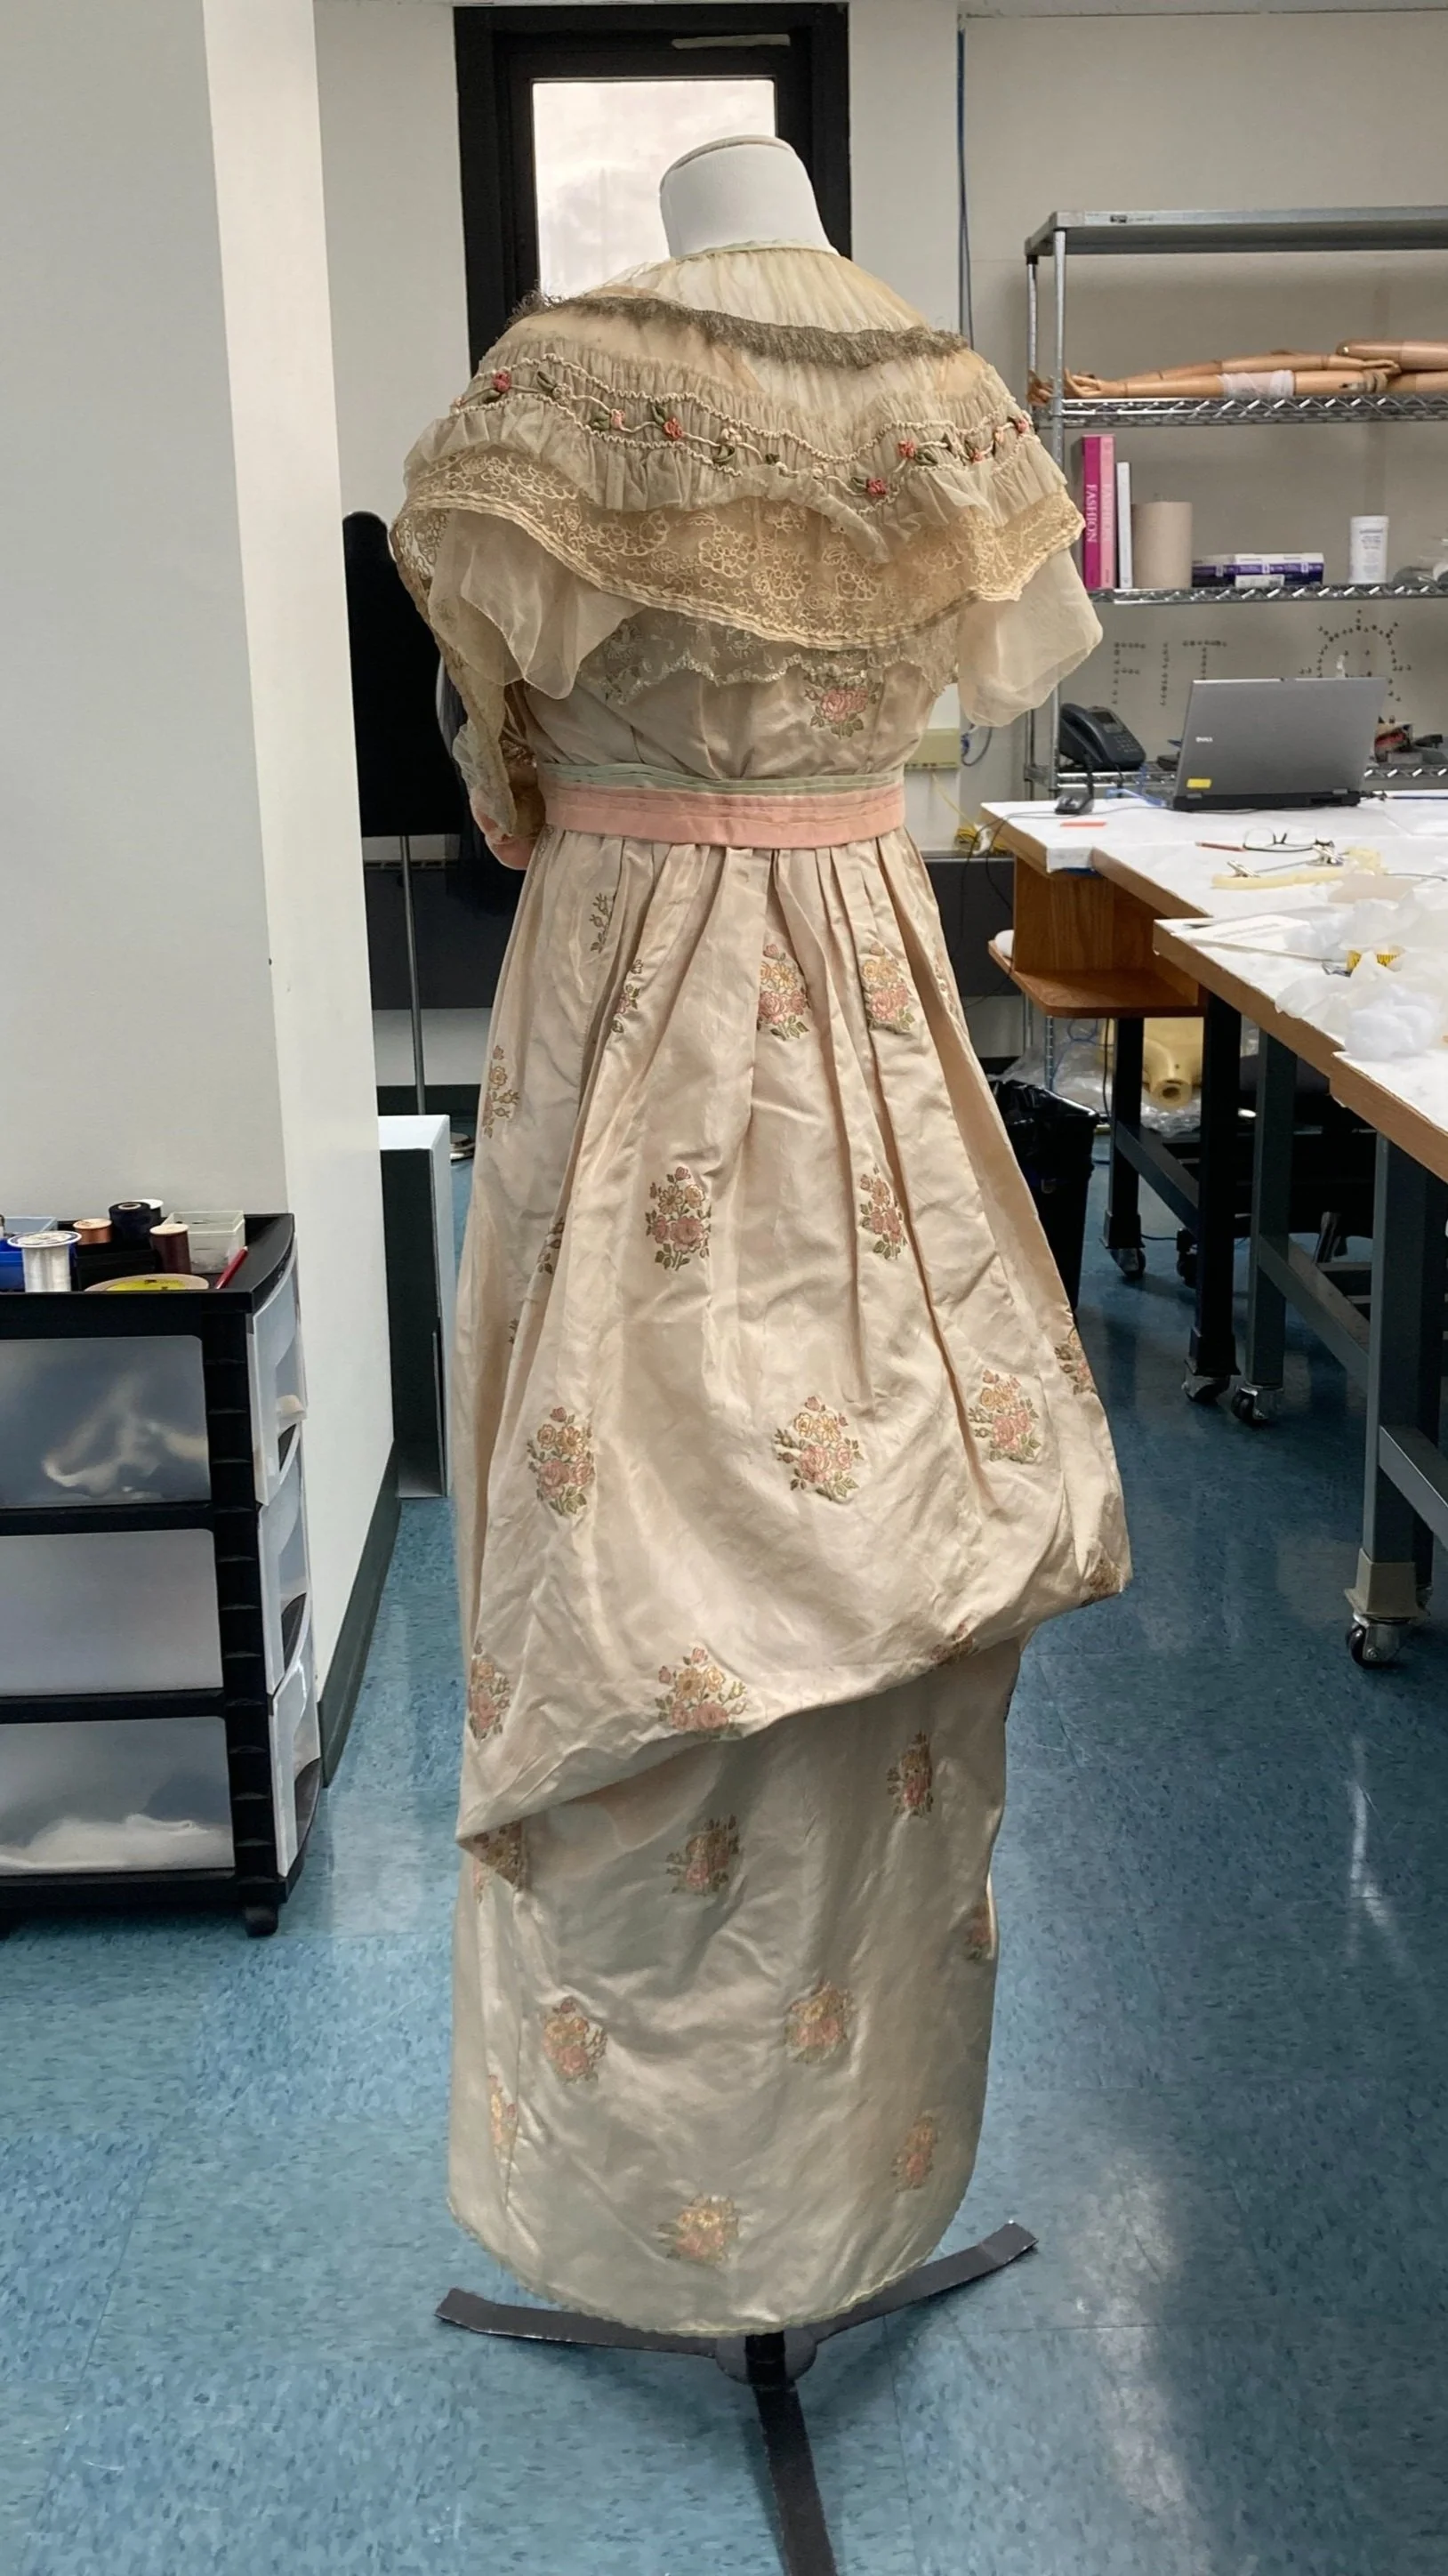
After Treatment, Overall Back. Photo Credit: Margaret O’Neil
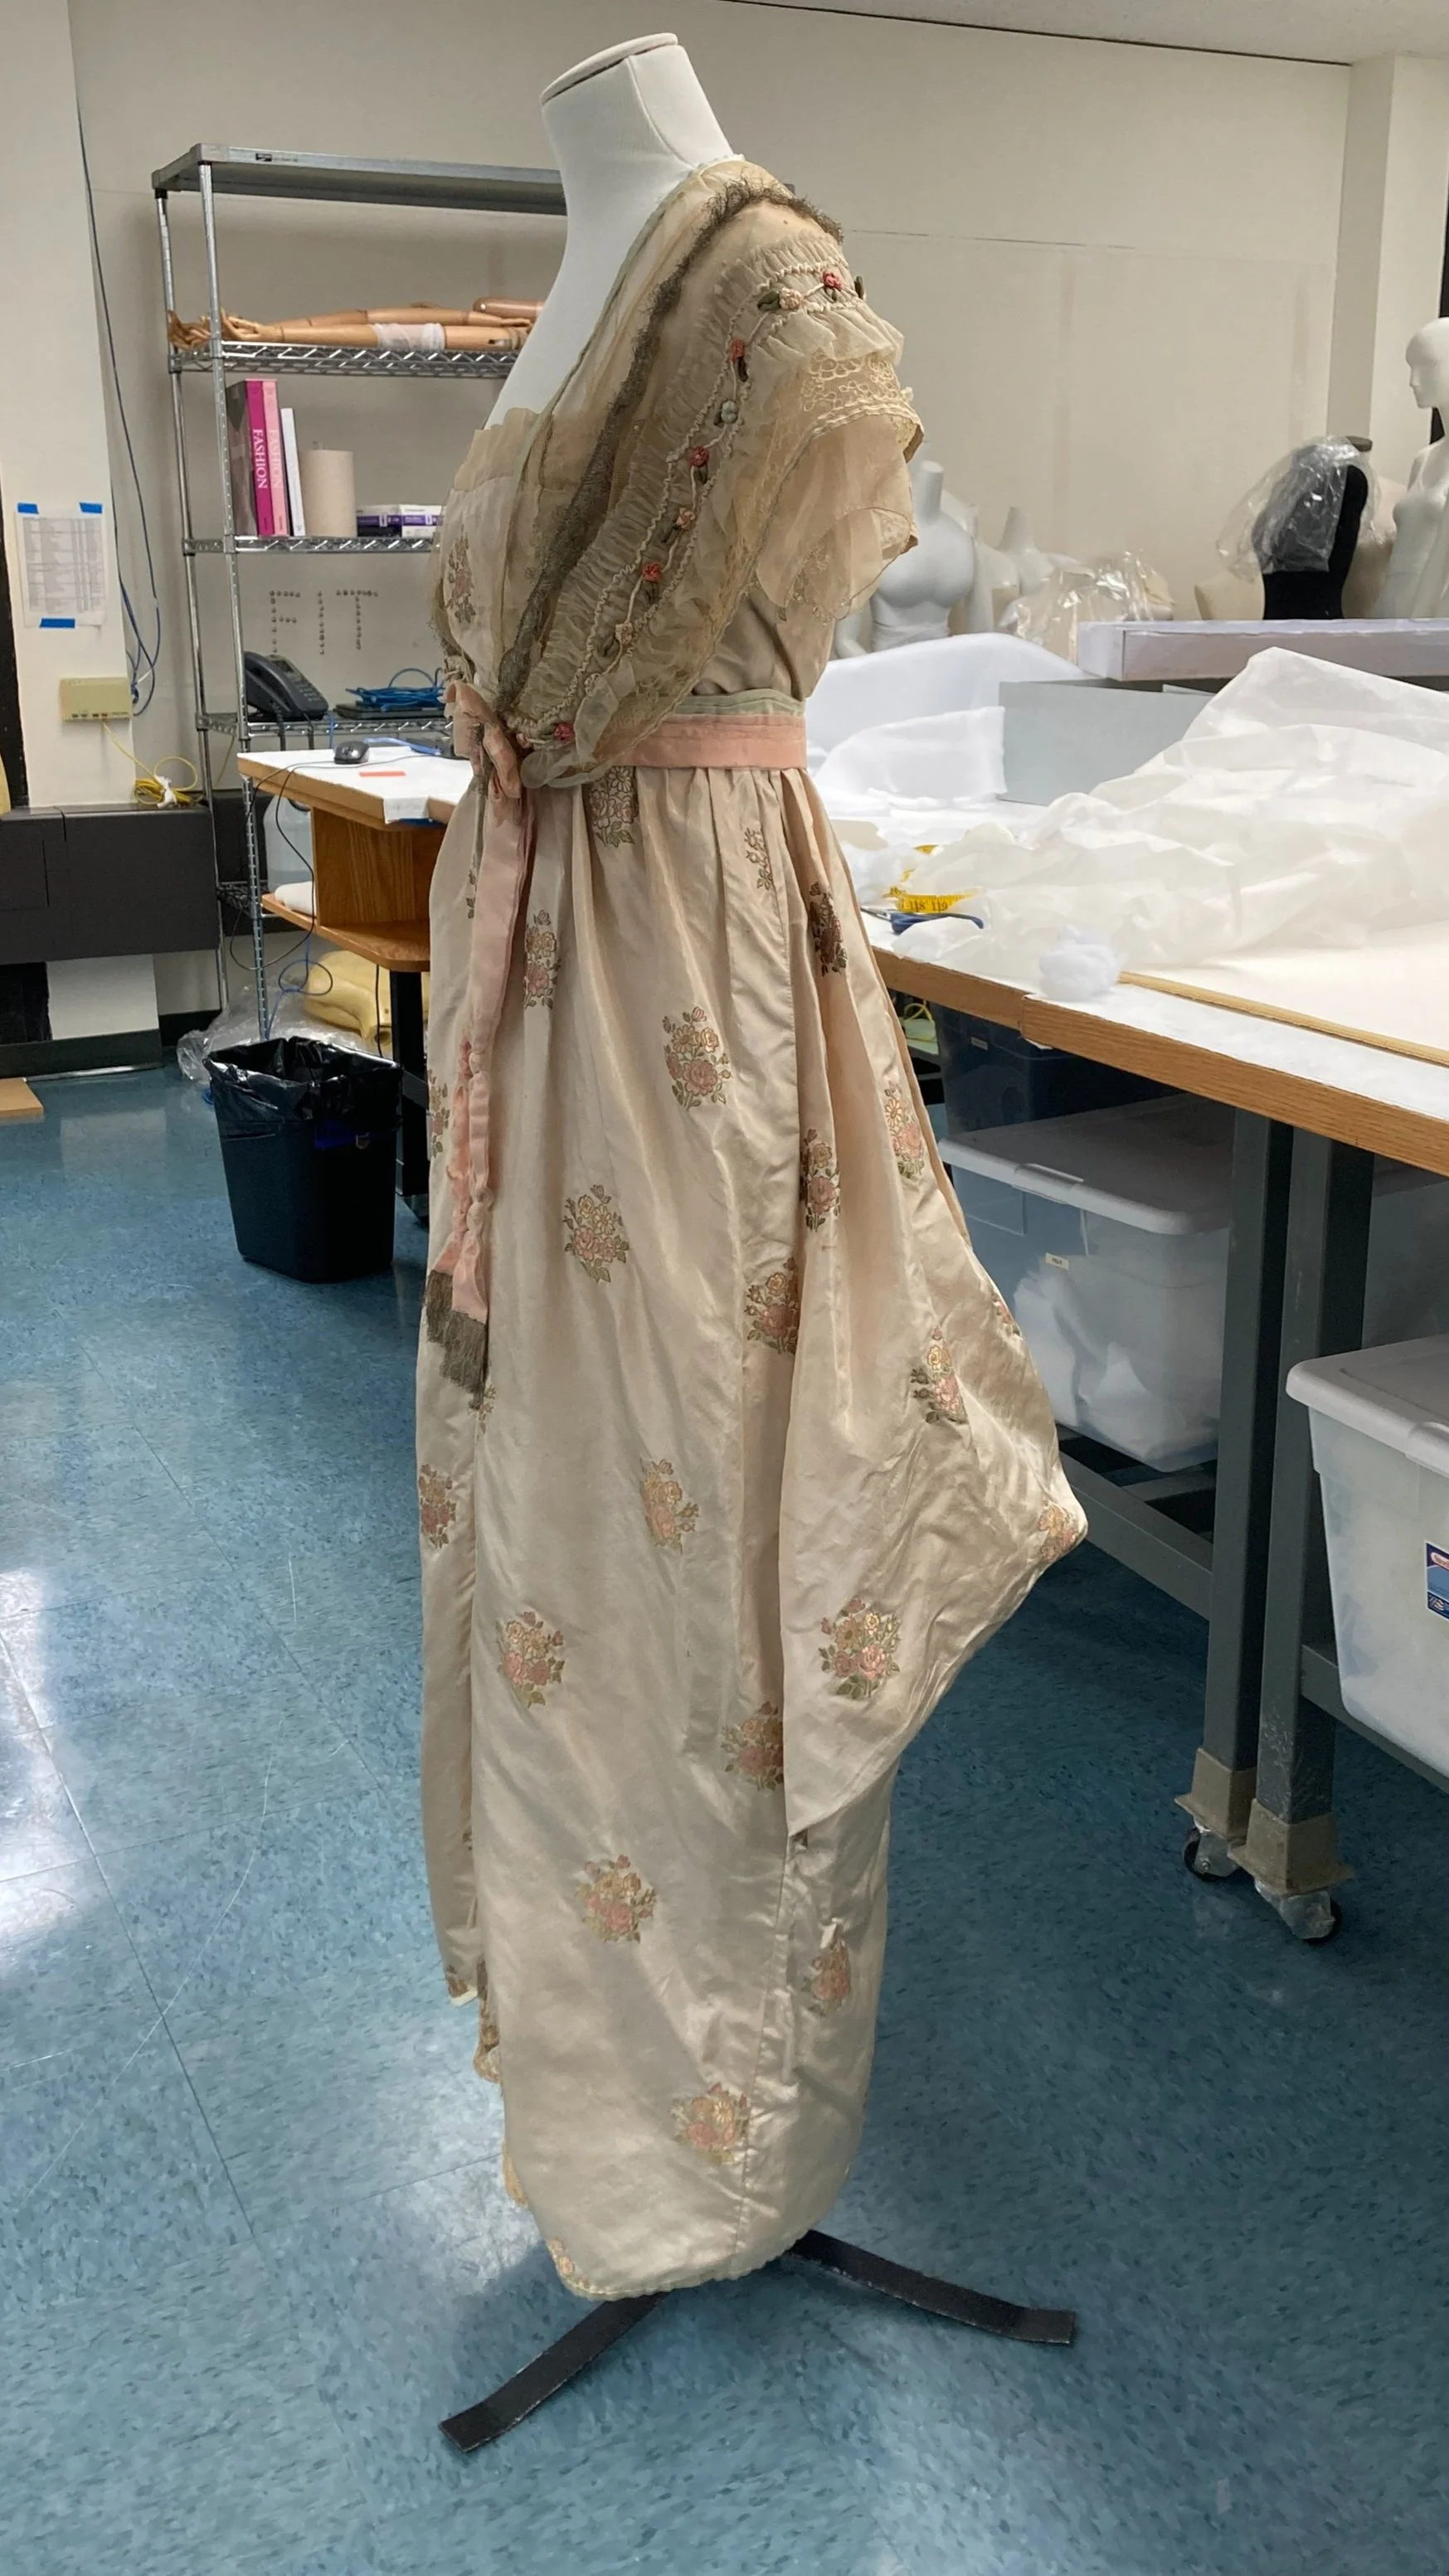
After Treatment, Overall Side. Photo Credit: Margaret O’Neil