
Don Quixote Tapestry
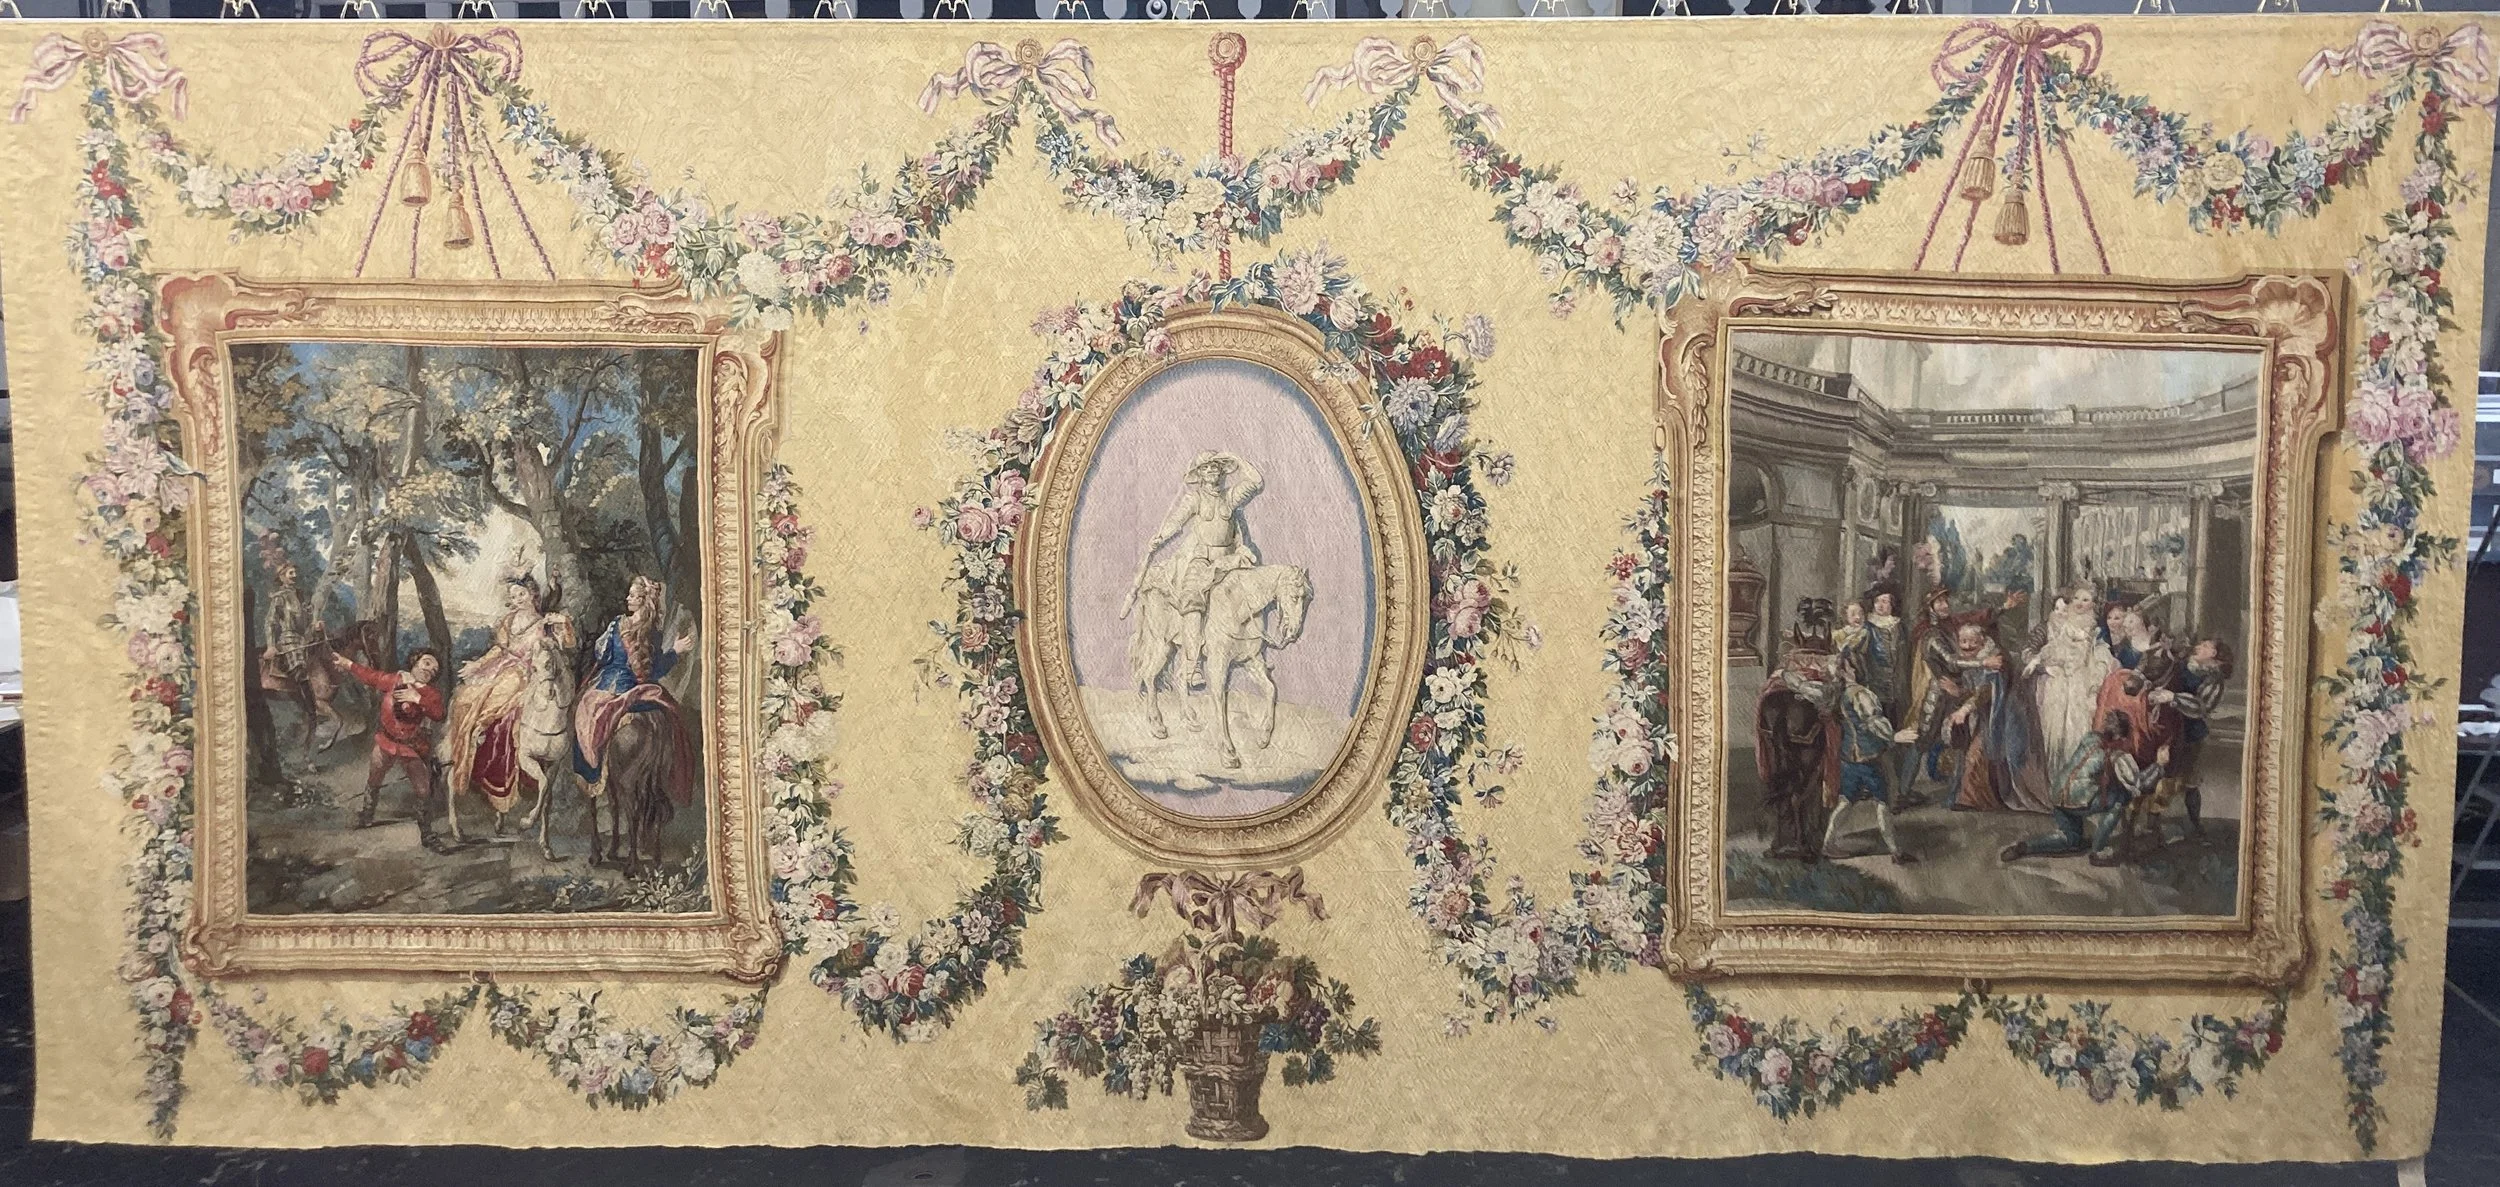
Don Quixote Tapestry, Gobelin Manufacture, French, 18th century, H 112 ¼” x W 253”, Private Collection
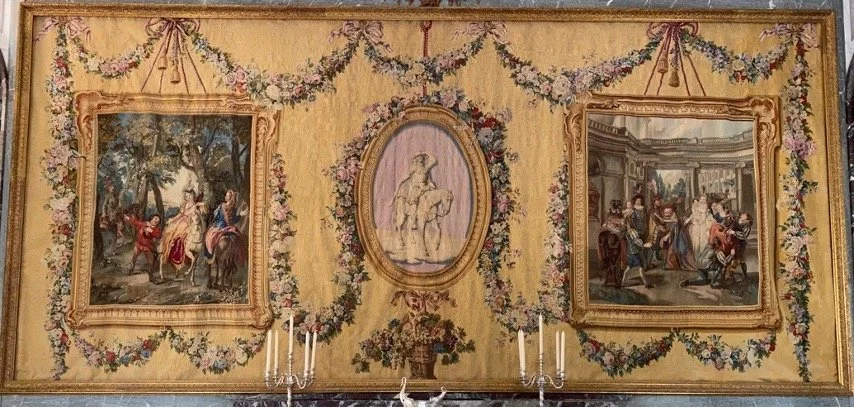
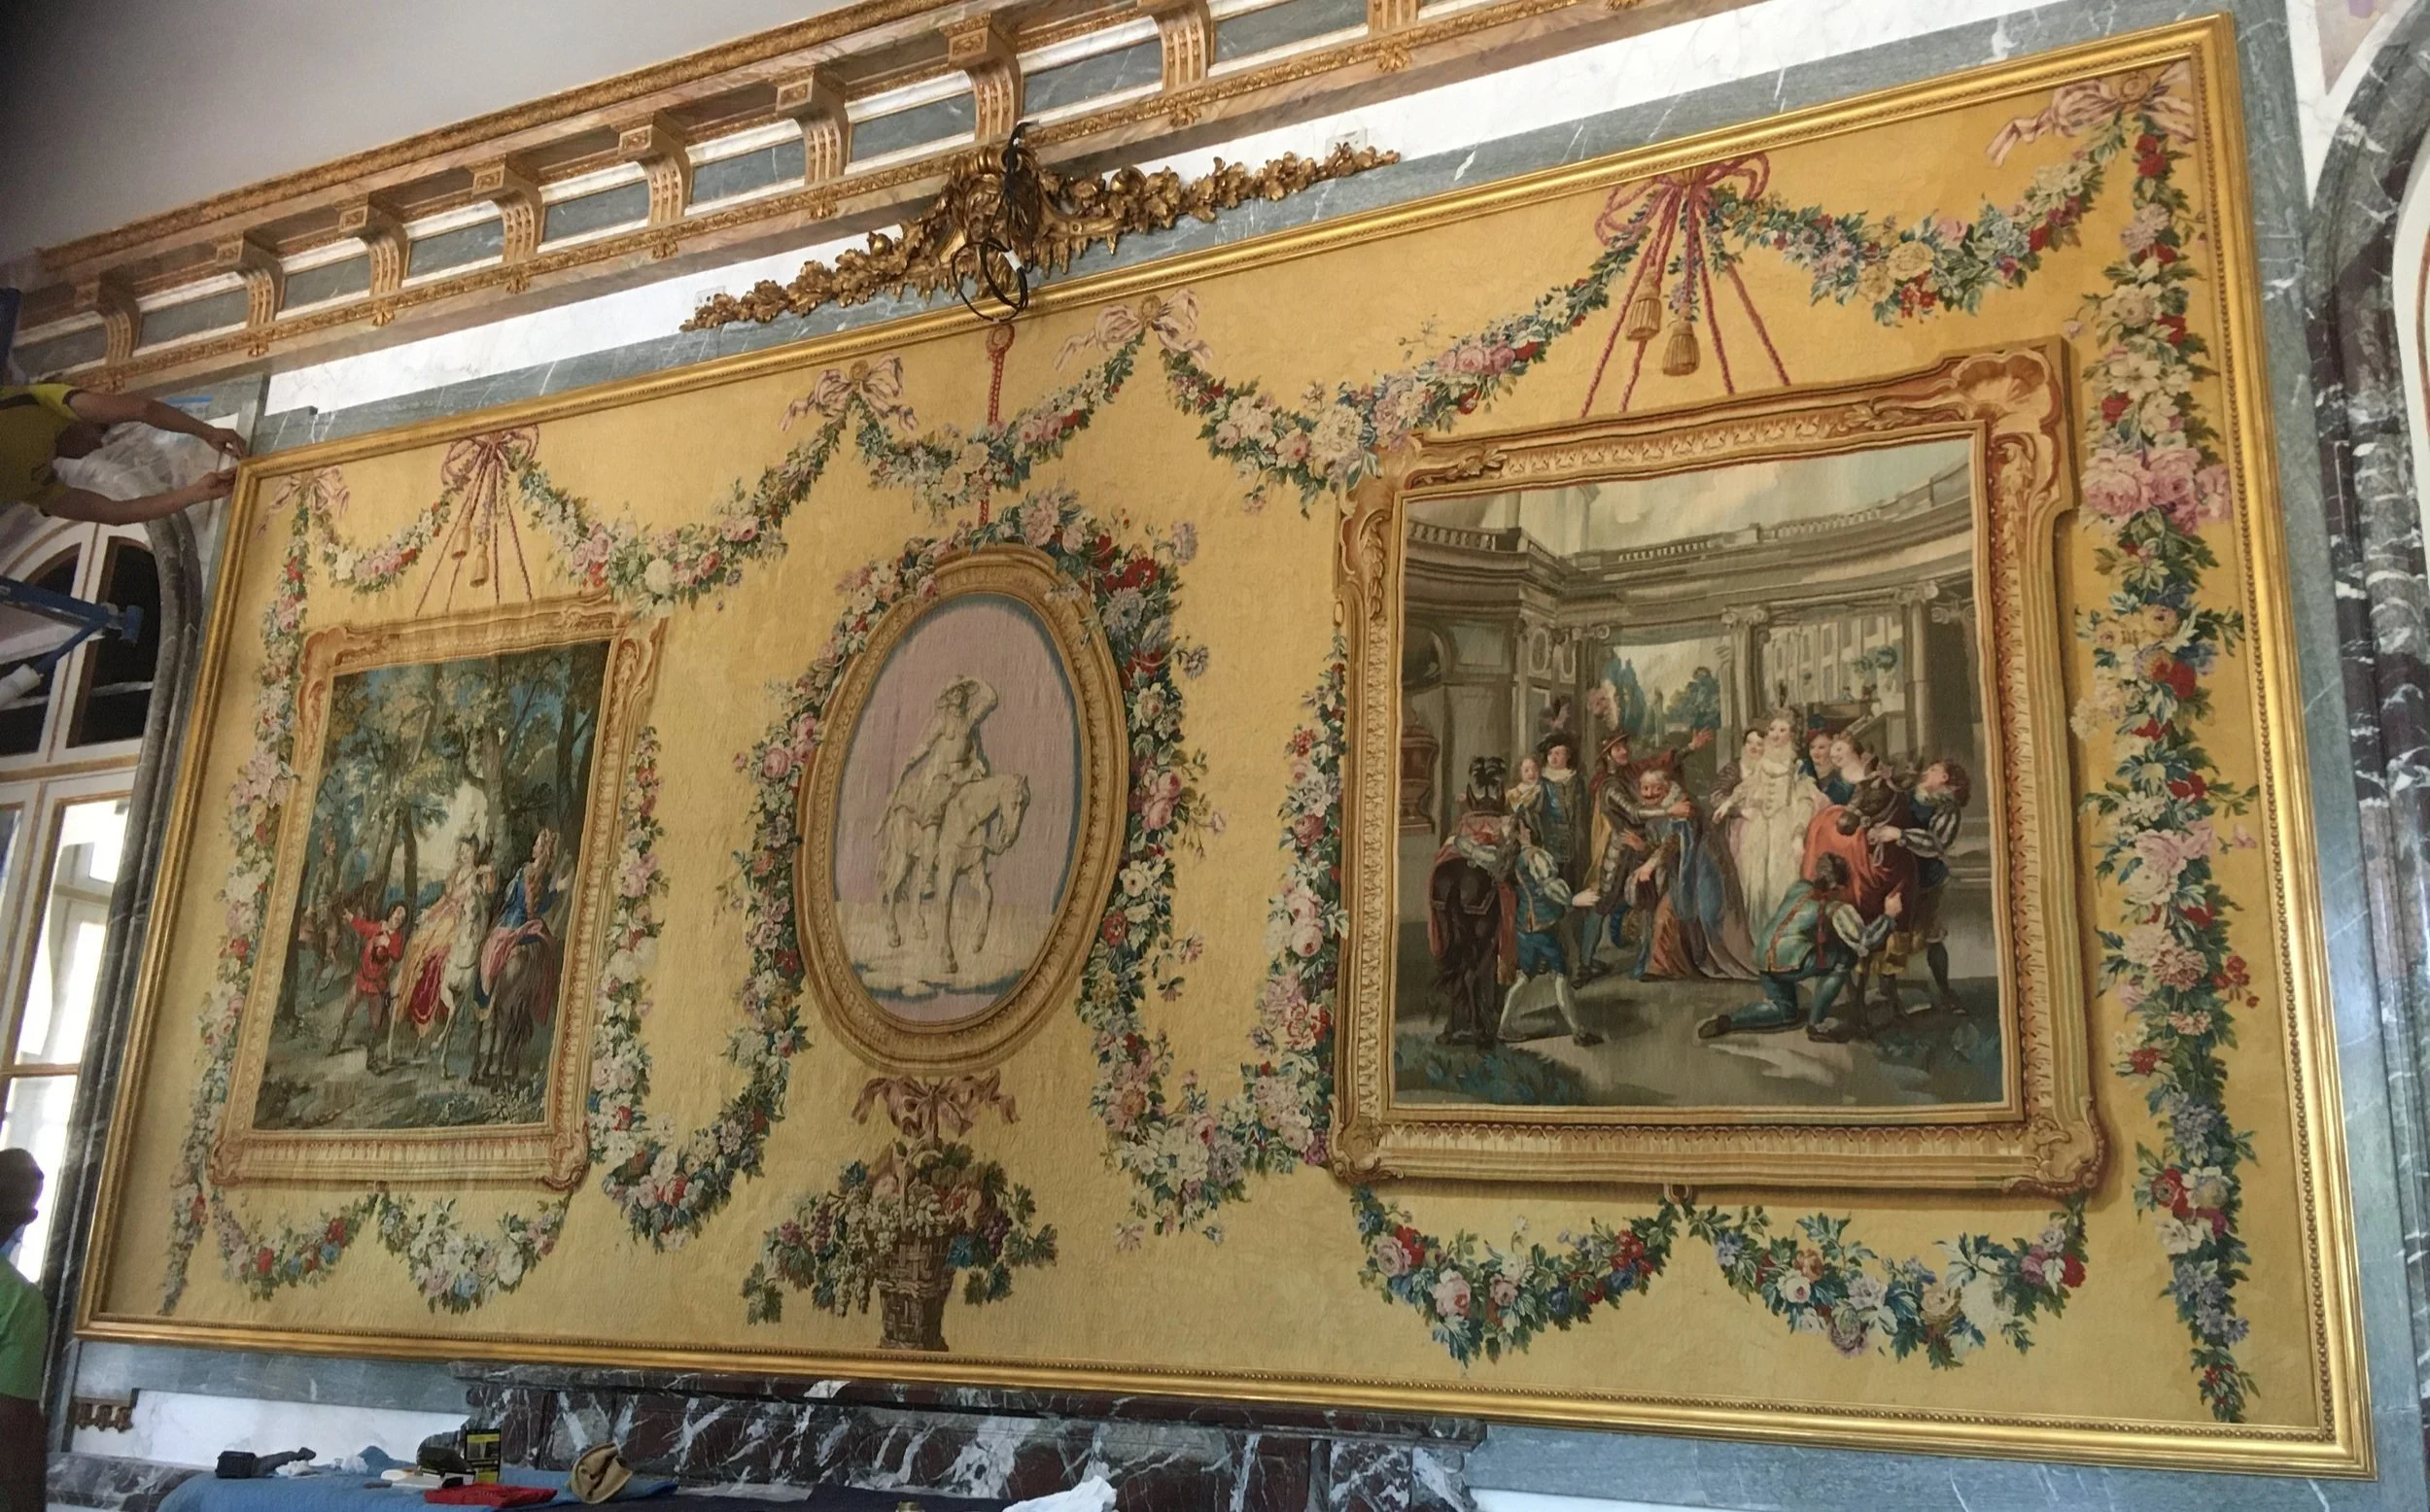
After Treatment, Don Quixote Tapestry hanging at St. John the Divine. Photo Credit: Margaret O’Neil
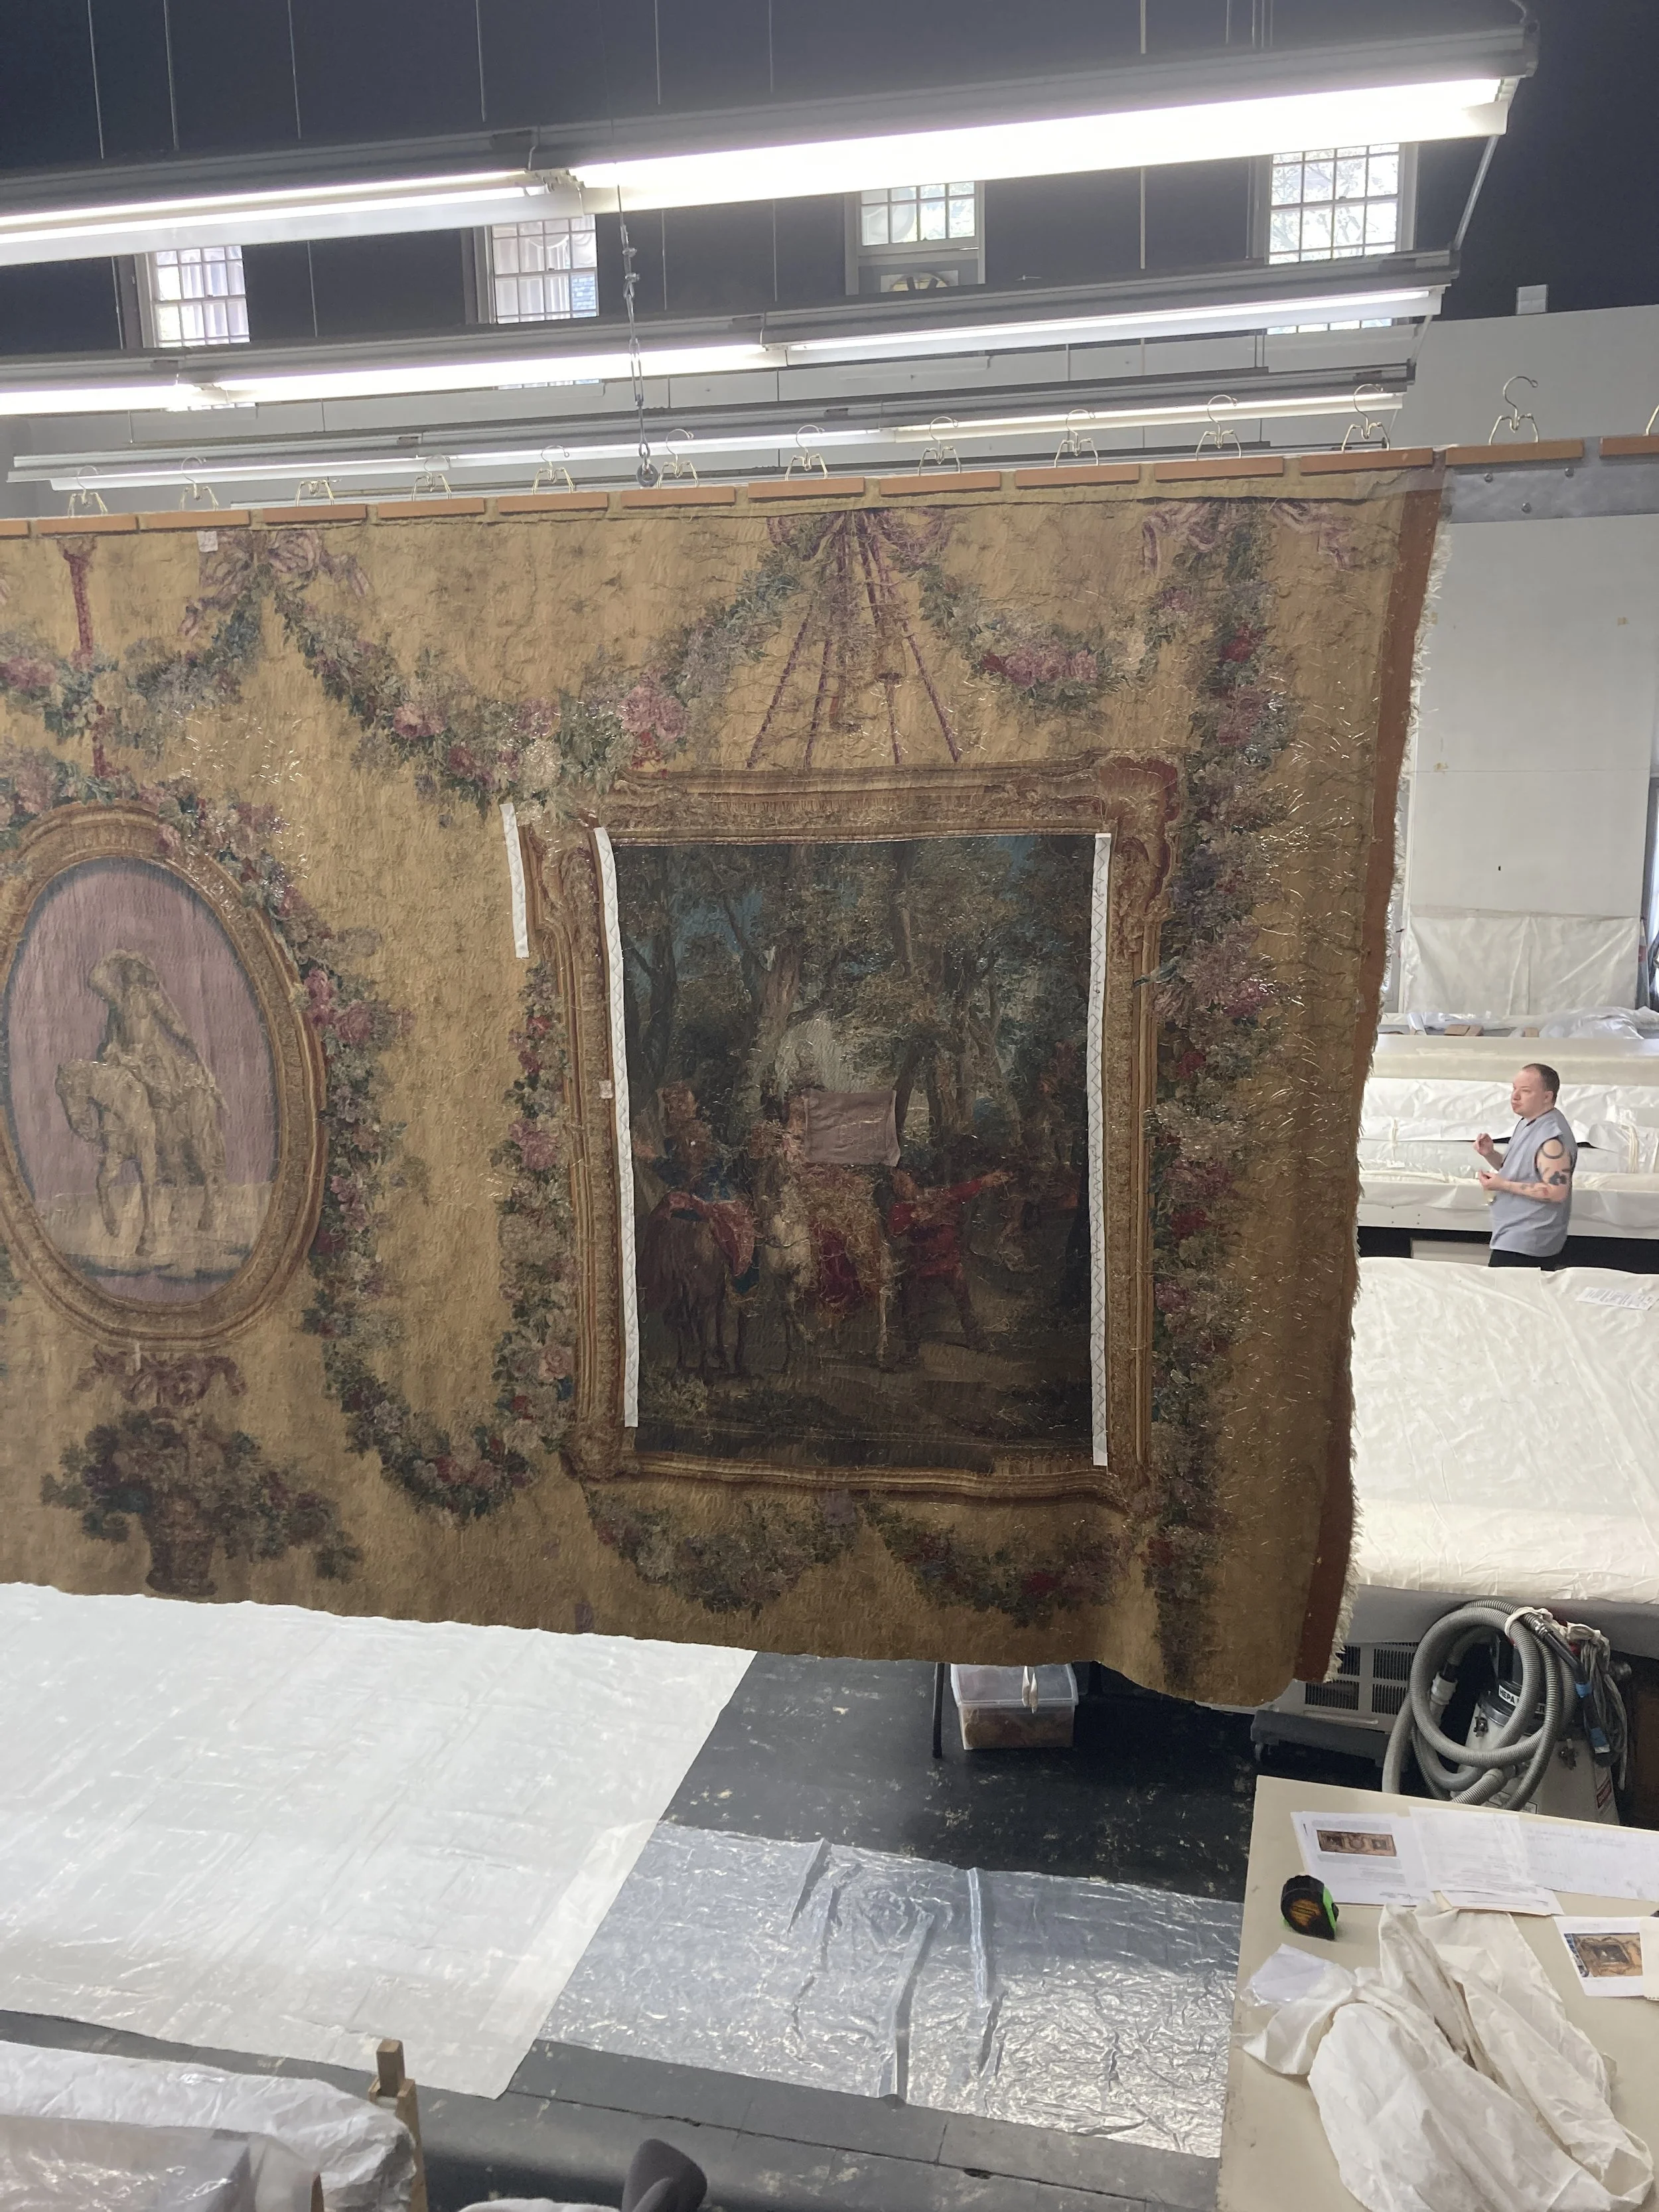
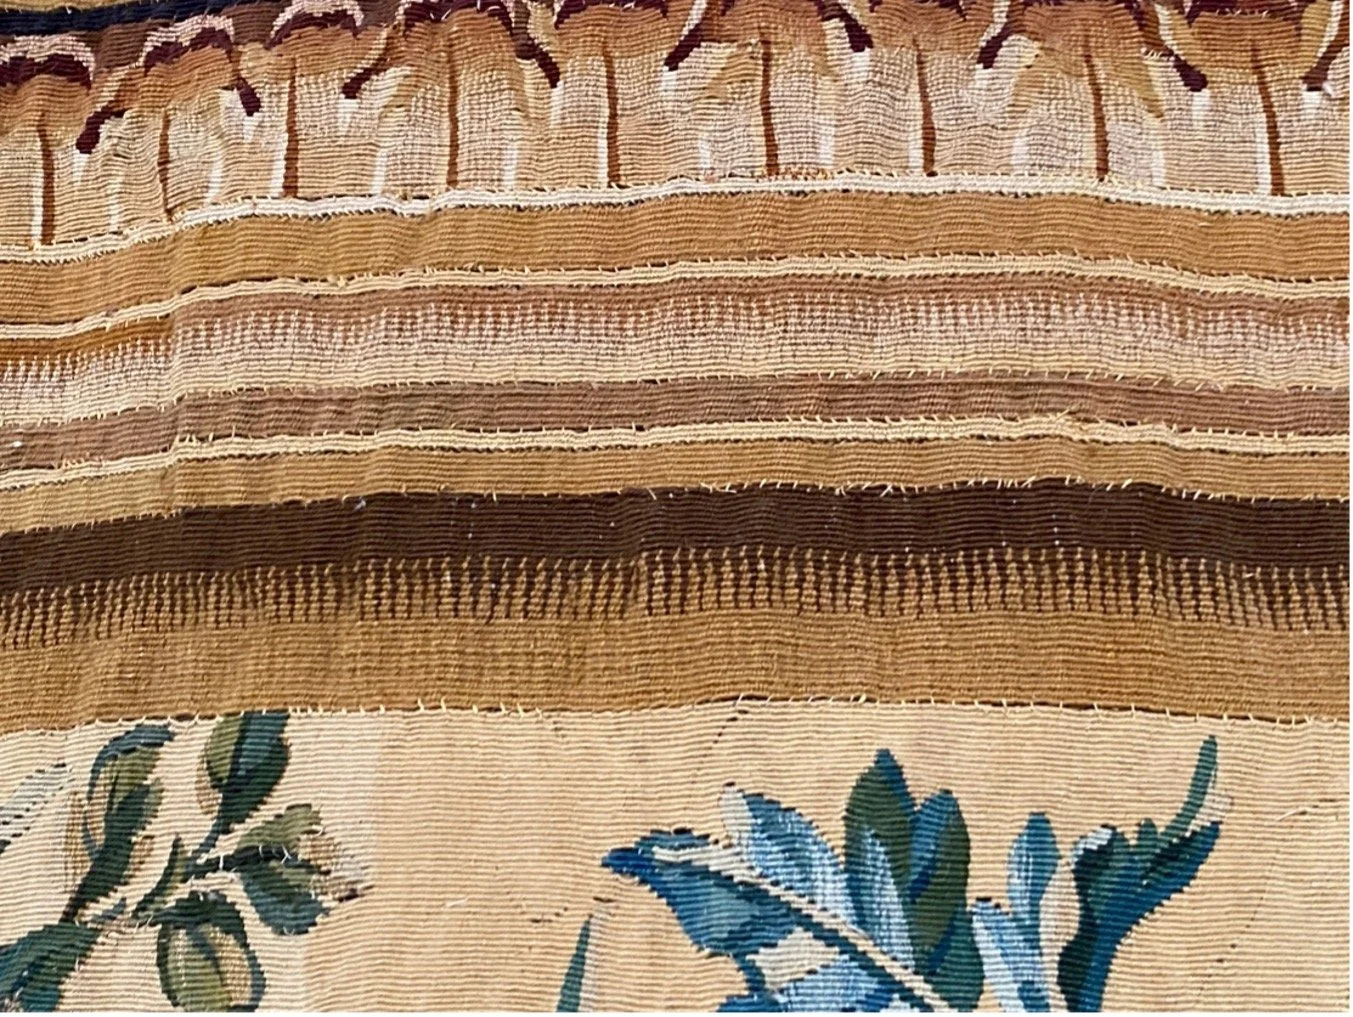
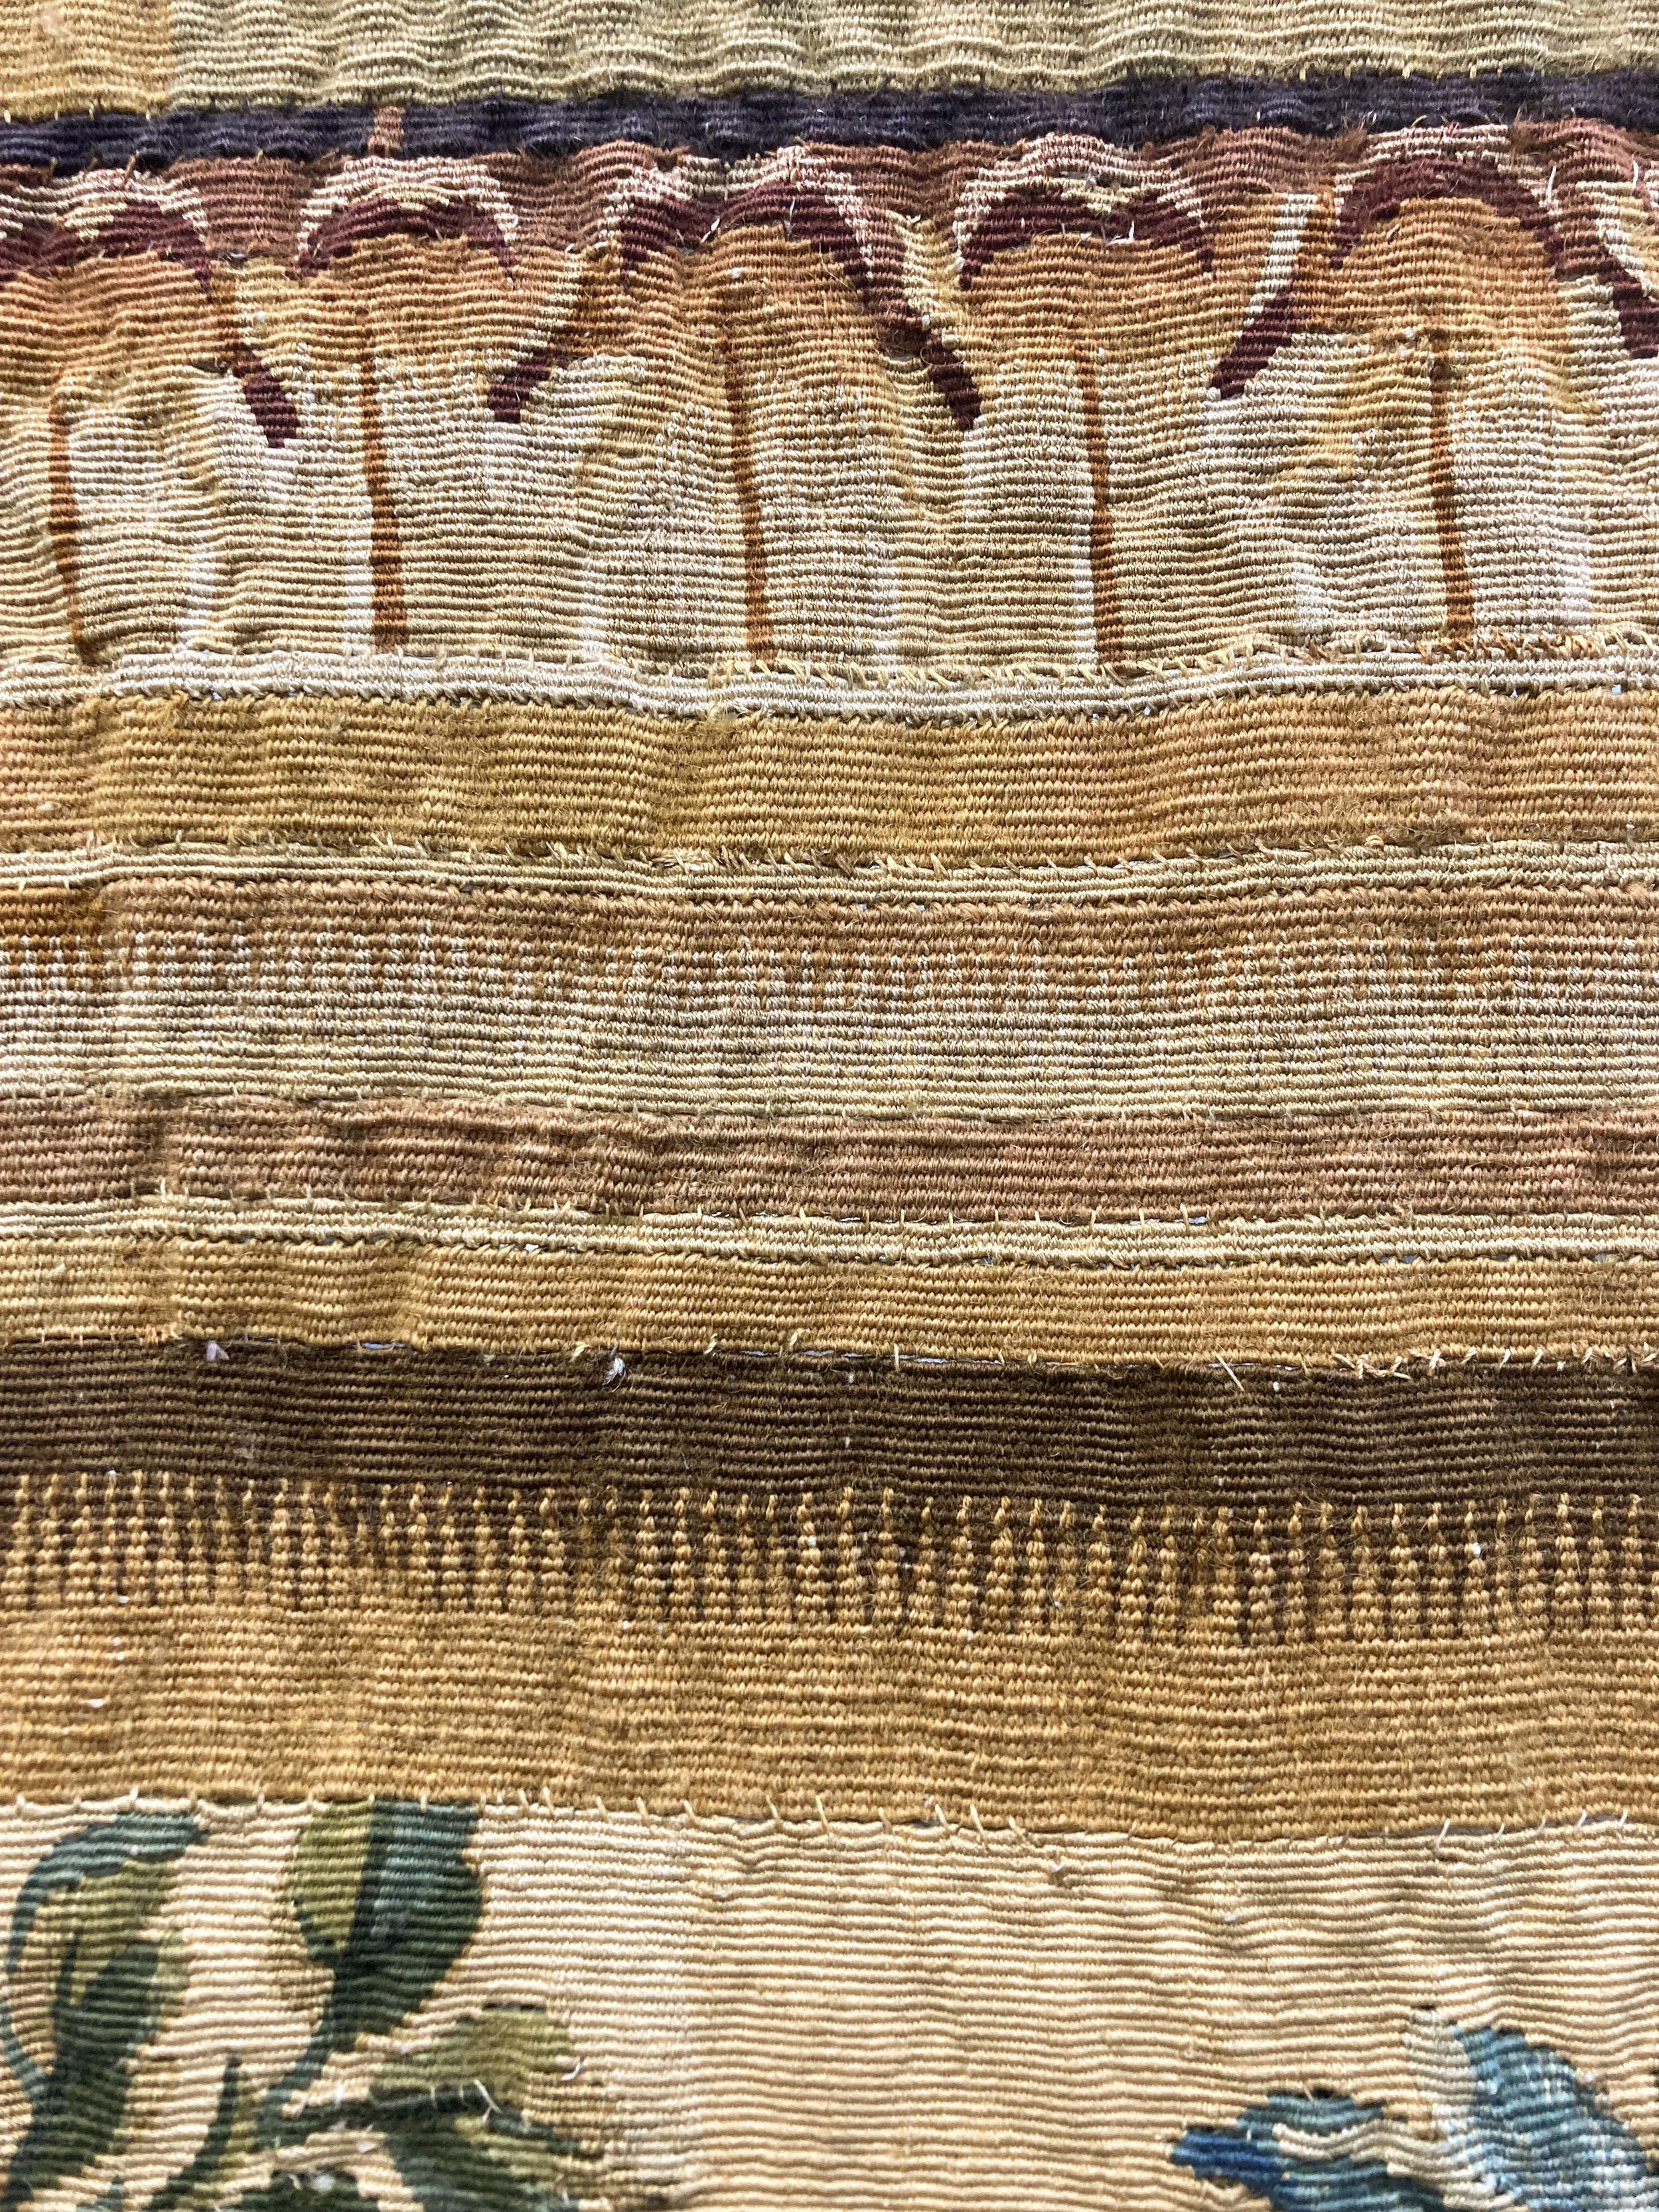
This monumental 21” long tapestry is an exemplary example of 18th-century French tapestry weaving. The intricately woven brocade and floral swag pattern creates a trompe l'oeil effect of a highly decorated 18th-century wall. this effect was disrupted by swags across the tapestry in its previous hanging. Along with some large slits that began to open up, it was time for this tapestry to be treated.
The team at St. John the Divine determined that the tapestry could not be washed due to its cotton wefts that may shrink during cleaning so it was vacuumed, put on a tensioner, the long slits were closed, weak areas were supported with patches, it was carefully measured and folded for its new frame, and velcro was added to all four sides. This process took several months but it was so rewarding to finally see the finished product.
Click HERE to download the proposal. Click HERE to download the post-treatment report DRAFT. Please note client and pricing information has been redacted for privacy.
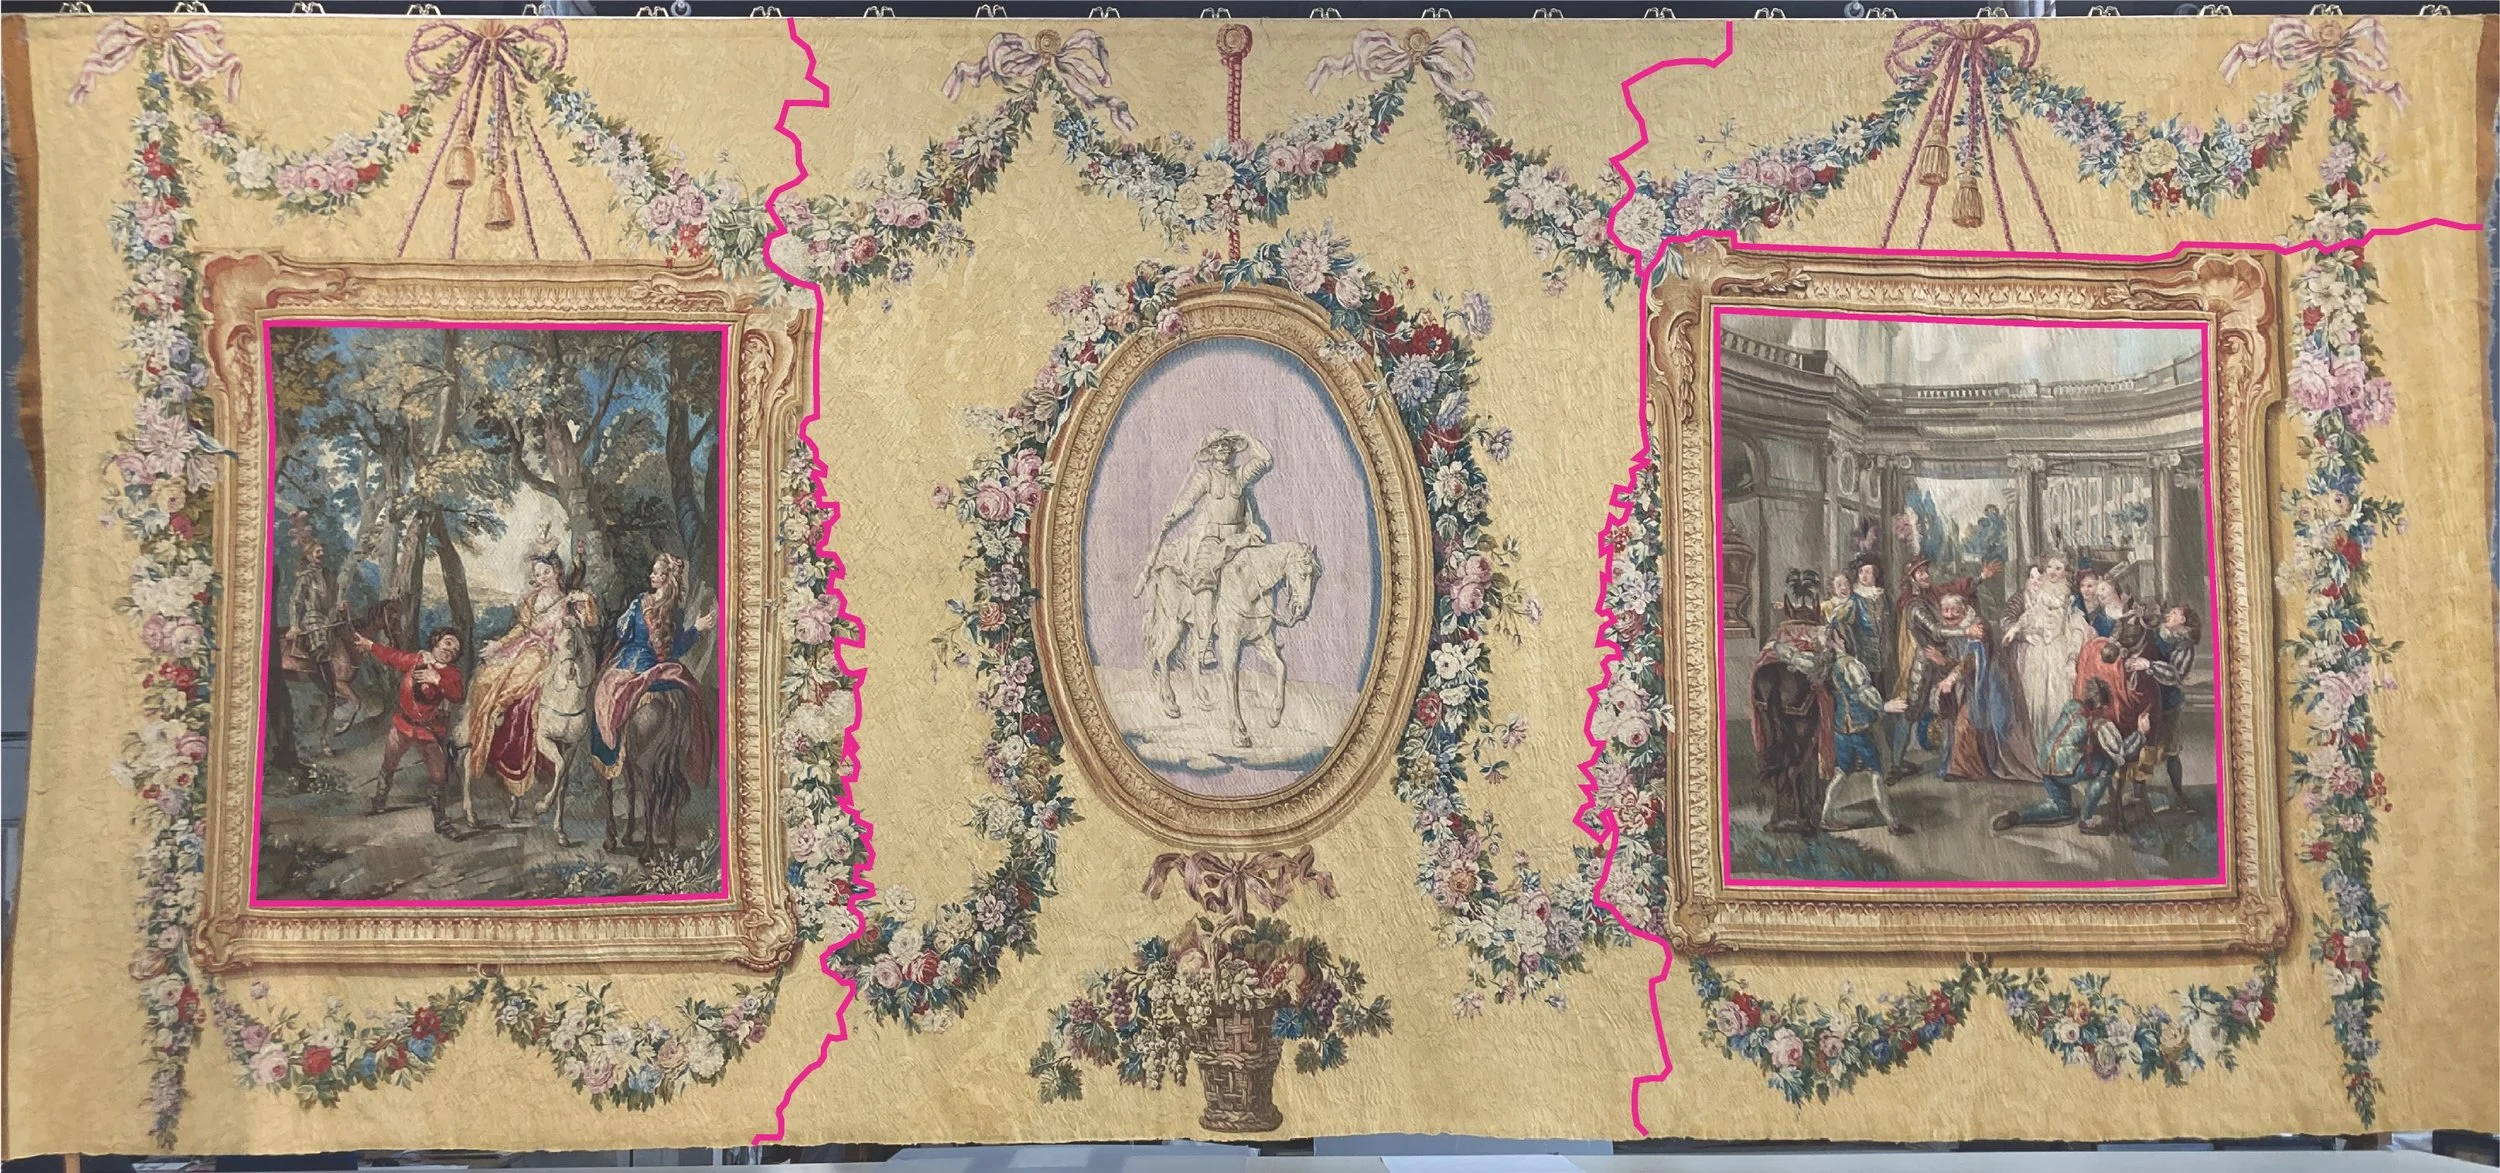
Piecing Map
This tapestry is unique in that it is several sections pieced together with very shallow allowances. These were areas of concern. Most were stable but some needed extra support, especially the top and bottom of the figural “paintings”.
The map to the right shows the piecing with the pink lines denoting the seam lines.
Chart and Photo Credit: Margaret O’Neil
Vacuuming Prep
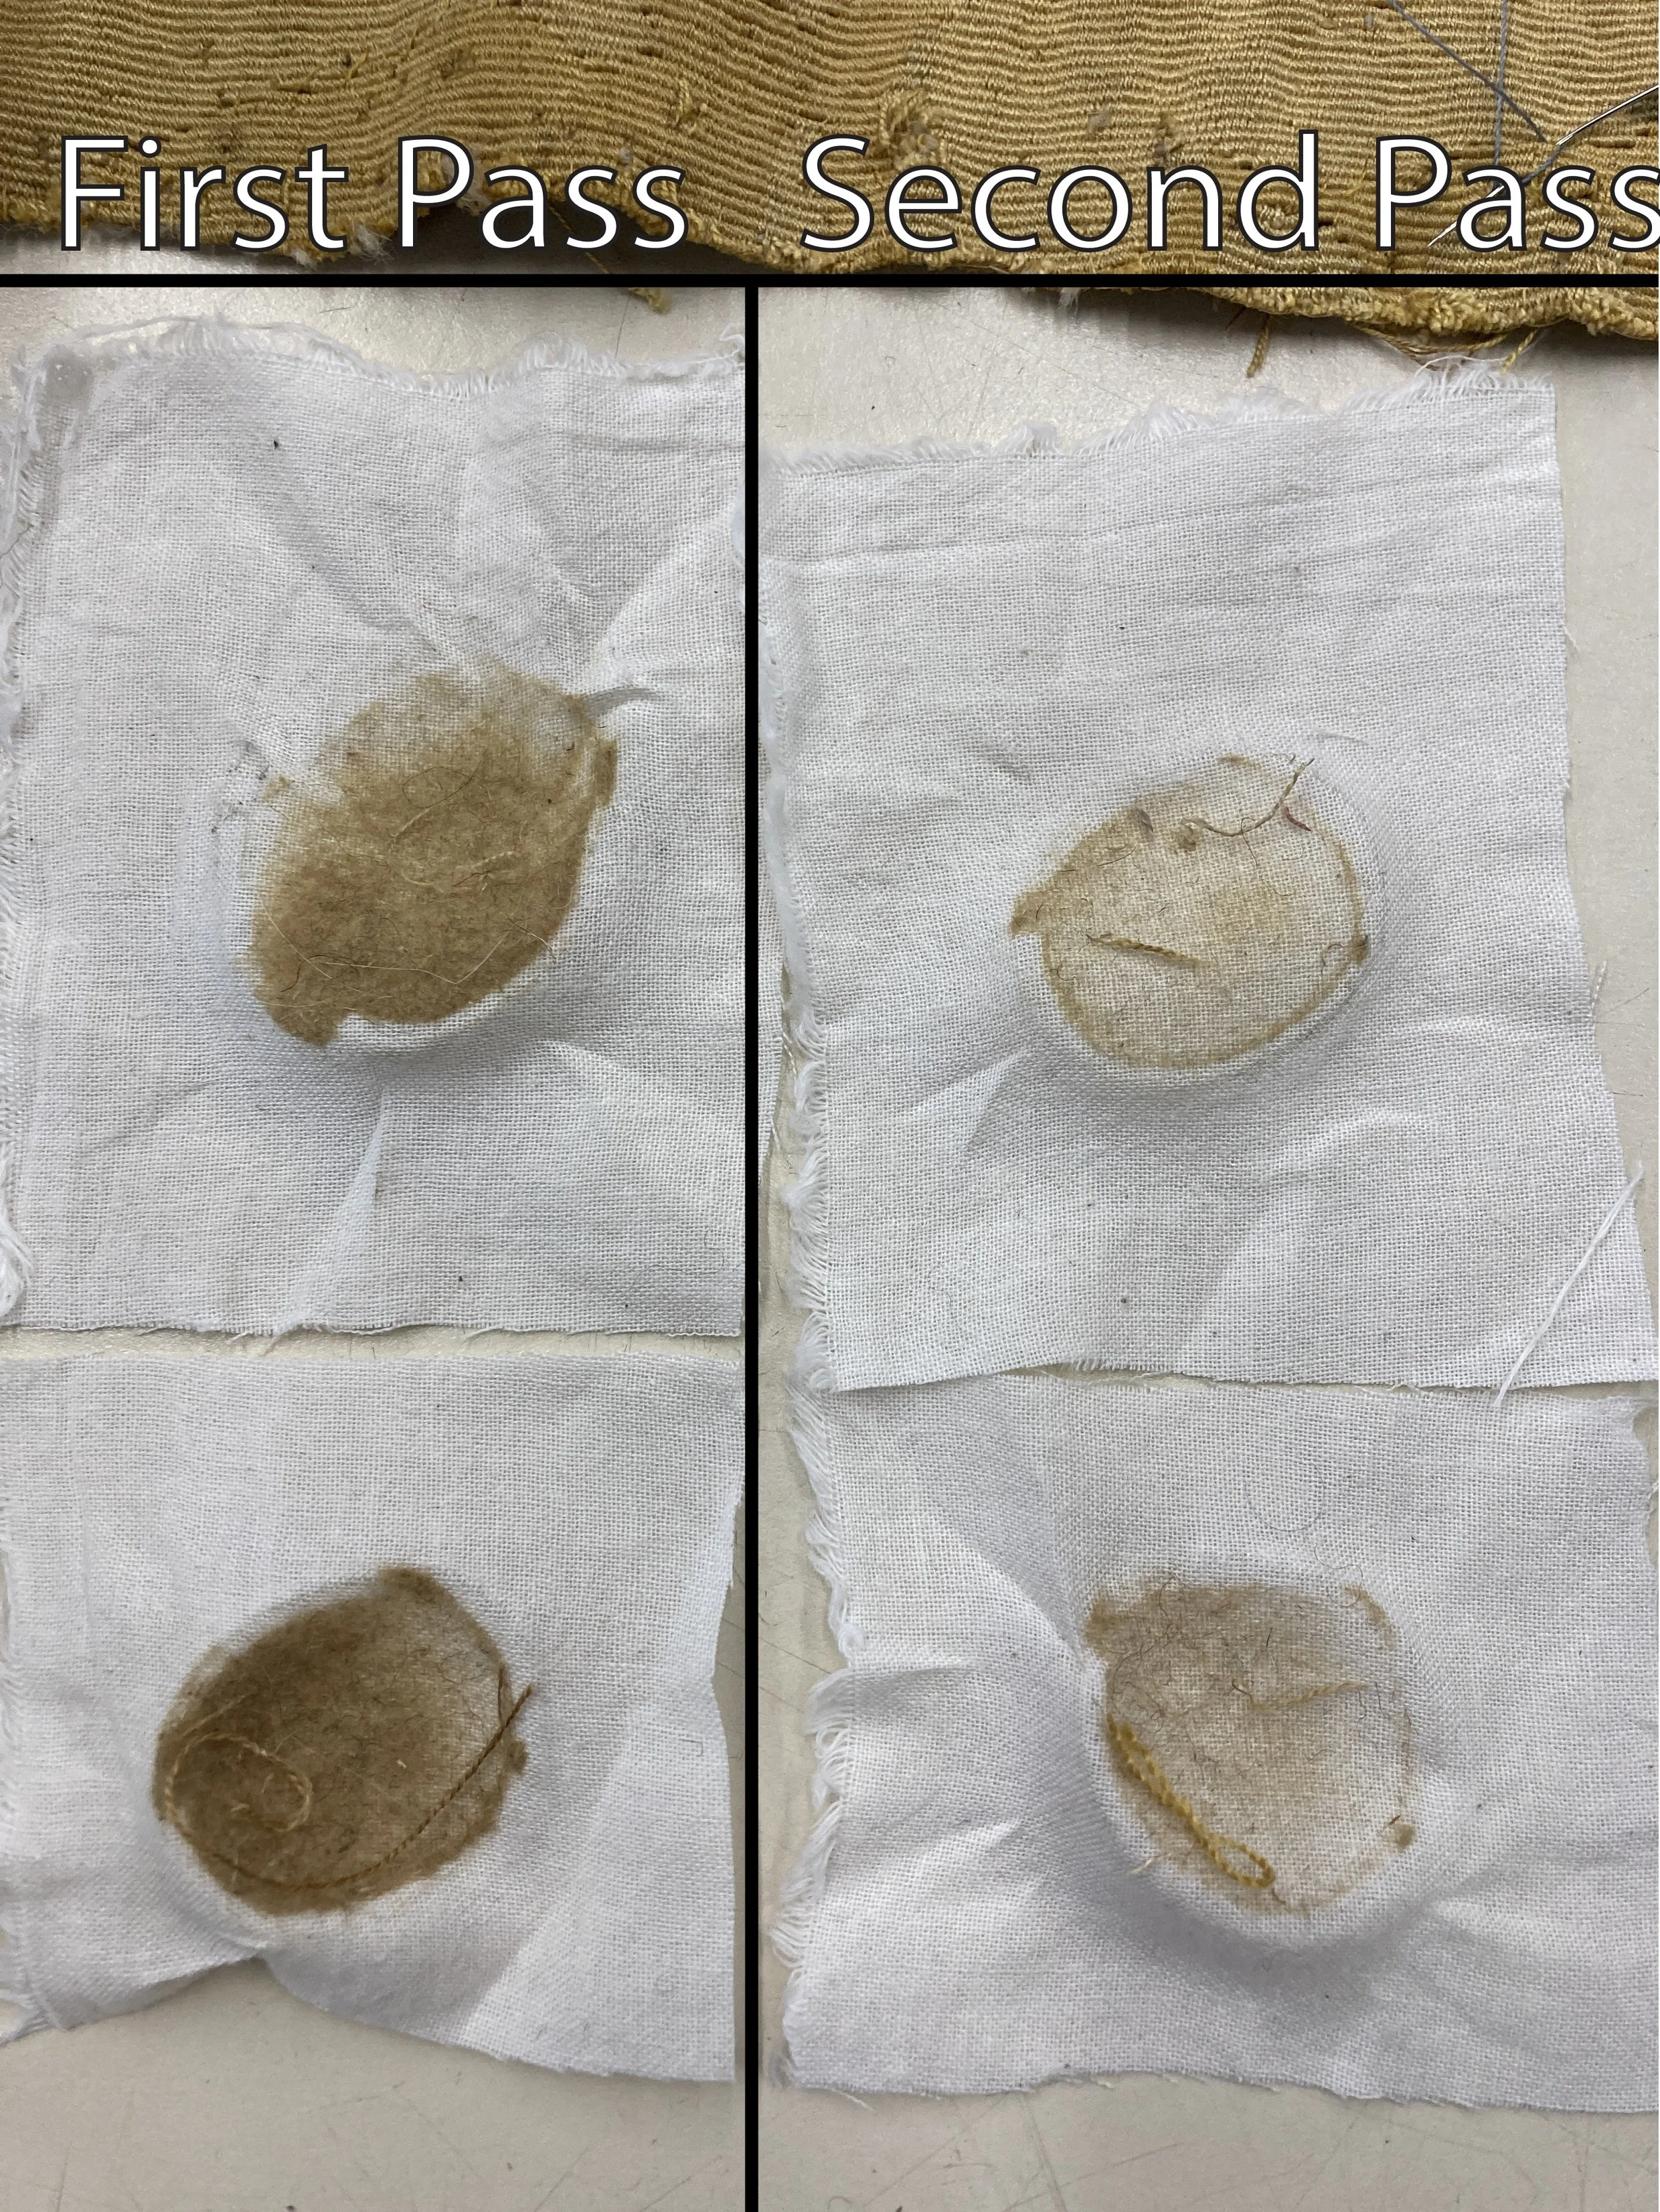
The first treatment step in almost every treatment is mechanical cleaning. In this case, it was just vacuuming with a variable suction Nilflisk vacuum and a furniture brush attachment hovered over the surface.
A sample of the vacuum dust was collected, see right. There was a lot of yellow silk dust coming off of the tapestry mixed with grime.
The vacuuming was the only cleaning that occurred with the piece but it was still quite effective.
Collected Vacuum dust. Photo Credit: Margaret O’Neil
Section where dust was collected. Photo Credit: Margaret O’Neil
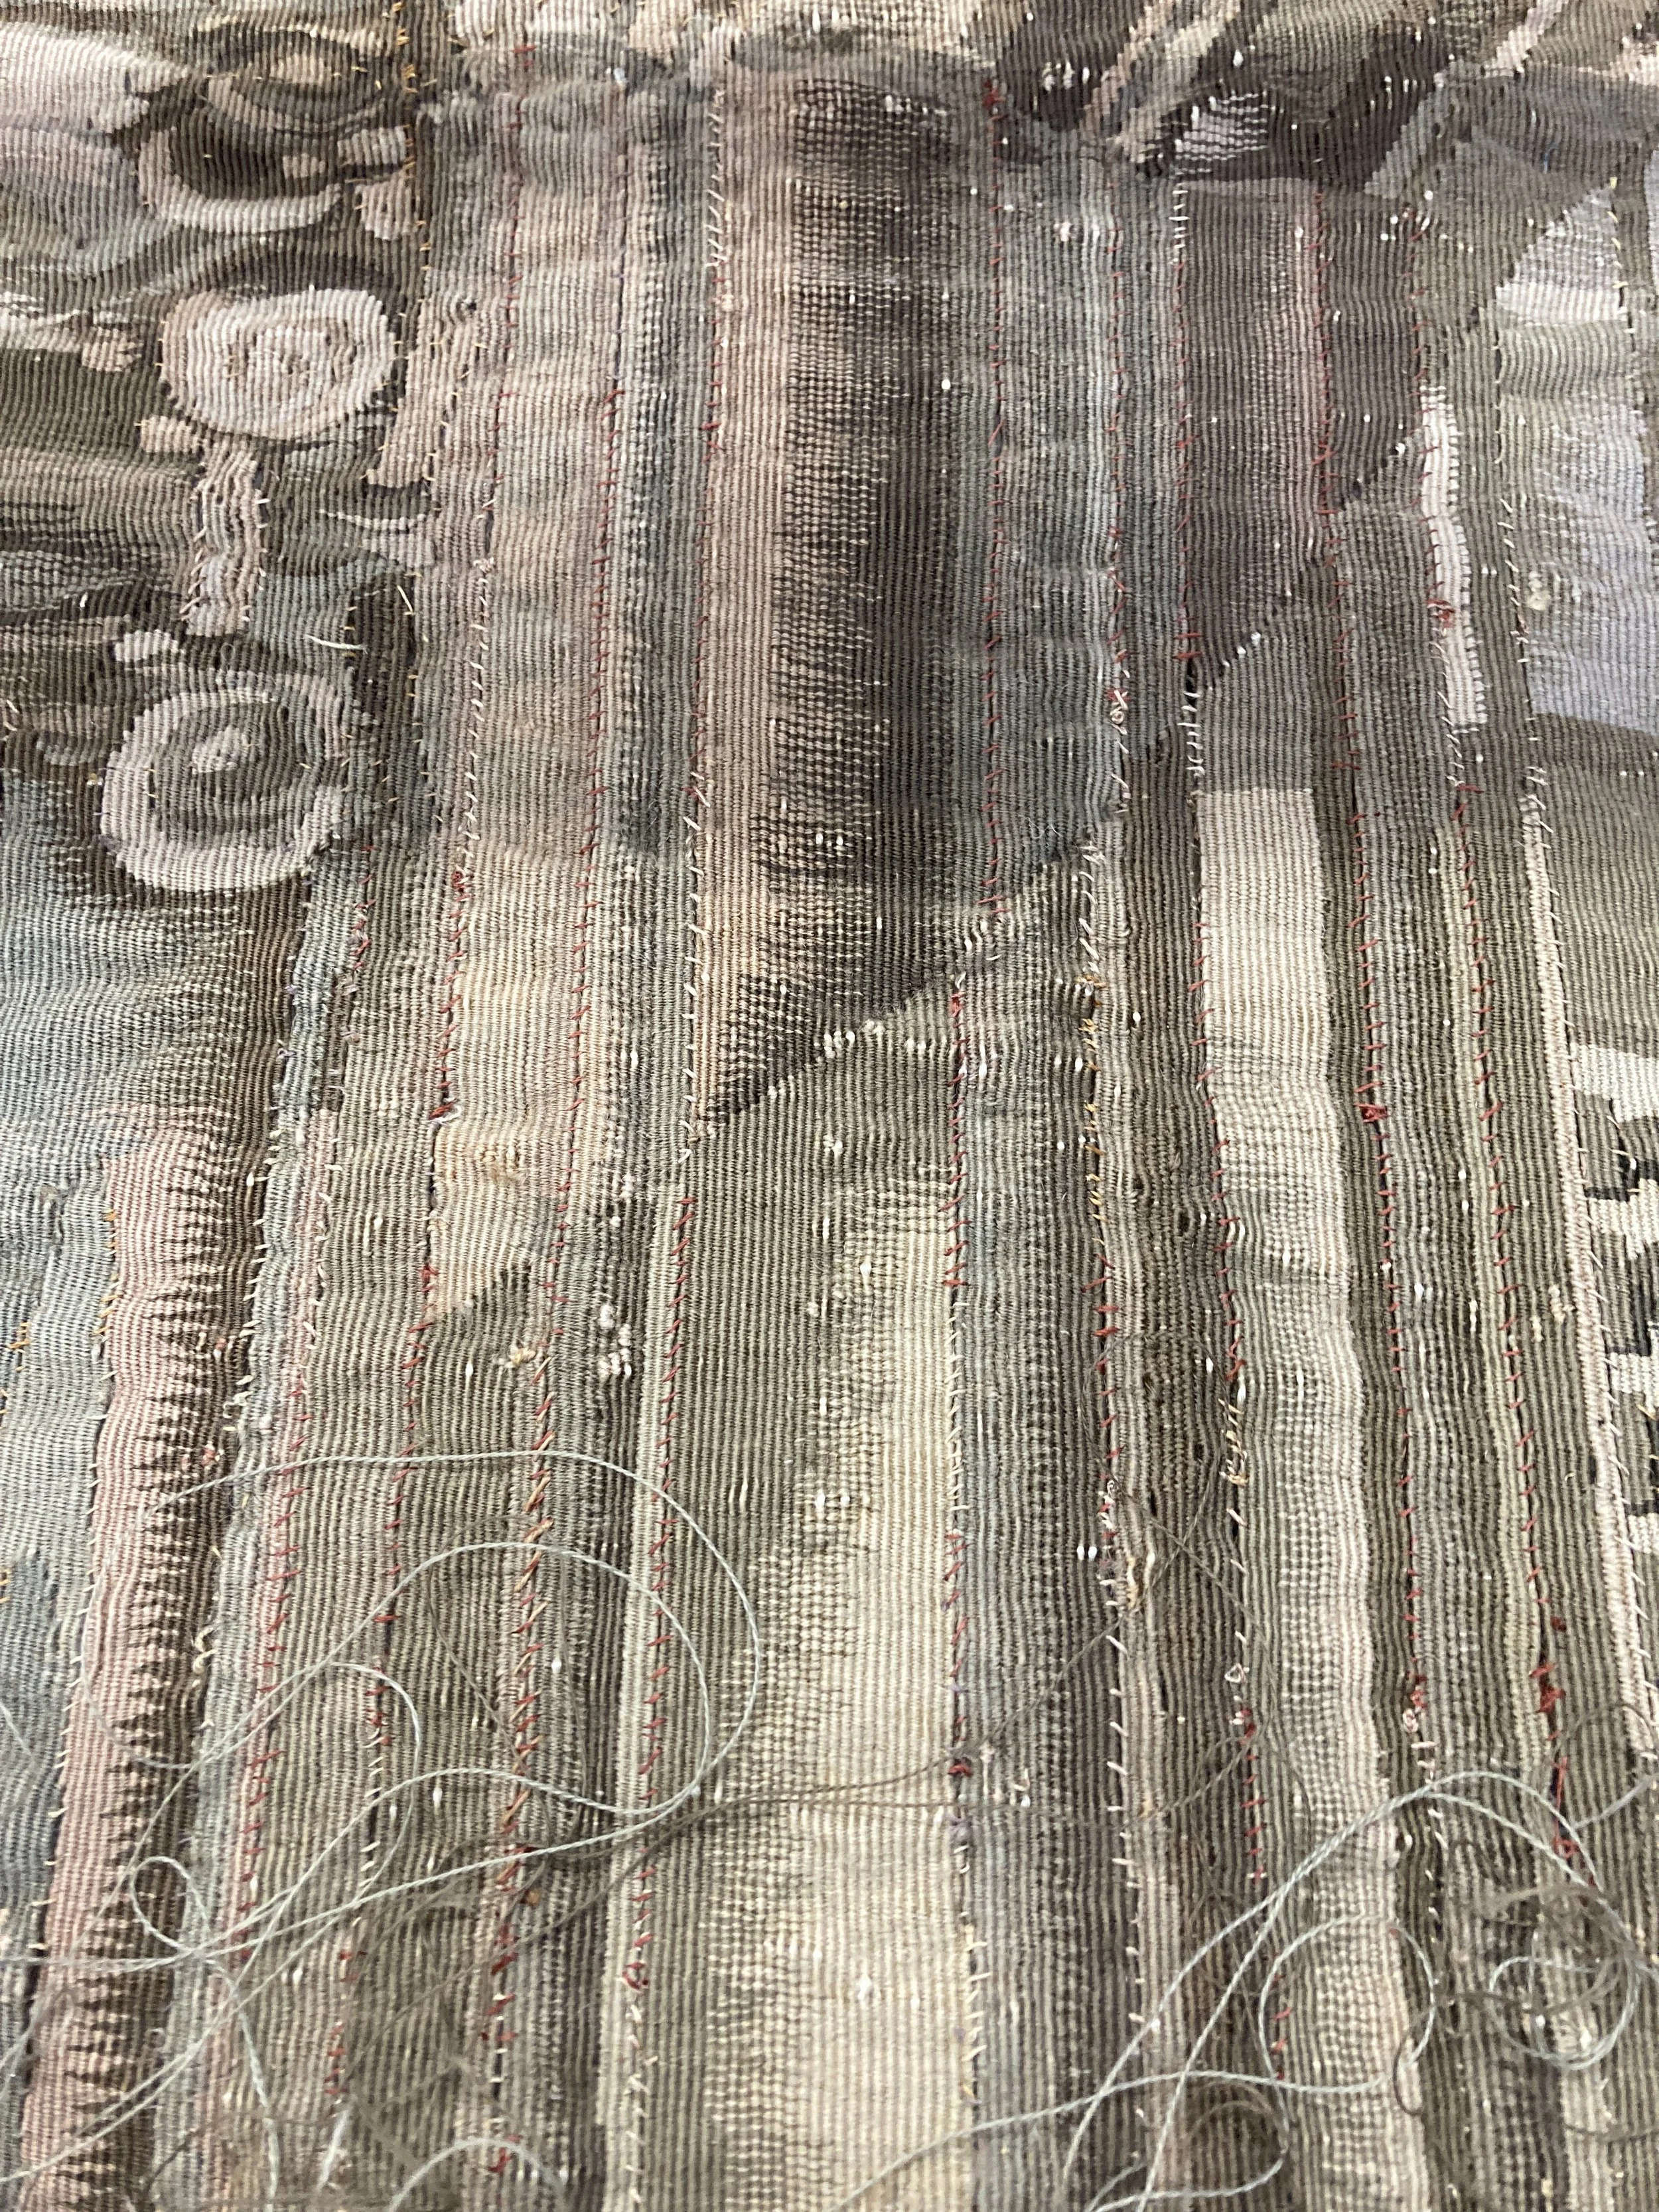
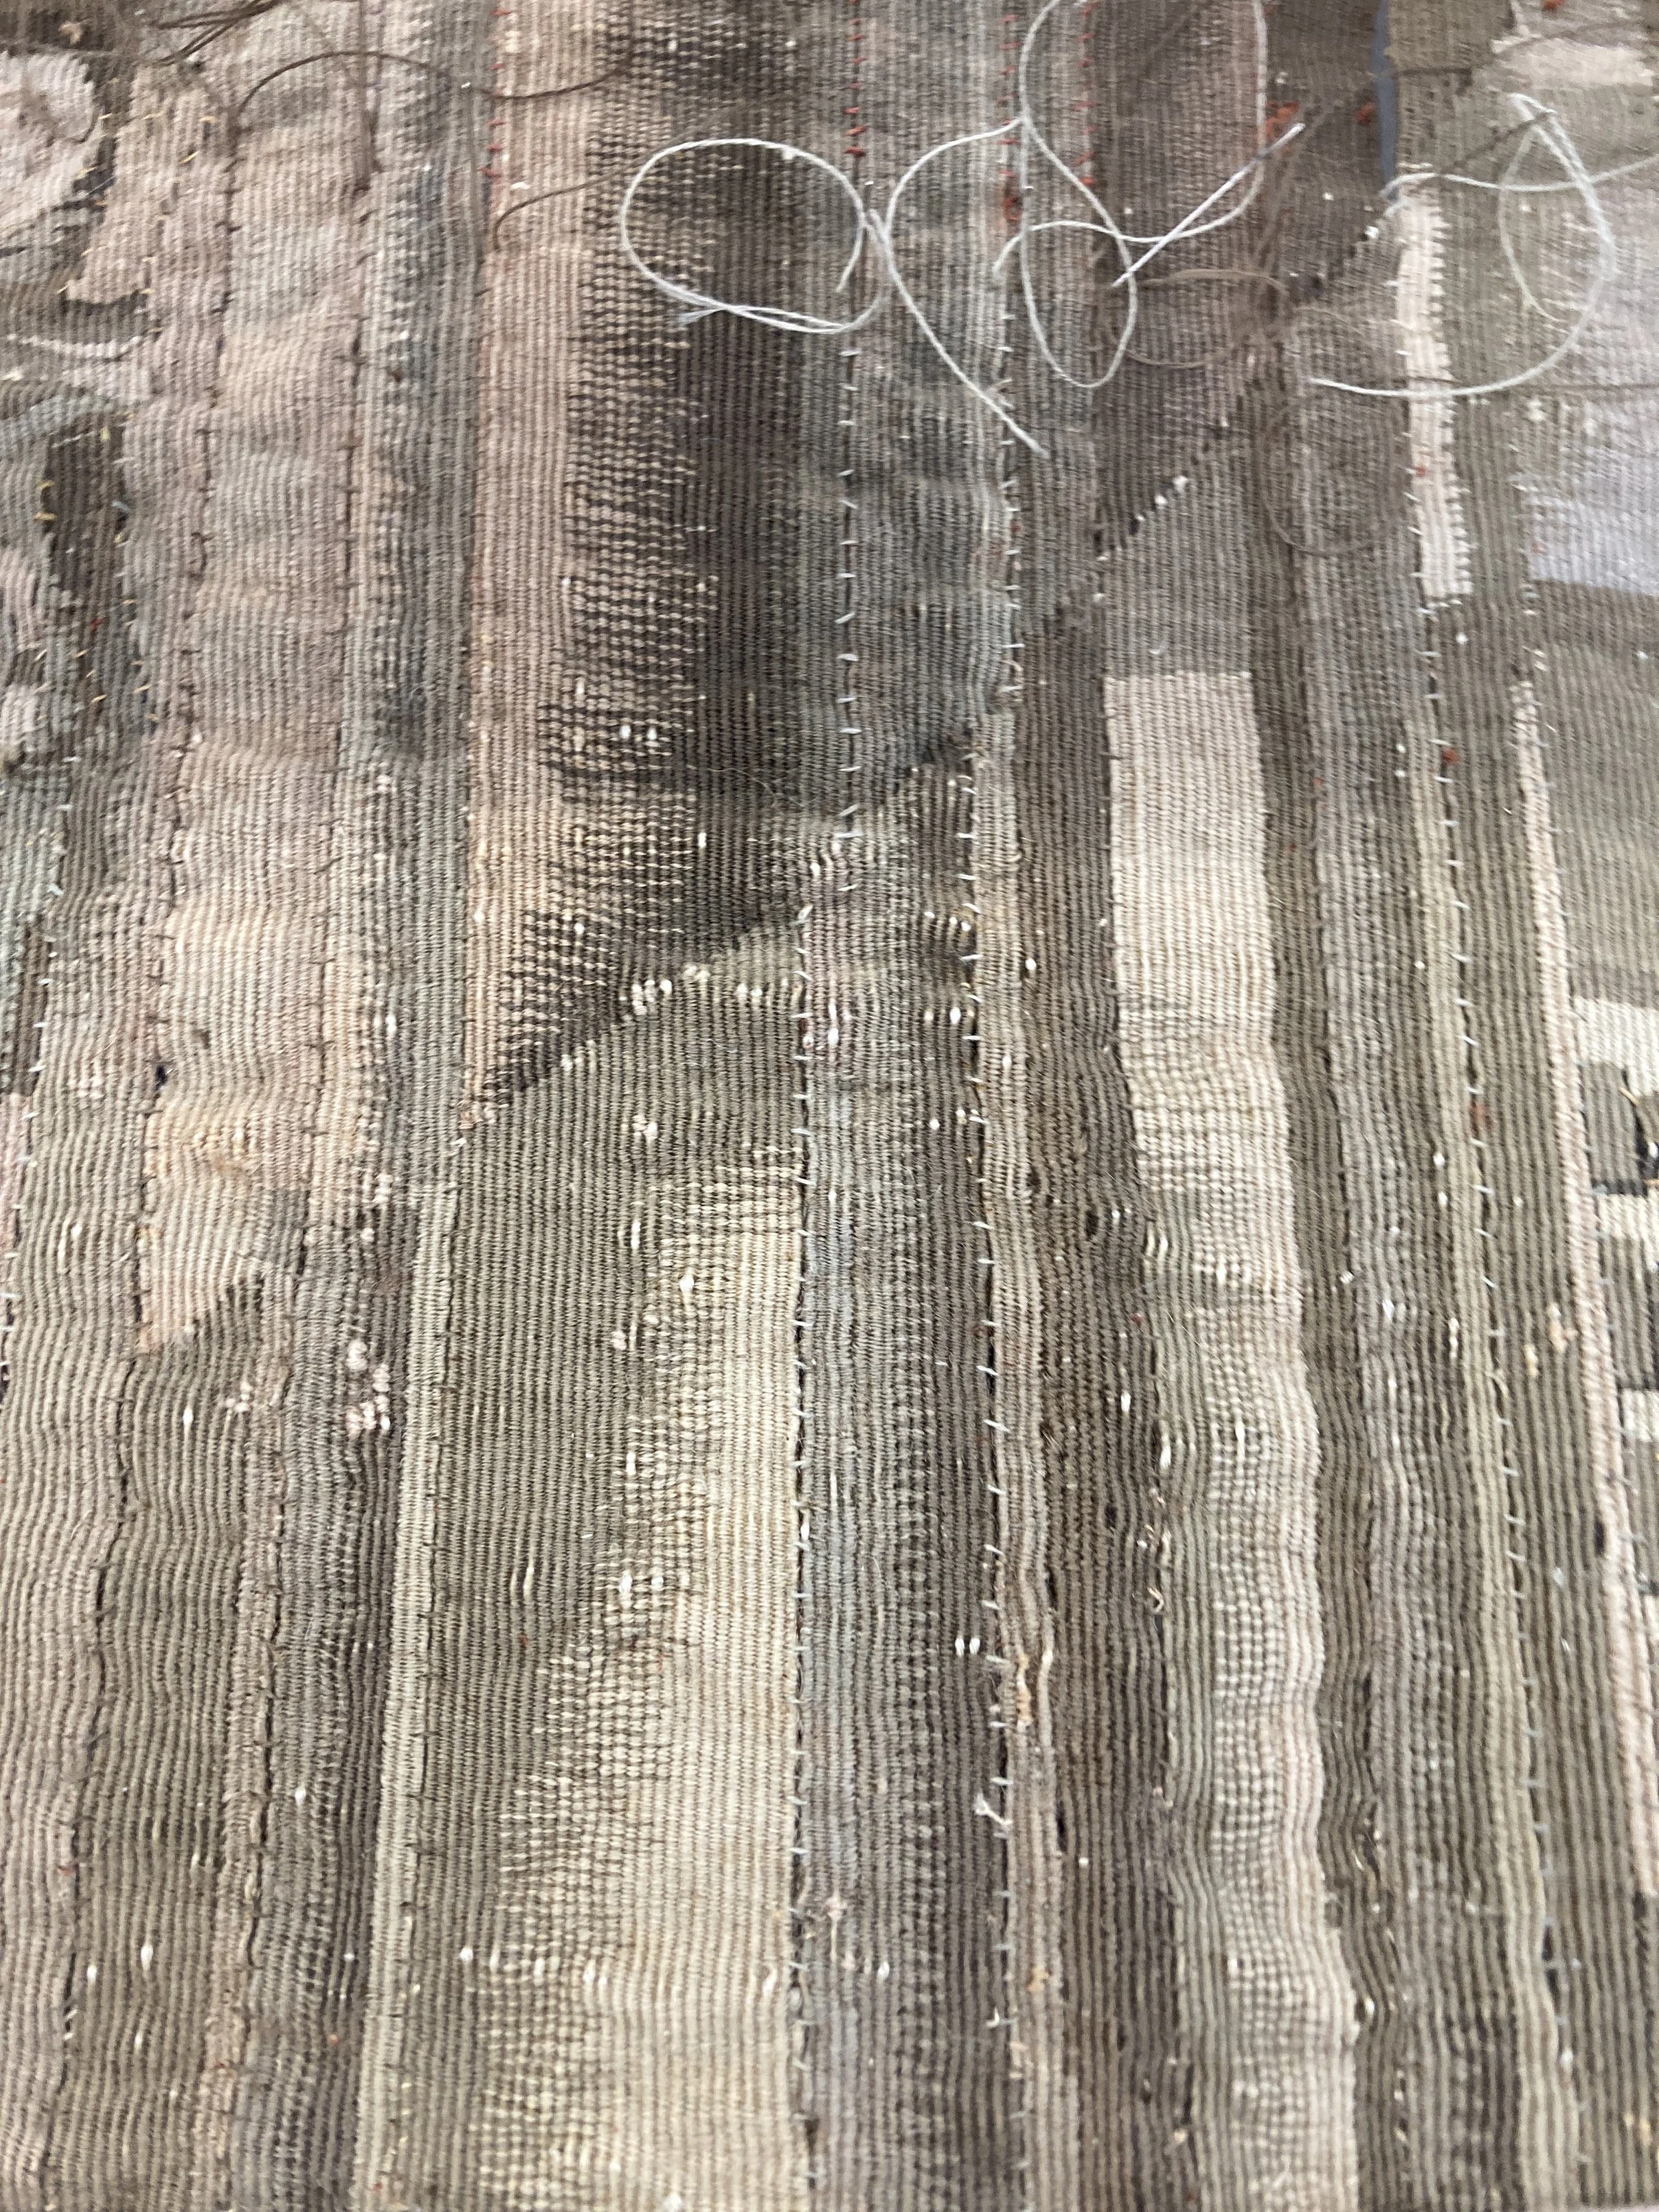
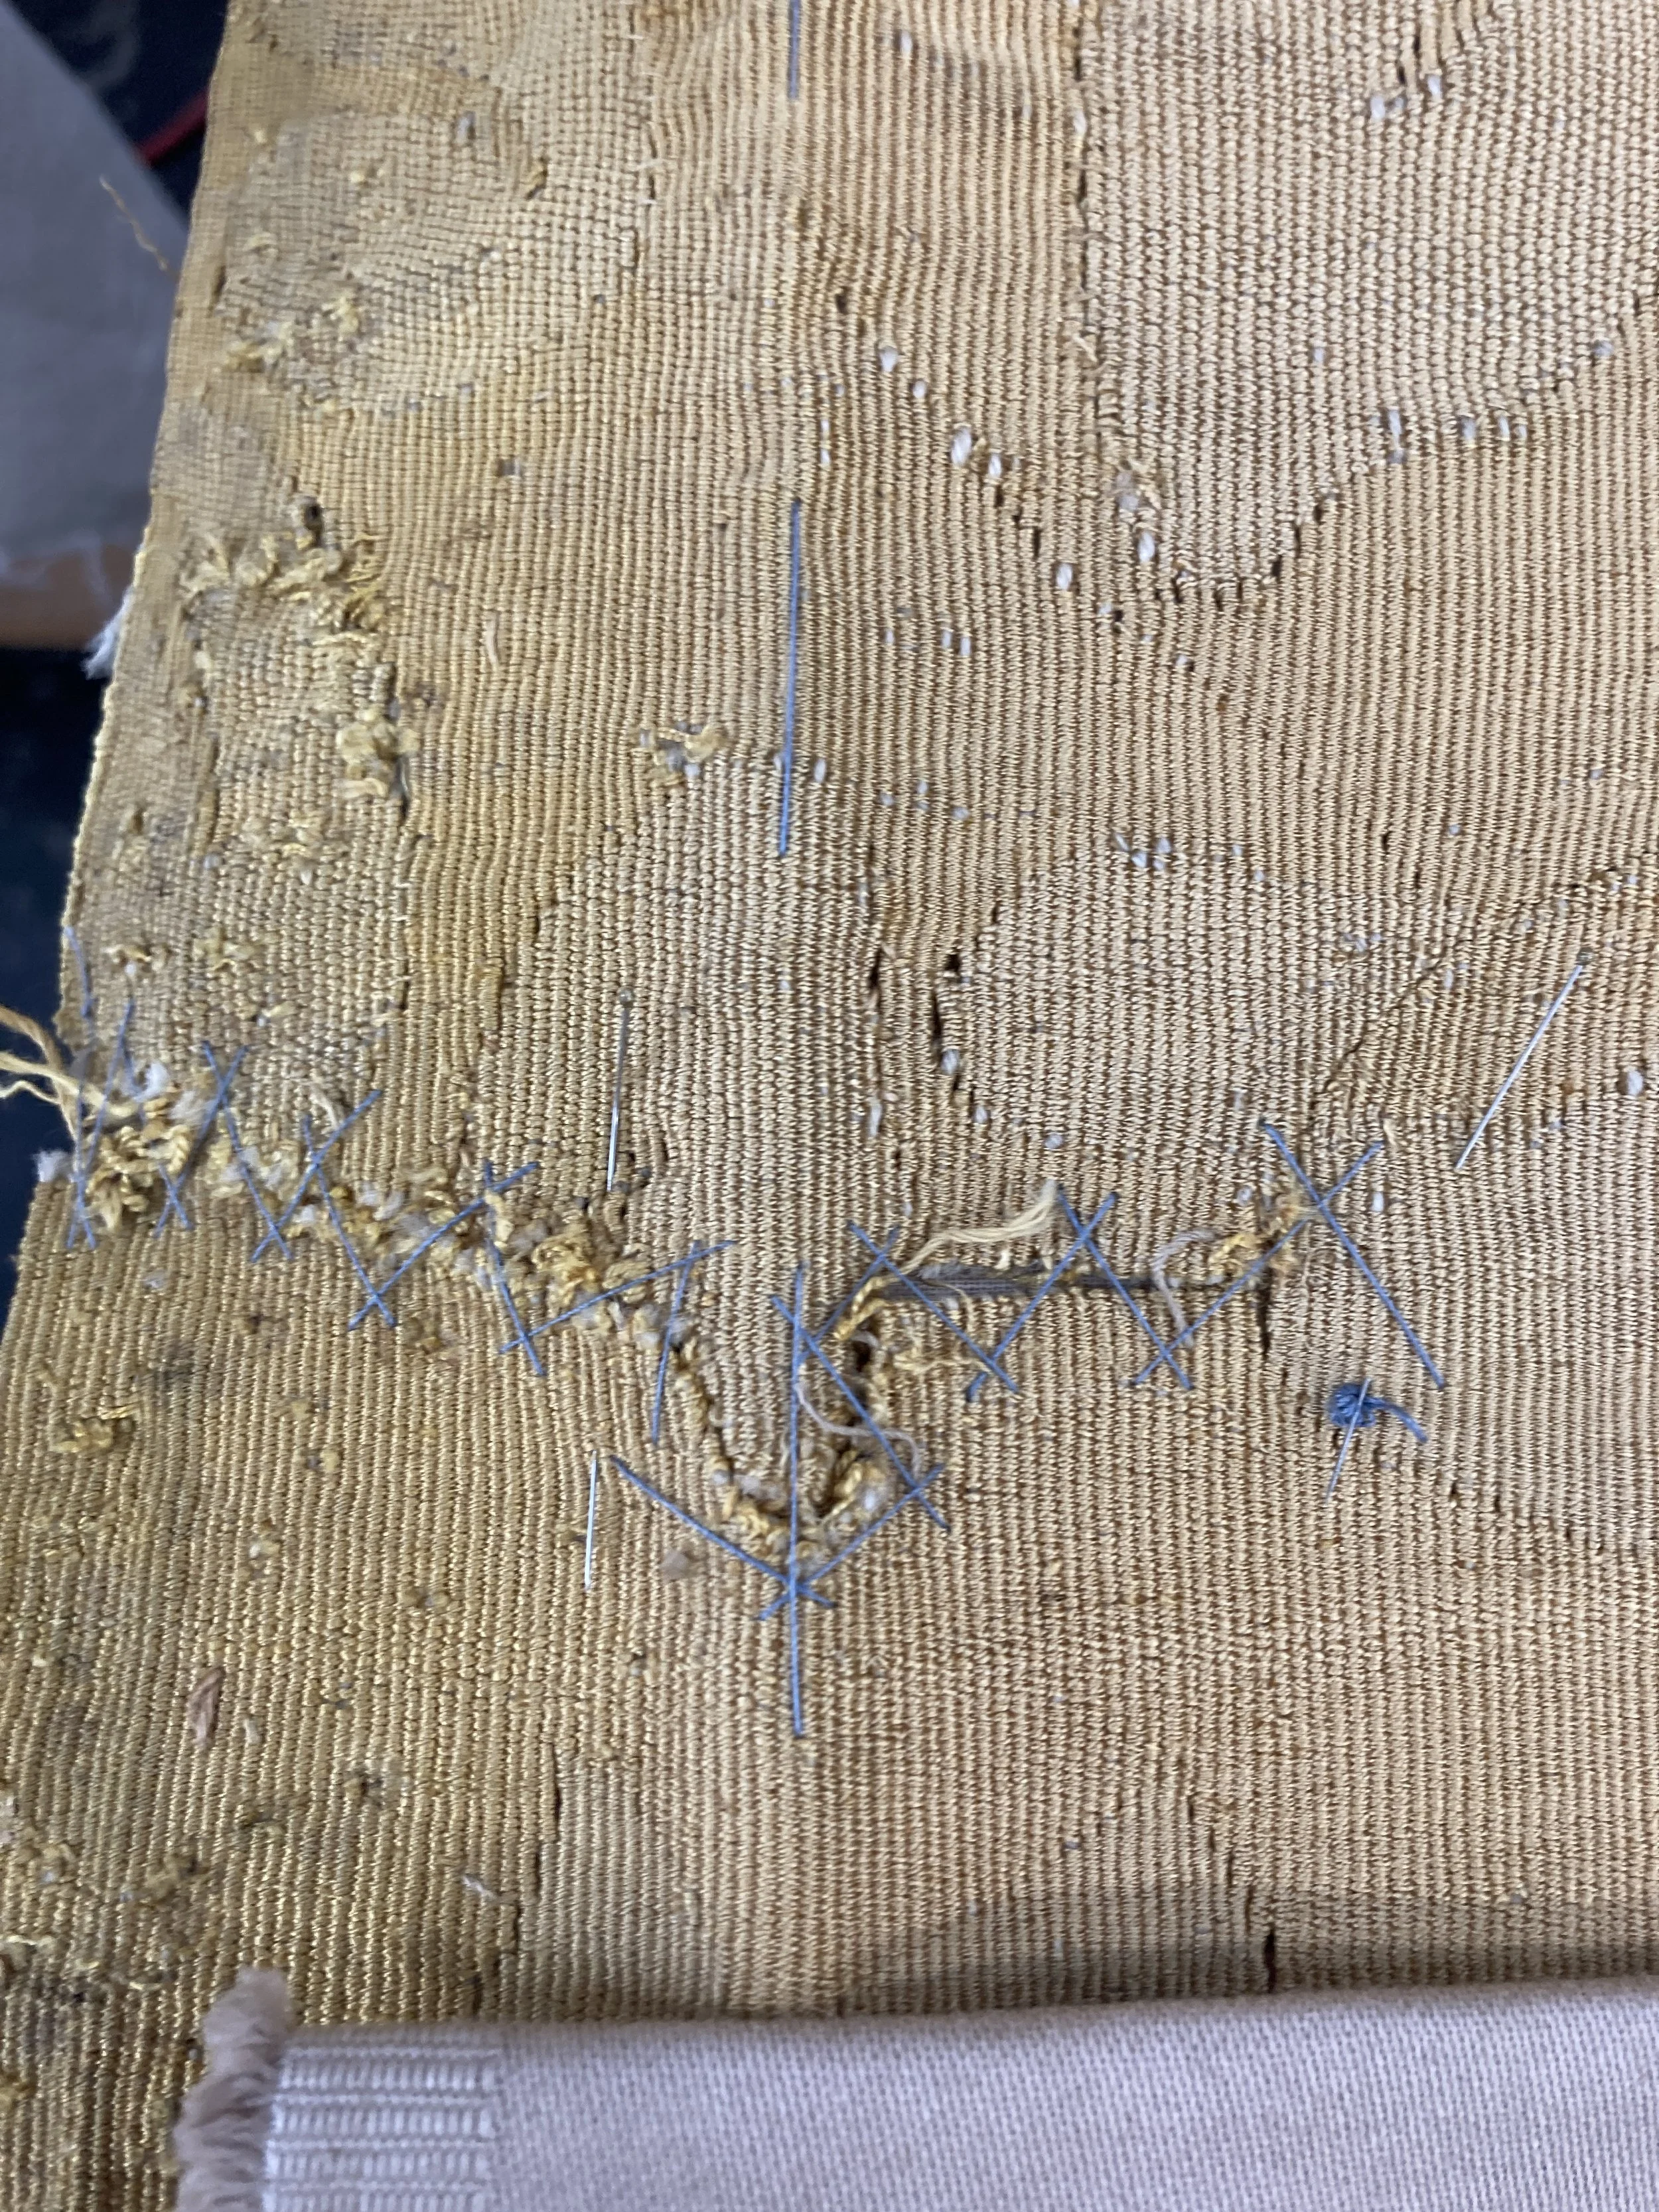
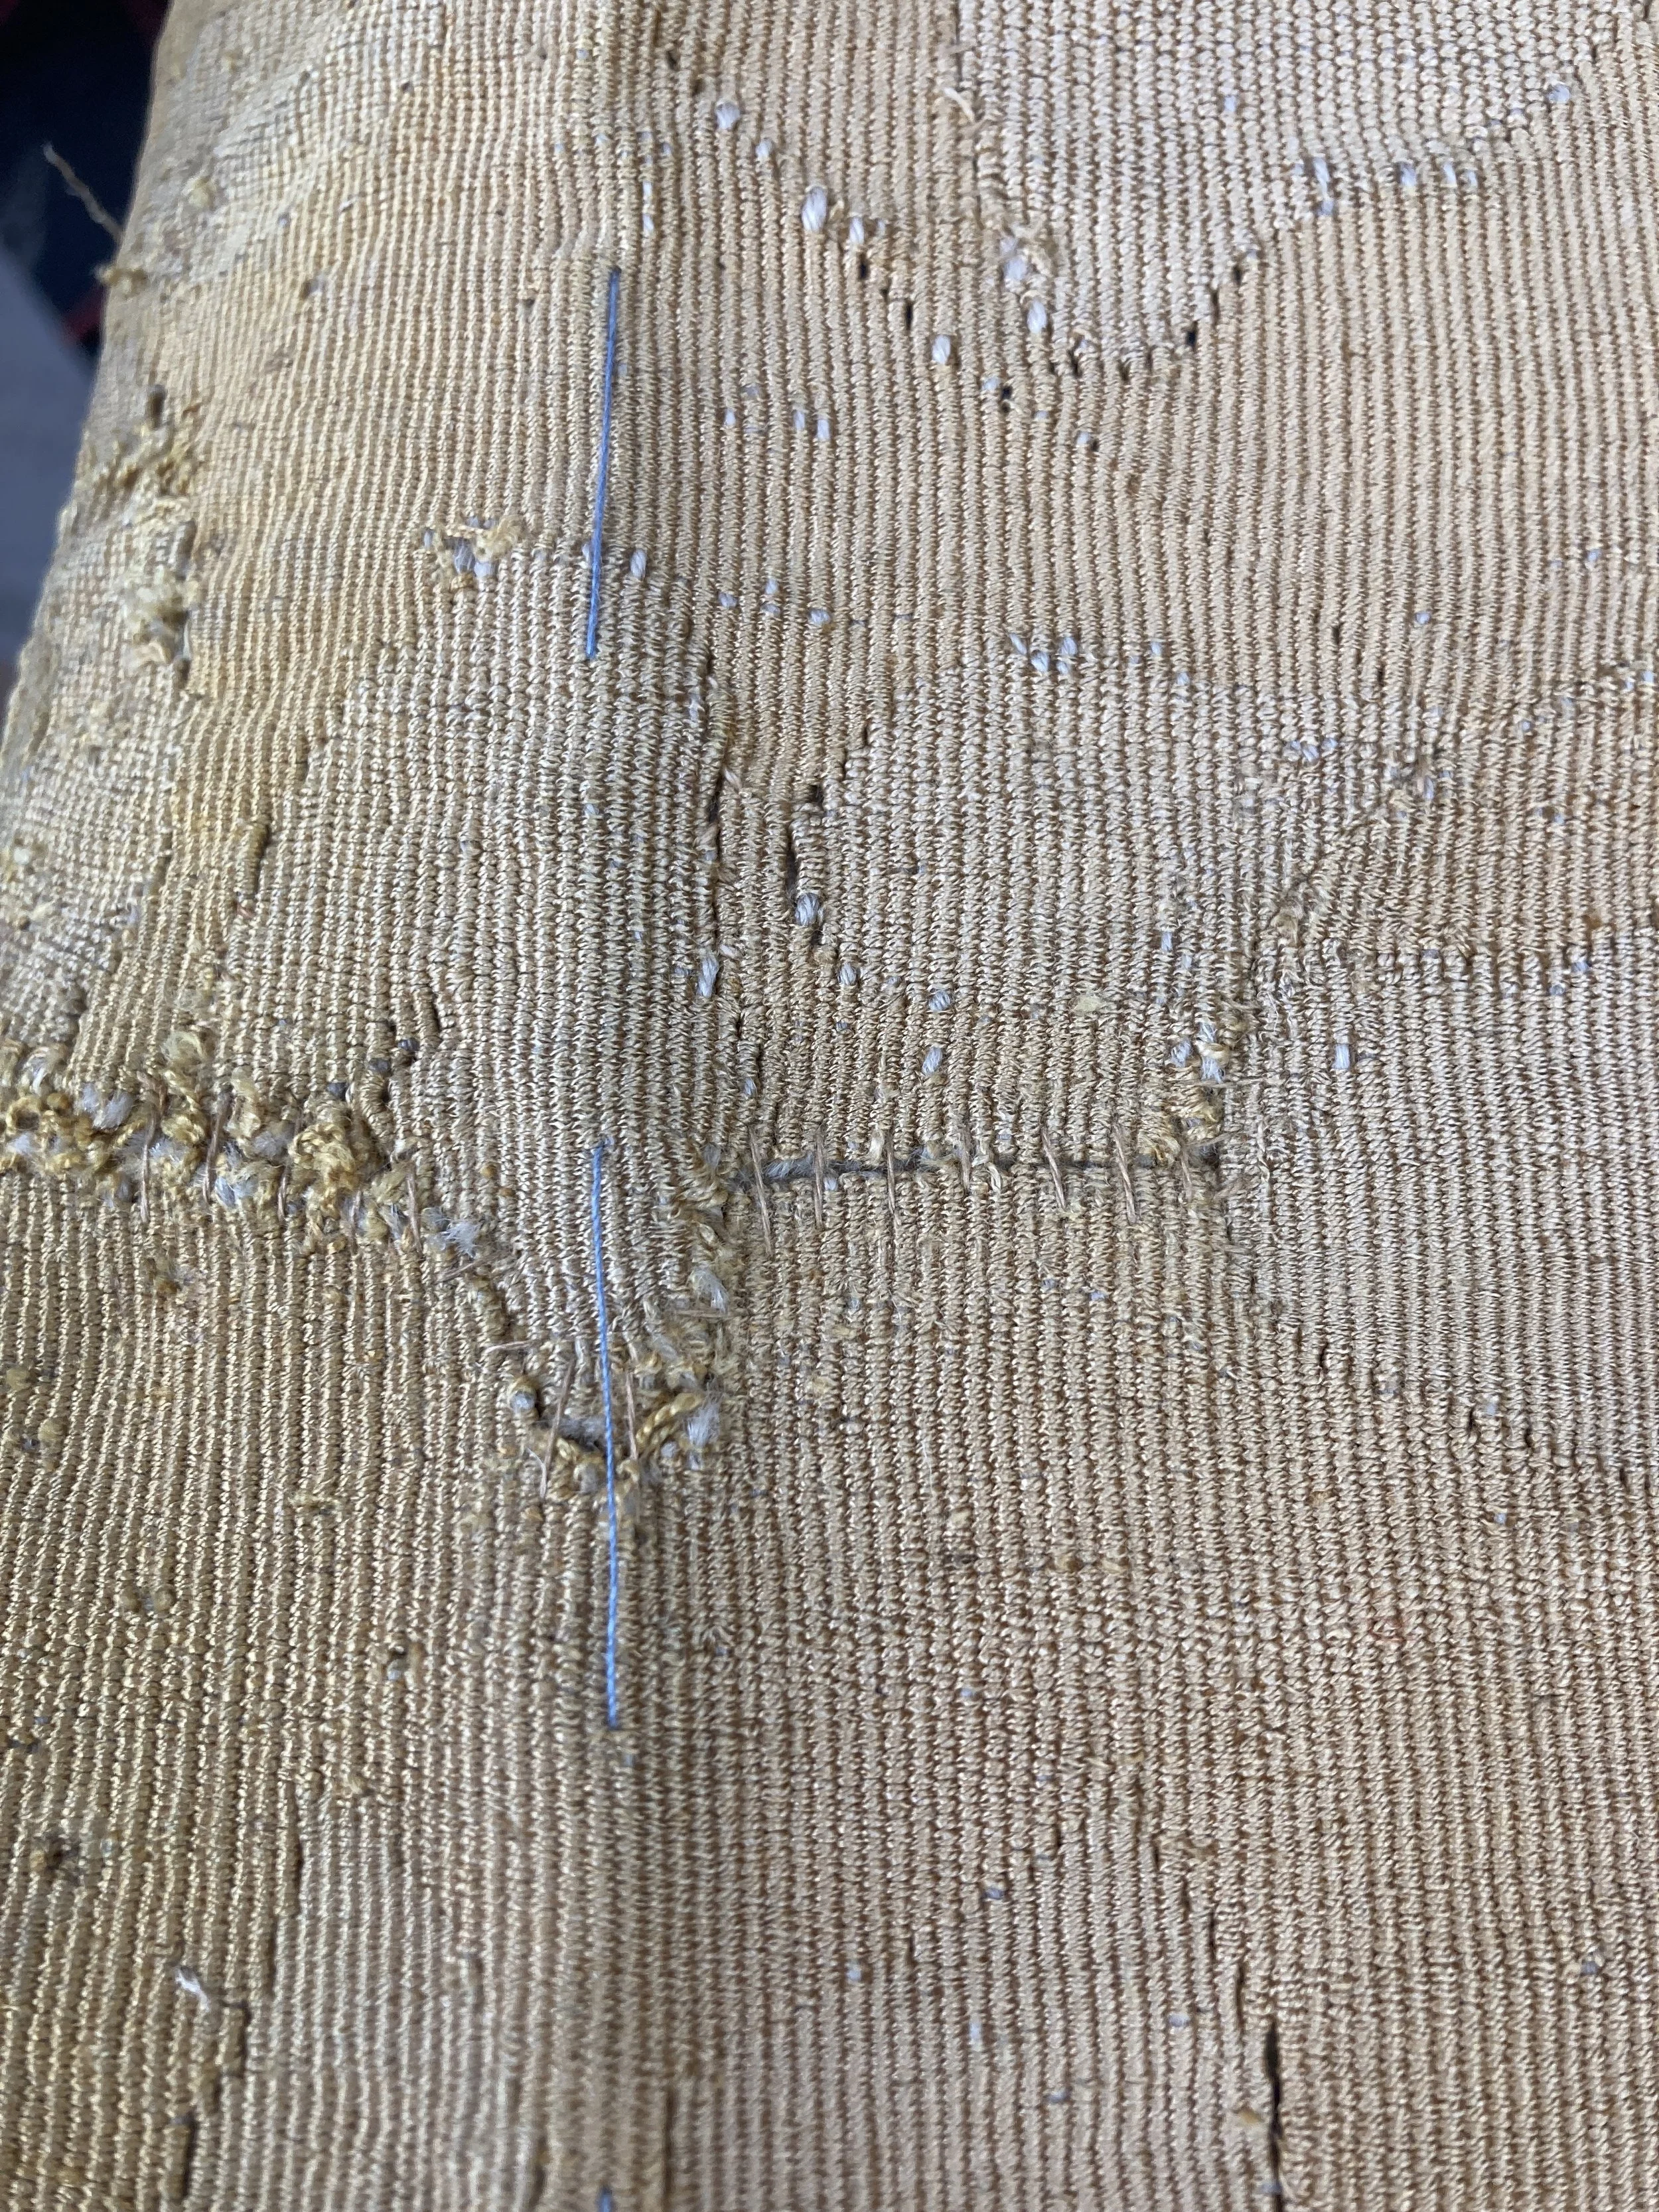
Closing the Slits
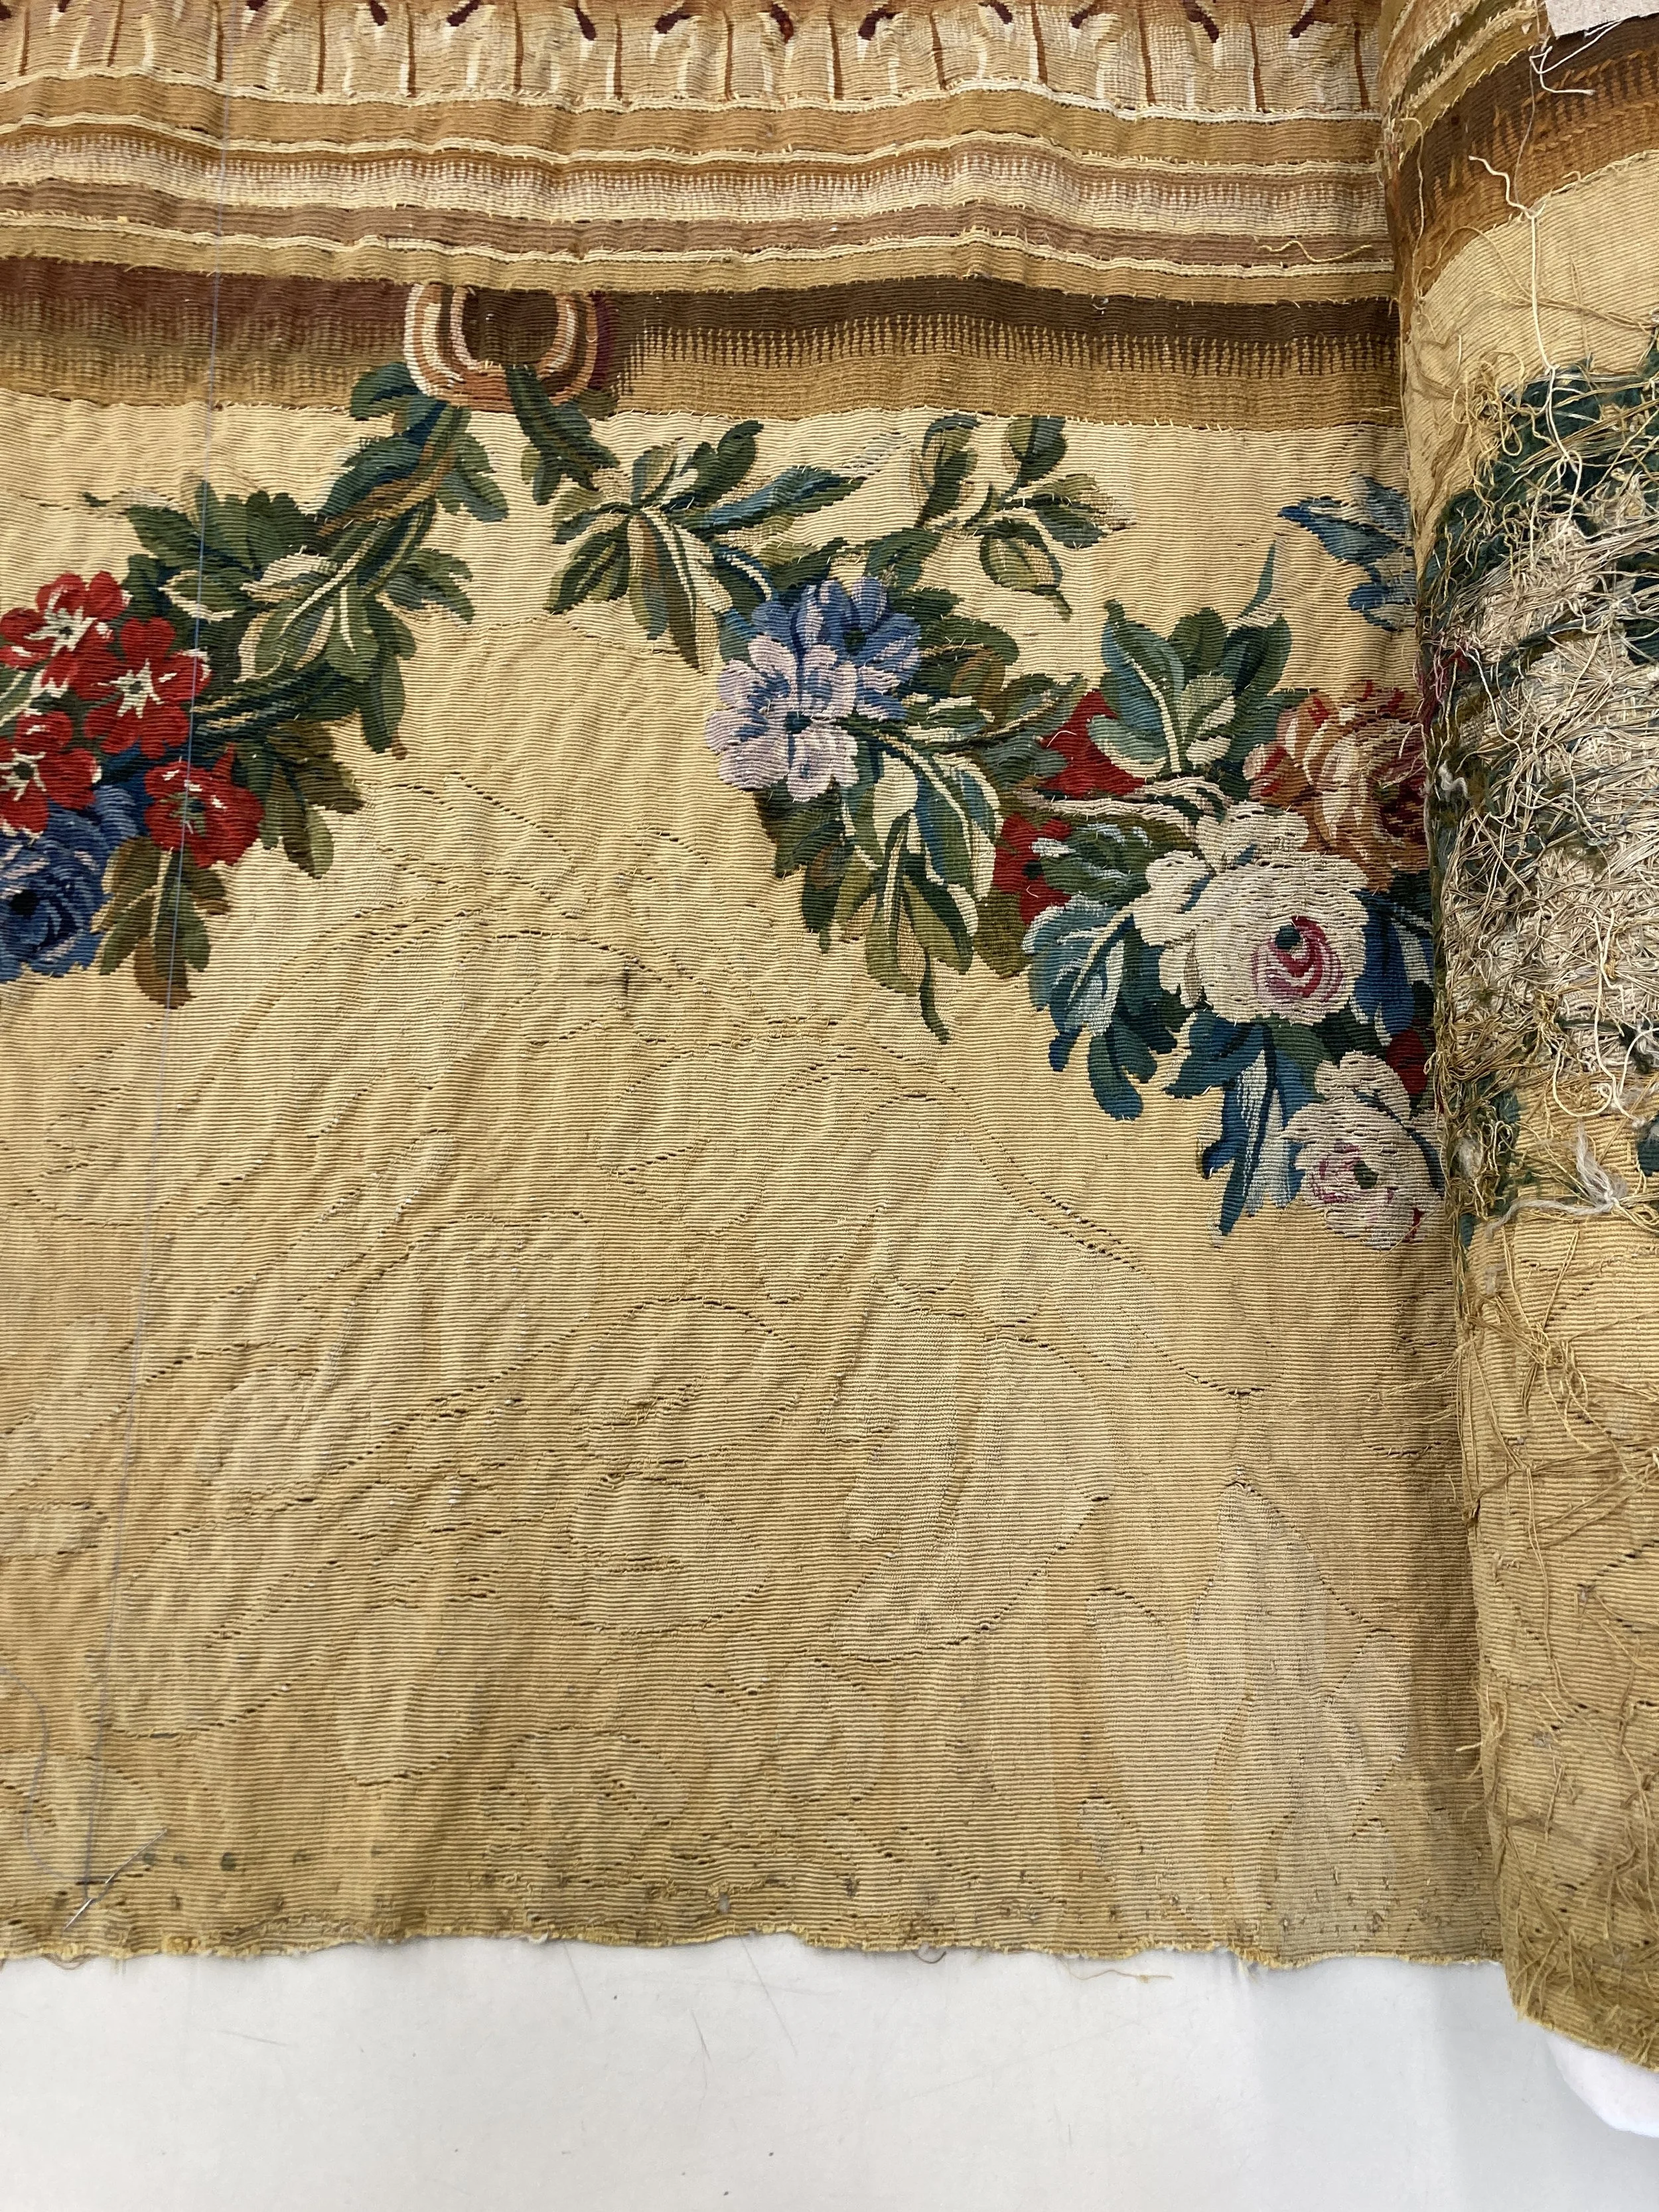
By far, the longest step of the treatment was closing the slits in the tapestry. This took almost exactly 300 hours between two conservators. The slits were closed with one strand of cotton DMC thread in a corresponding color with size 28 tapestry needles. Slits bigger than 0.5” were addressed and broke or fragile thread from previous treatment was replaced.
Patches and tabby stitches were placed on weak spots. For the long vertical slits on the sides of the frames, they were closed with a tensioned narrow herringbone, cotton tape was added to the back and tacked down with wider herringbone stitches to support the break.

Don Quixote on the tensioner. Photo credit: Margaret O’Neil

Testing colors of DMC thread for the background. Photo Credit: Margaret O'Neil.
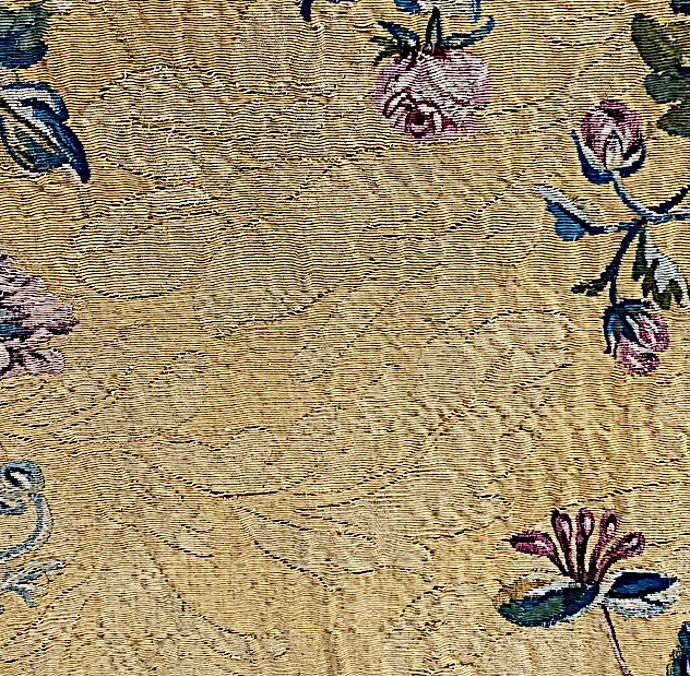
Before Treatment, Slits in yellow ground. Photo Credit: Valerie Soll.
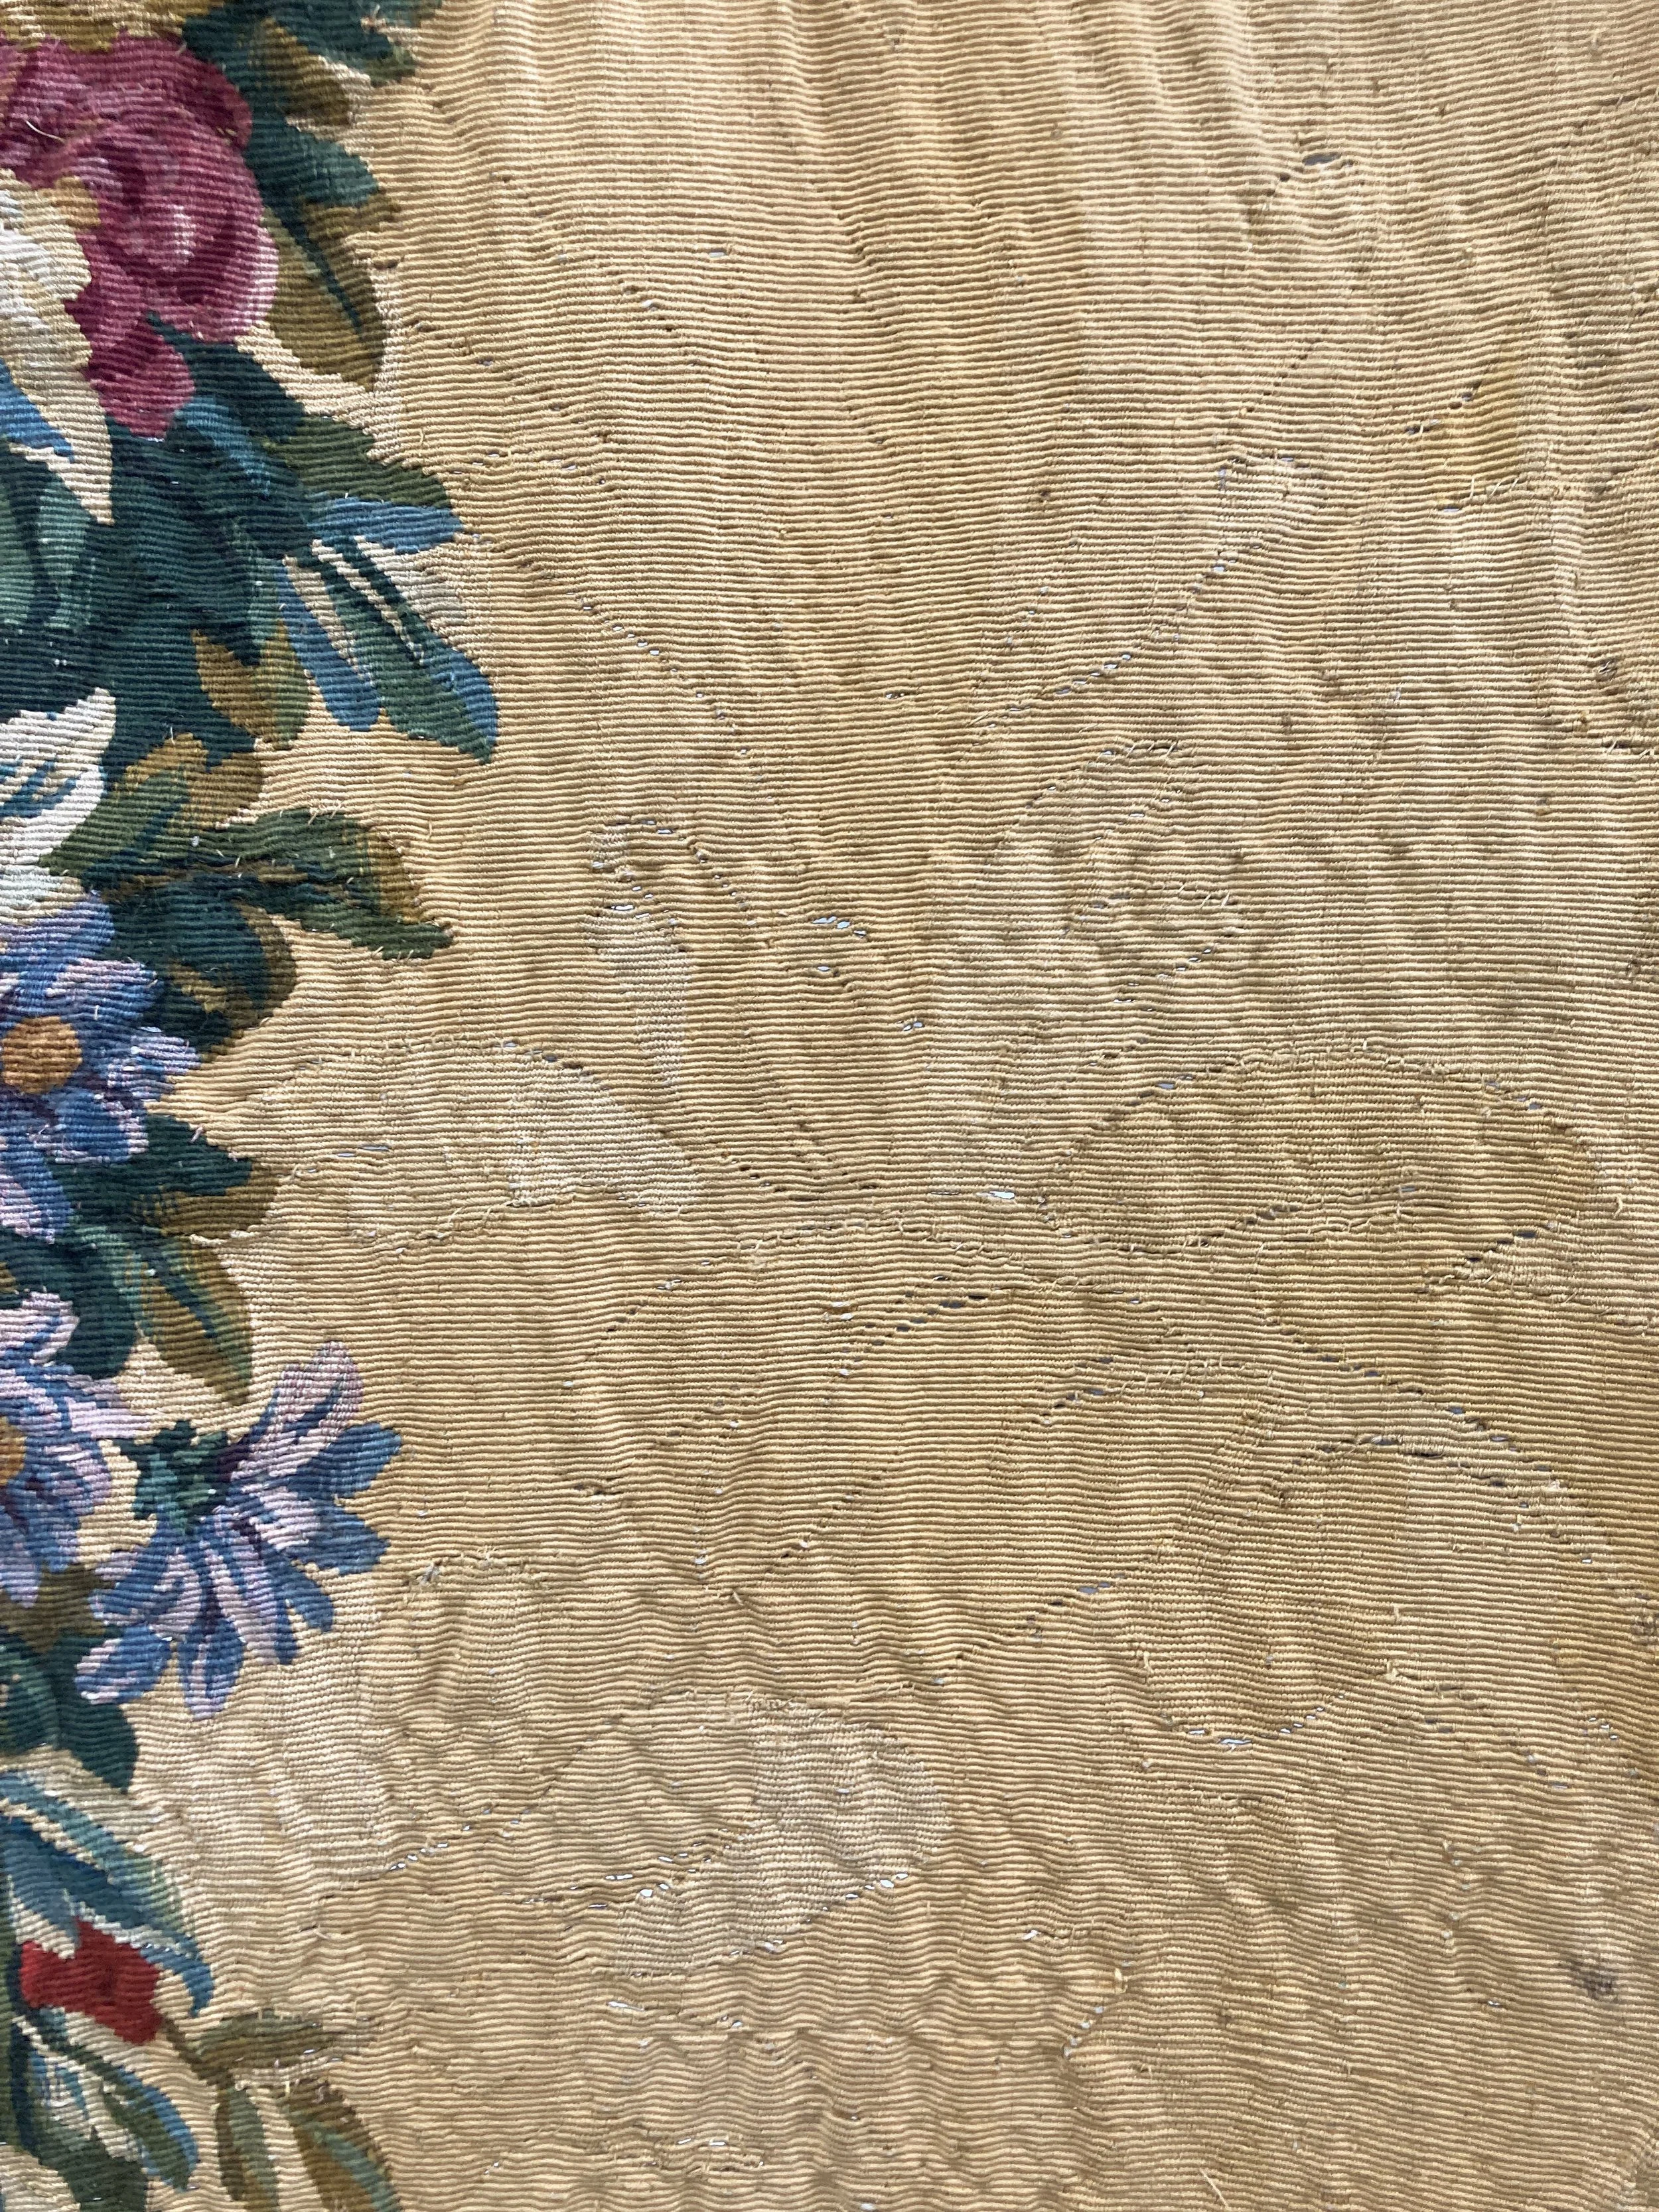
After Treatment, Slits closed in yellow background. Photo Credit: Margaret O'Neil.
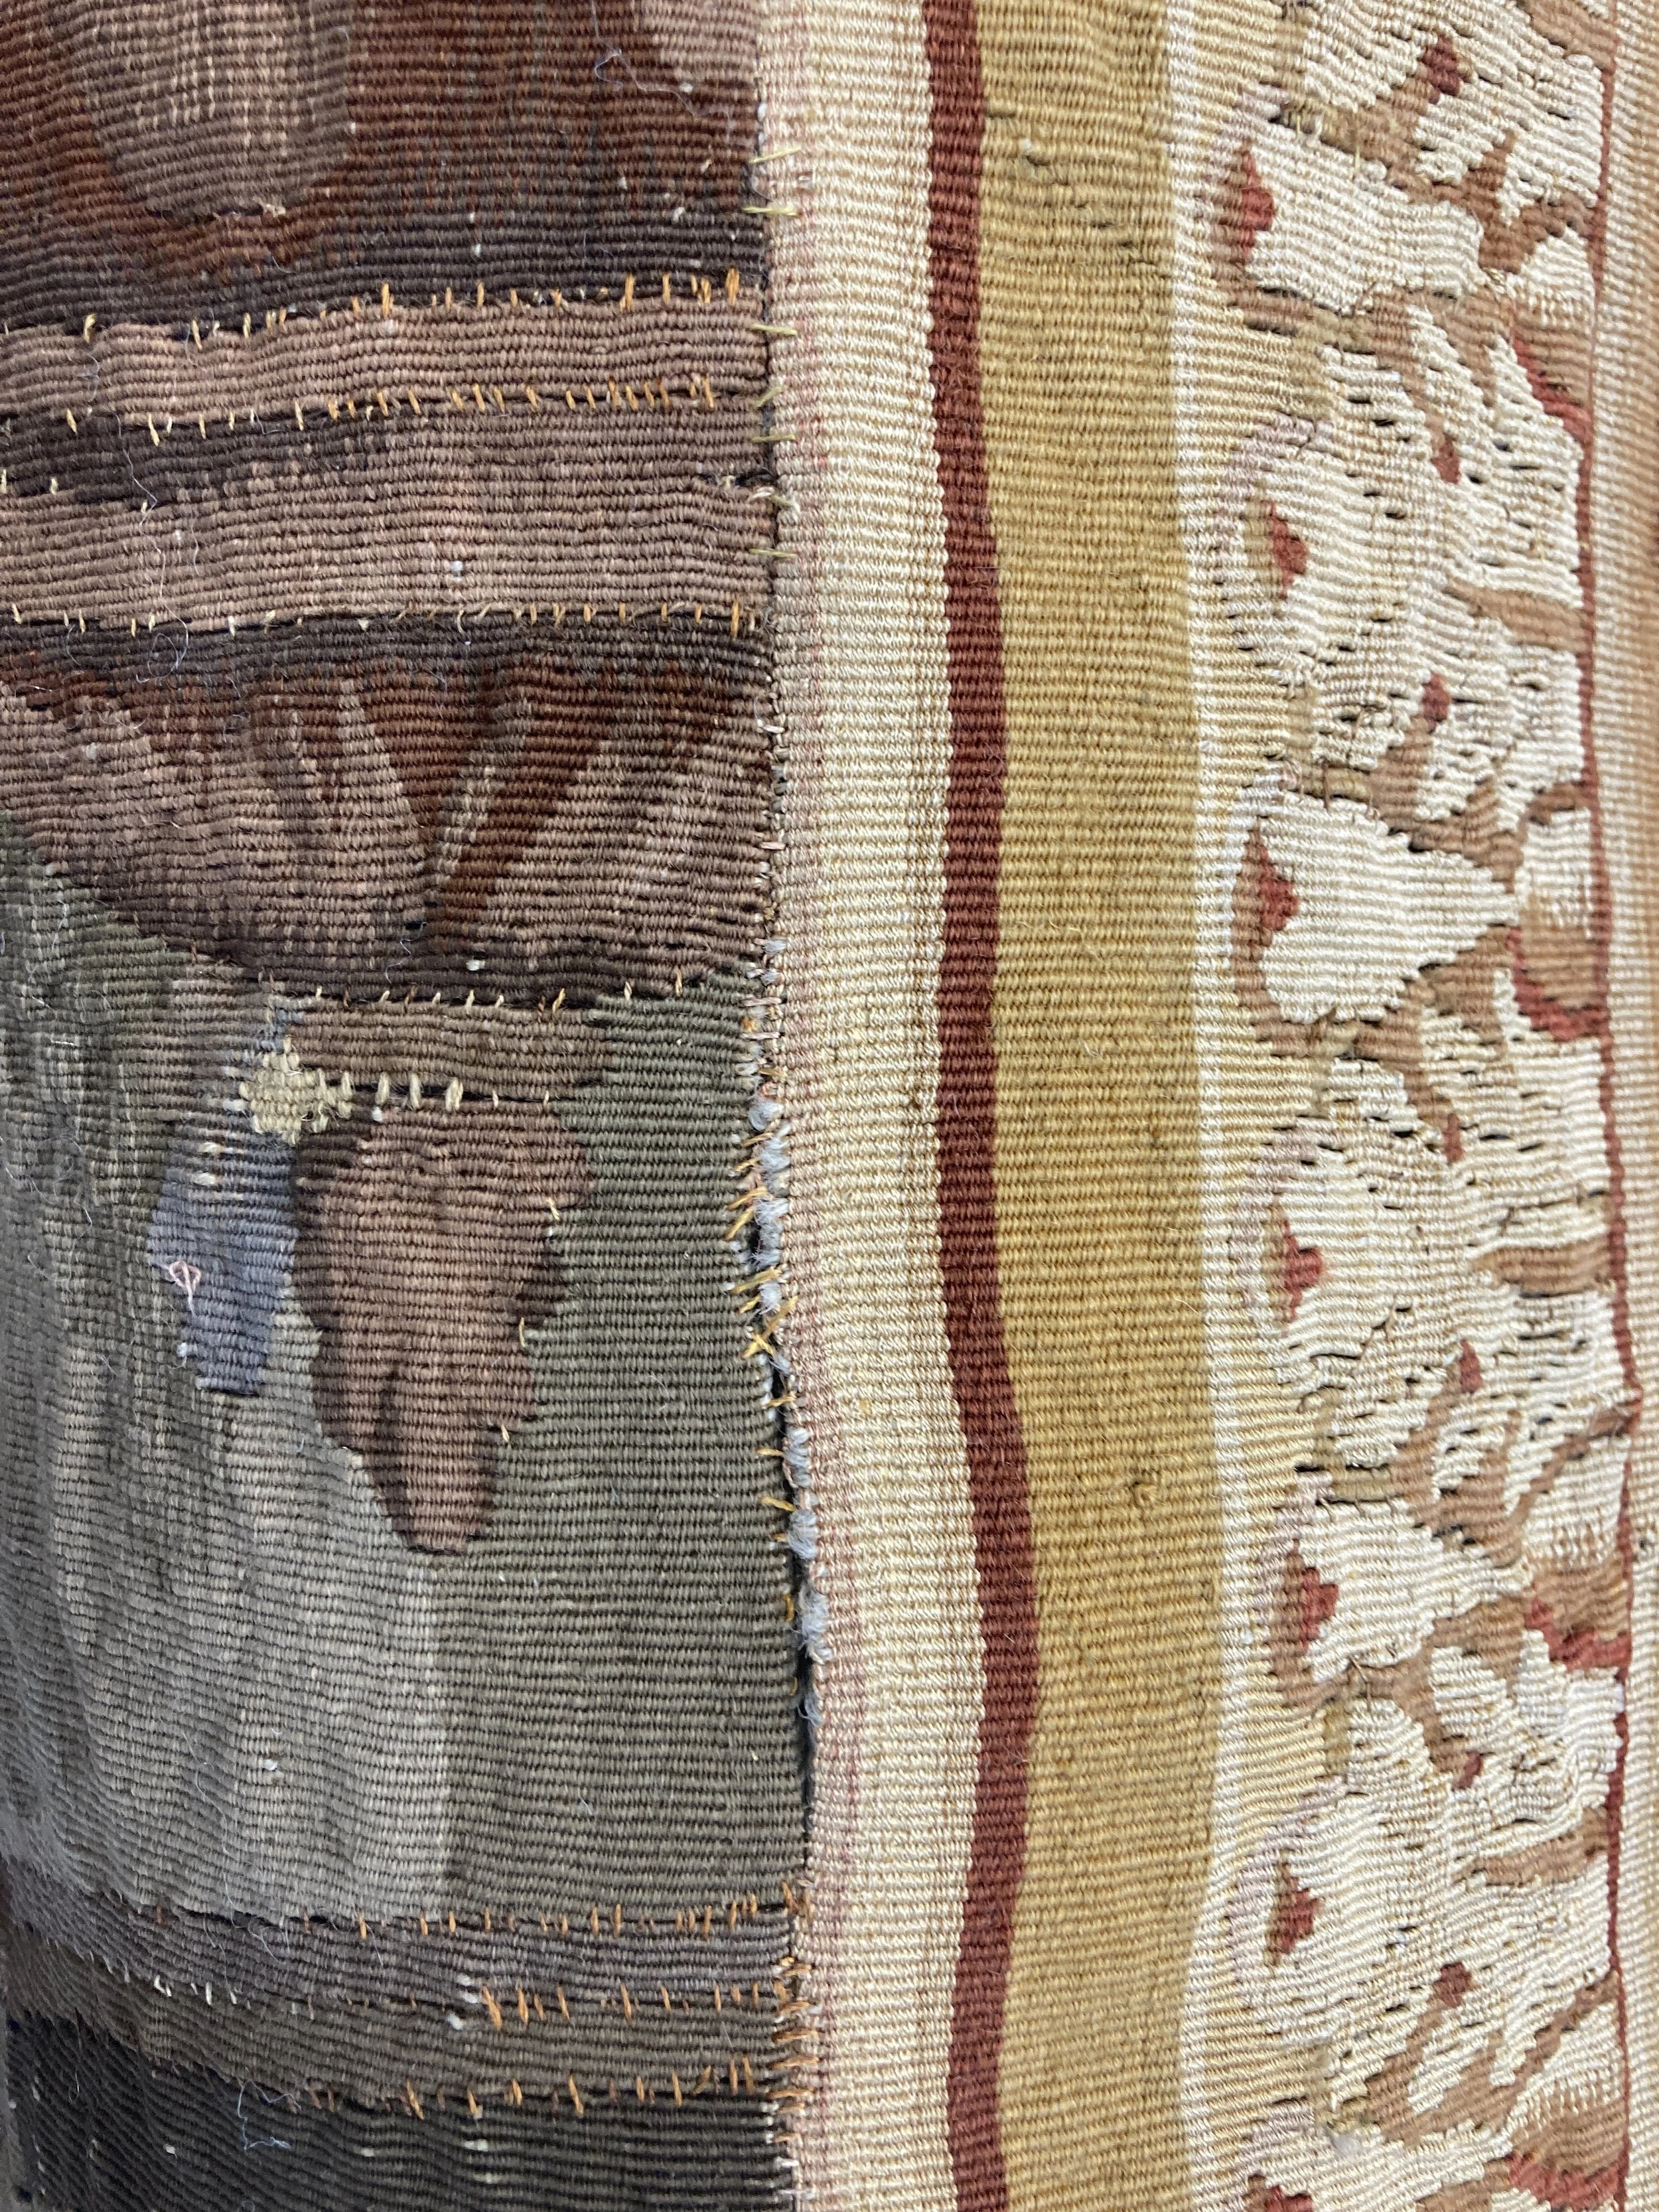
Before treatment, breaks in long vertical seams. Photo Credit: Margaret O'Neil.
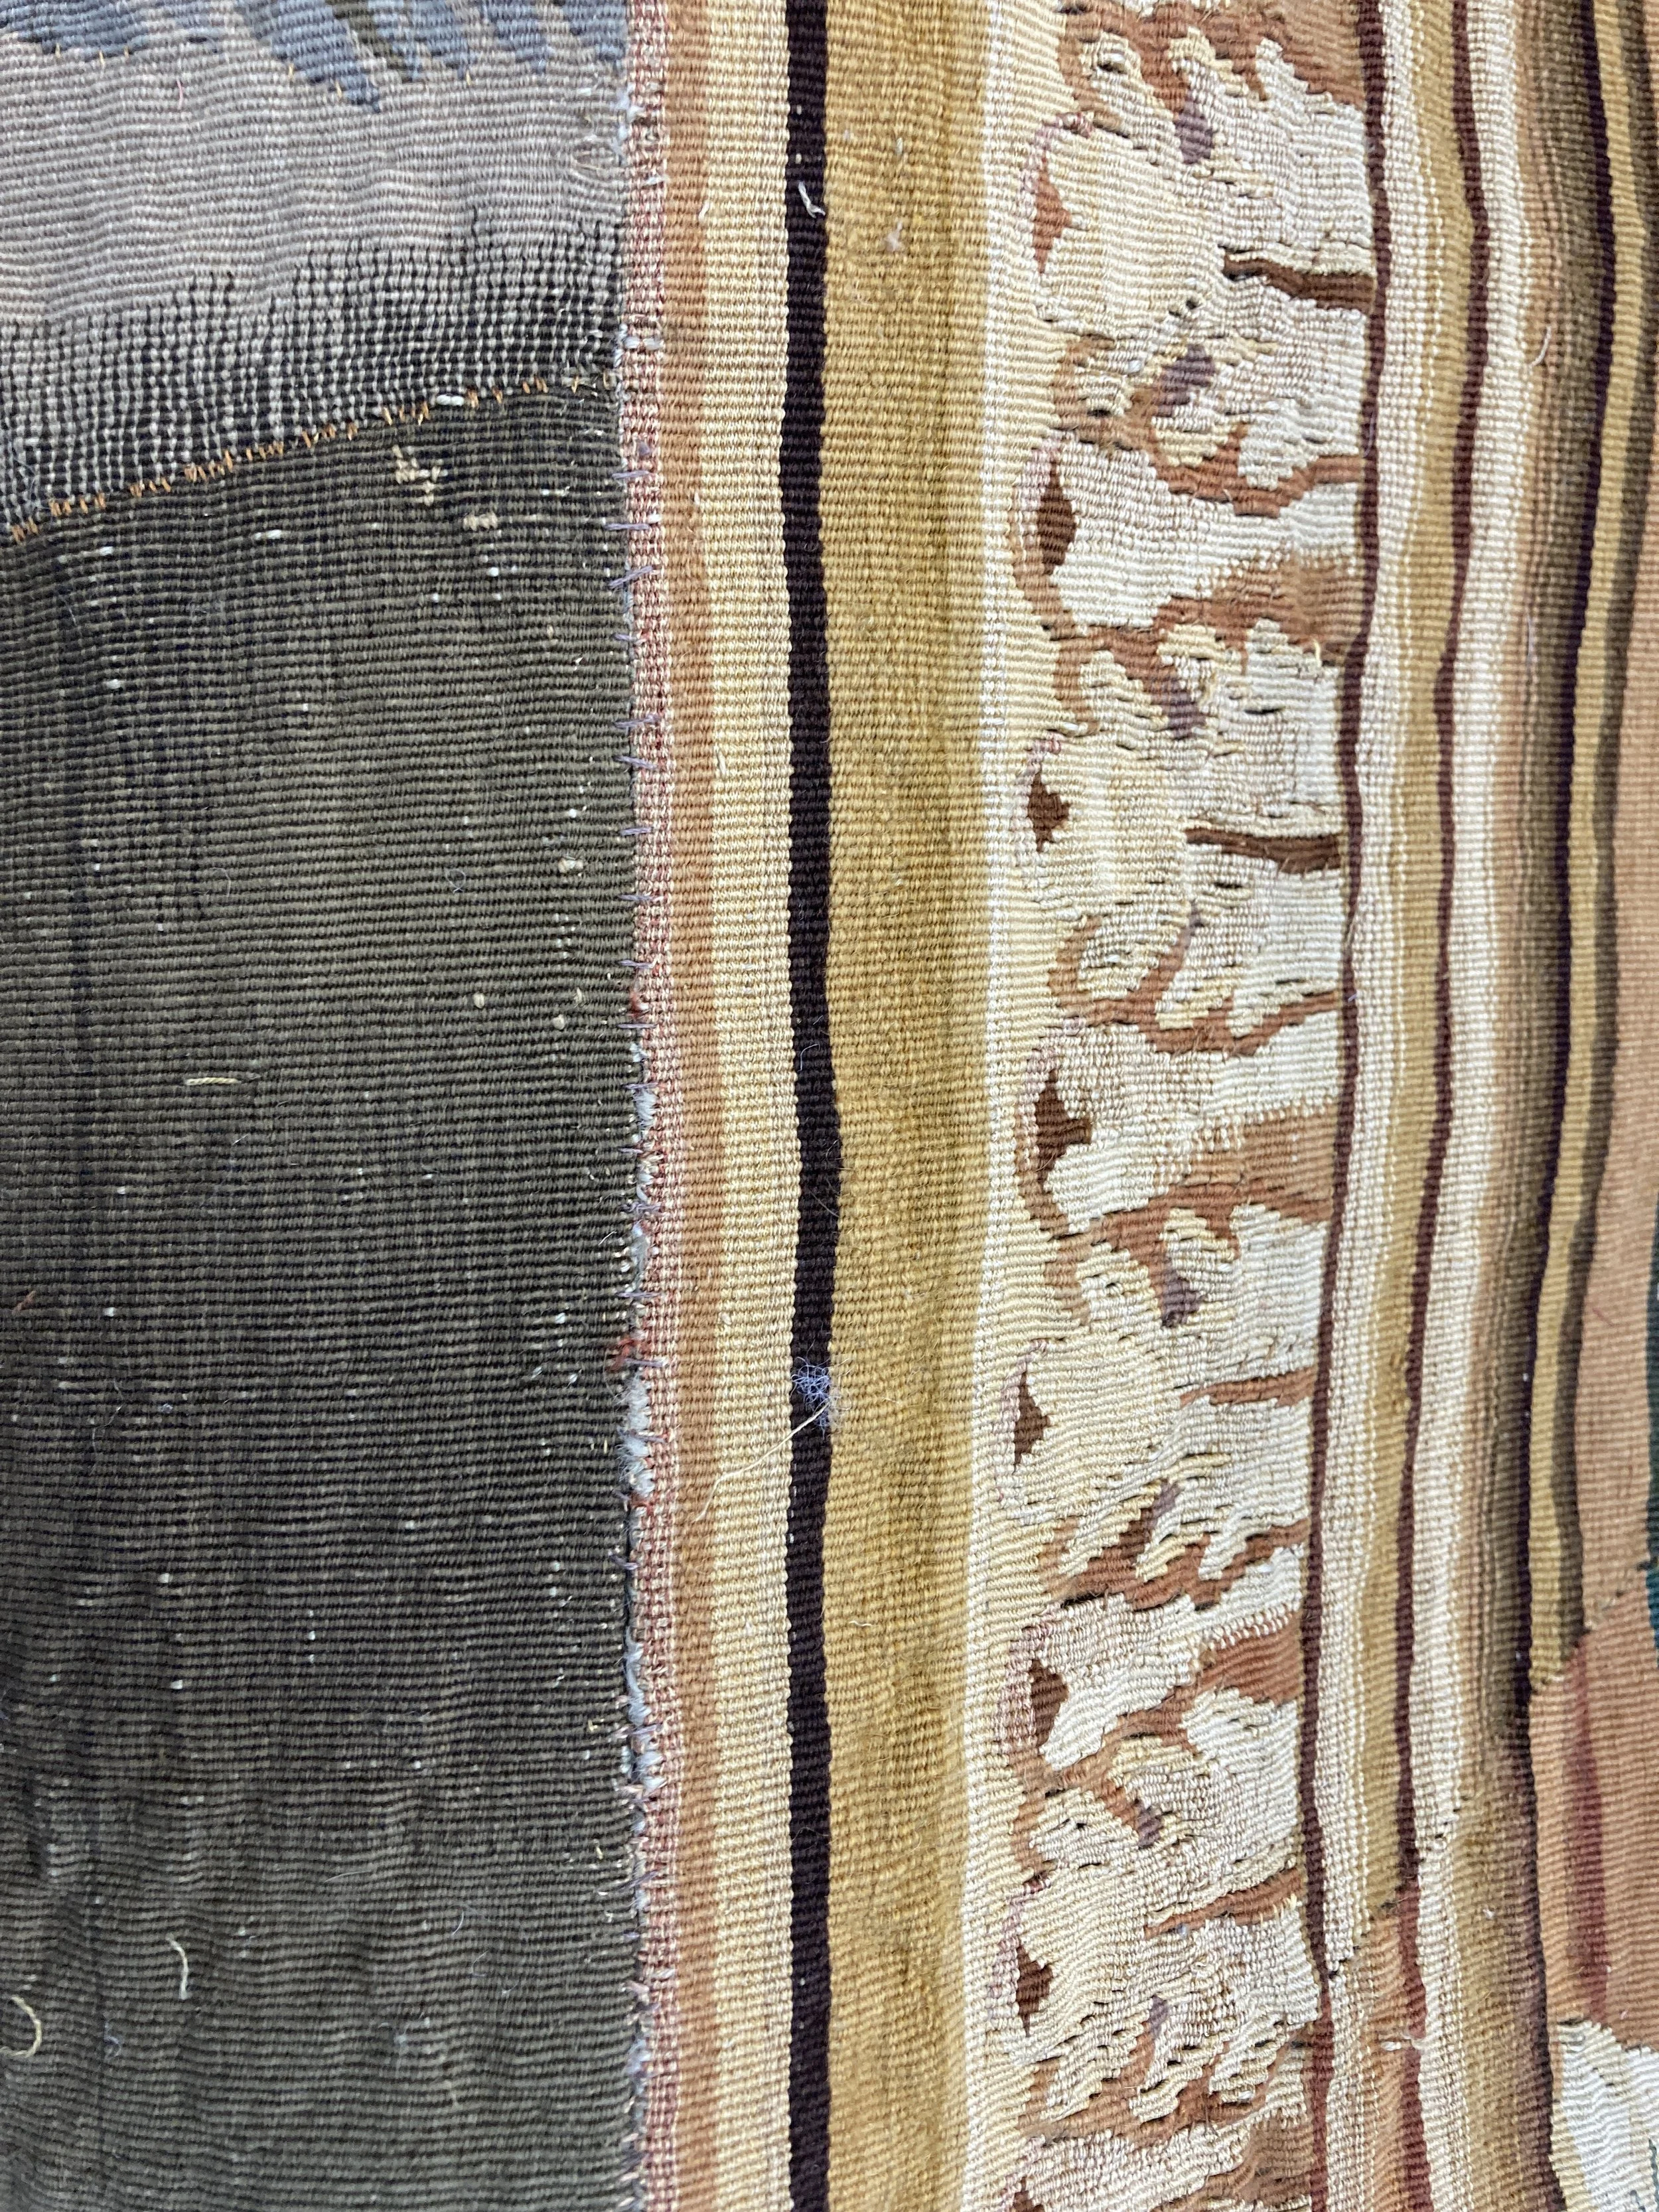
After treatment, Breaks in long vertical joins closed. Photo Credit: Margaret O'Neil.

After Treatment, Tabby stitching on Don Quixote's arm. Photo Credit: Margaret O'Neil.
Before Treatment, Long horizontal slits in PL figural scene with fragile and red thread. Photo Credit: Margaret O'Neil.
After Treatment, Long horizontal slits on PL figure scene with new strong thread. Photo Credit: Margaret O'Neil.
Before Treatment, Split in seam along top edge. Photo Credit: Margaret O'Neil.
After Treatment, Split consolidated along top edge. Photo Credit: Margaret O'Neil.
After treatment, Tape on long vertical slits. Photo Credit: Margaret O'Neil.
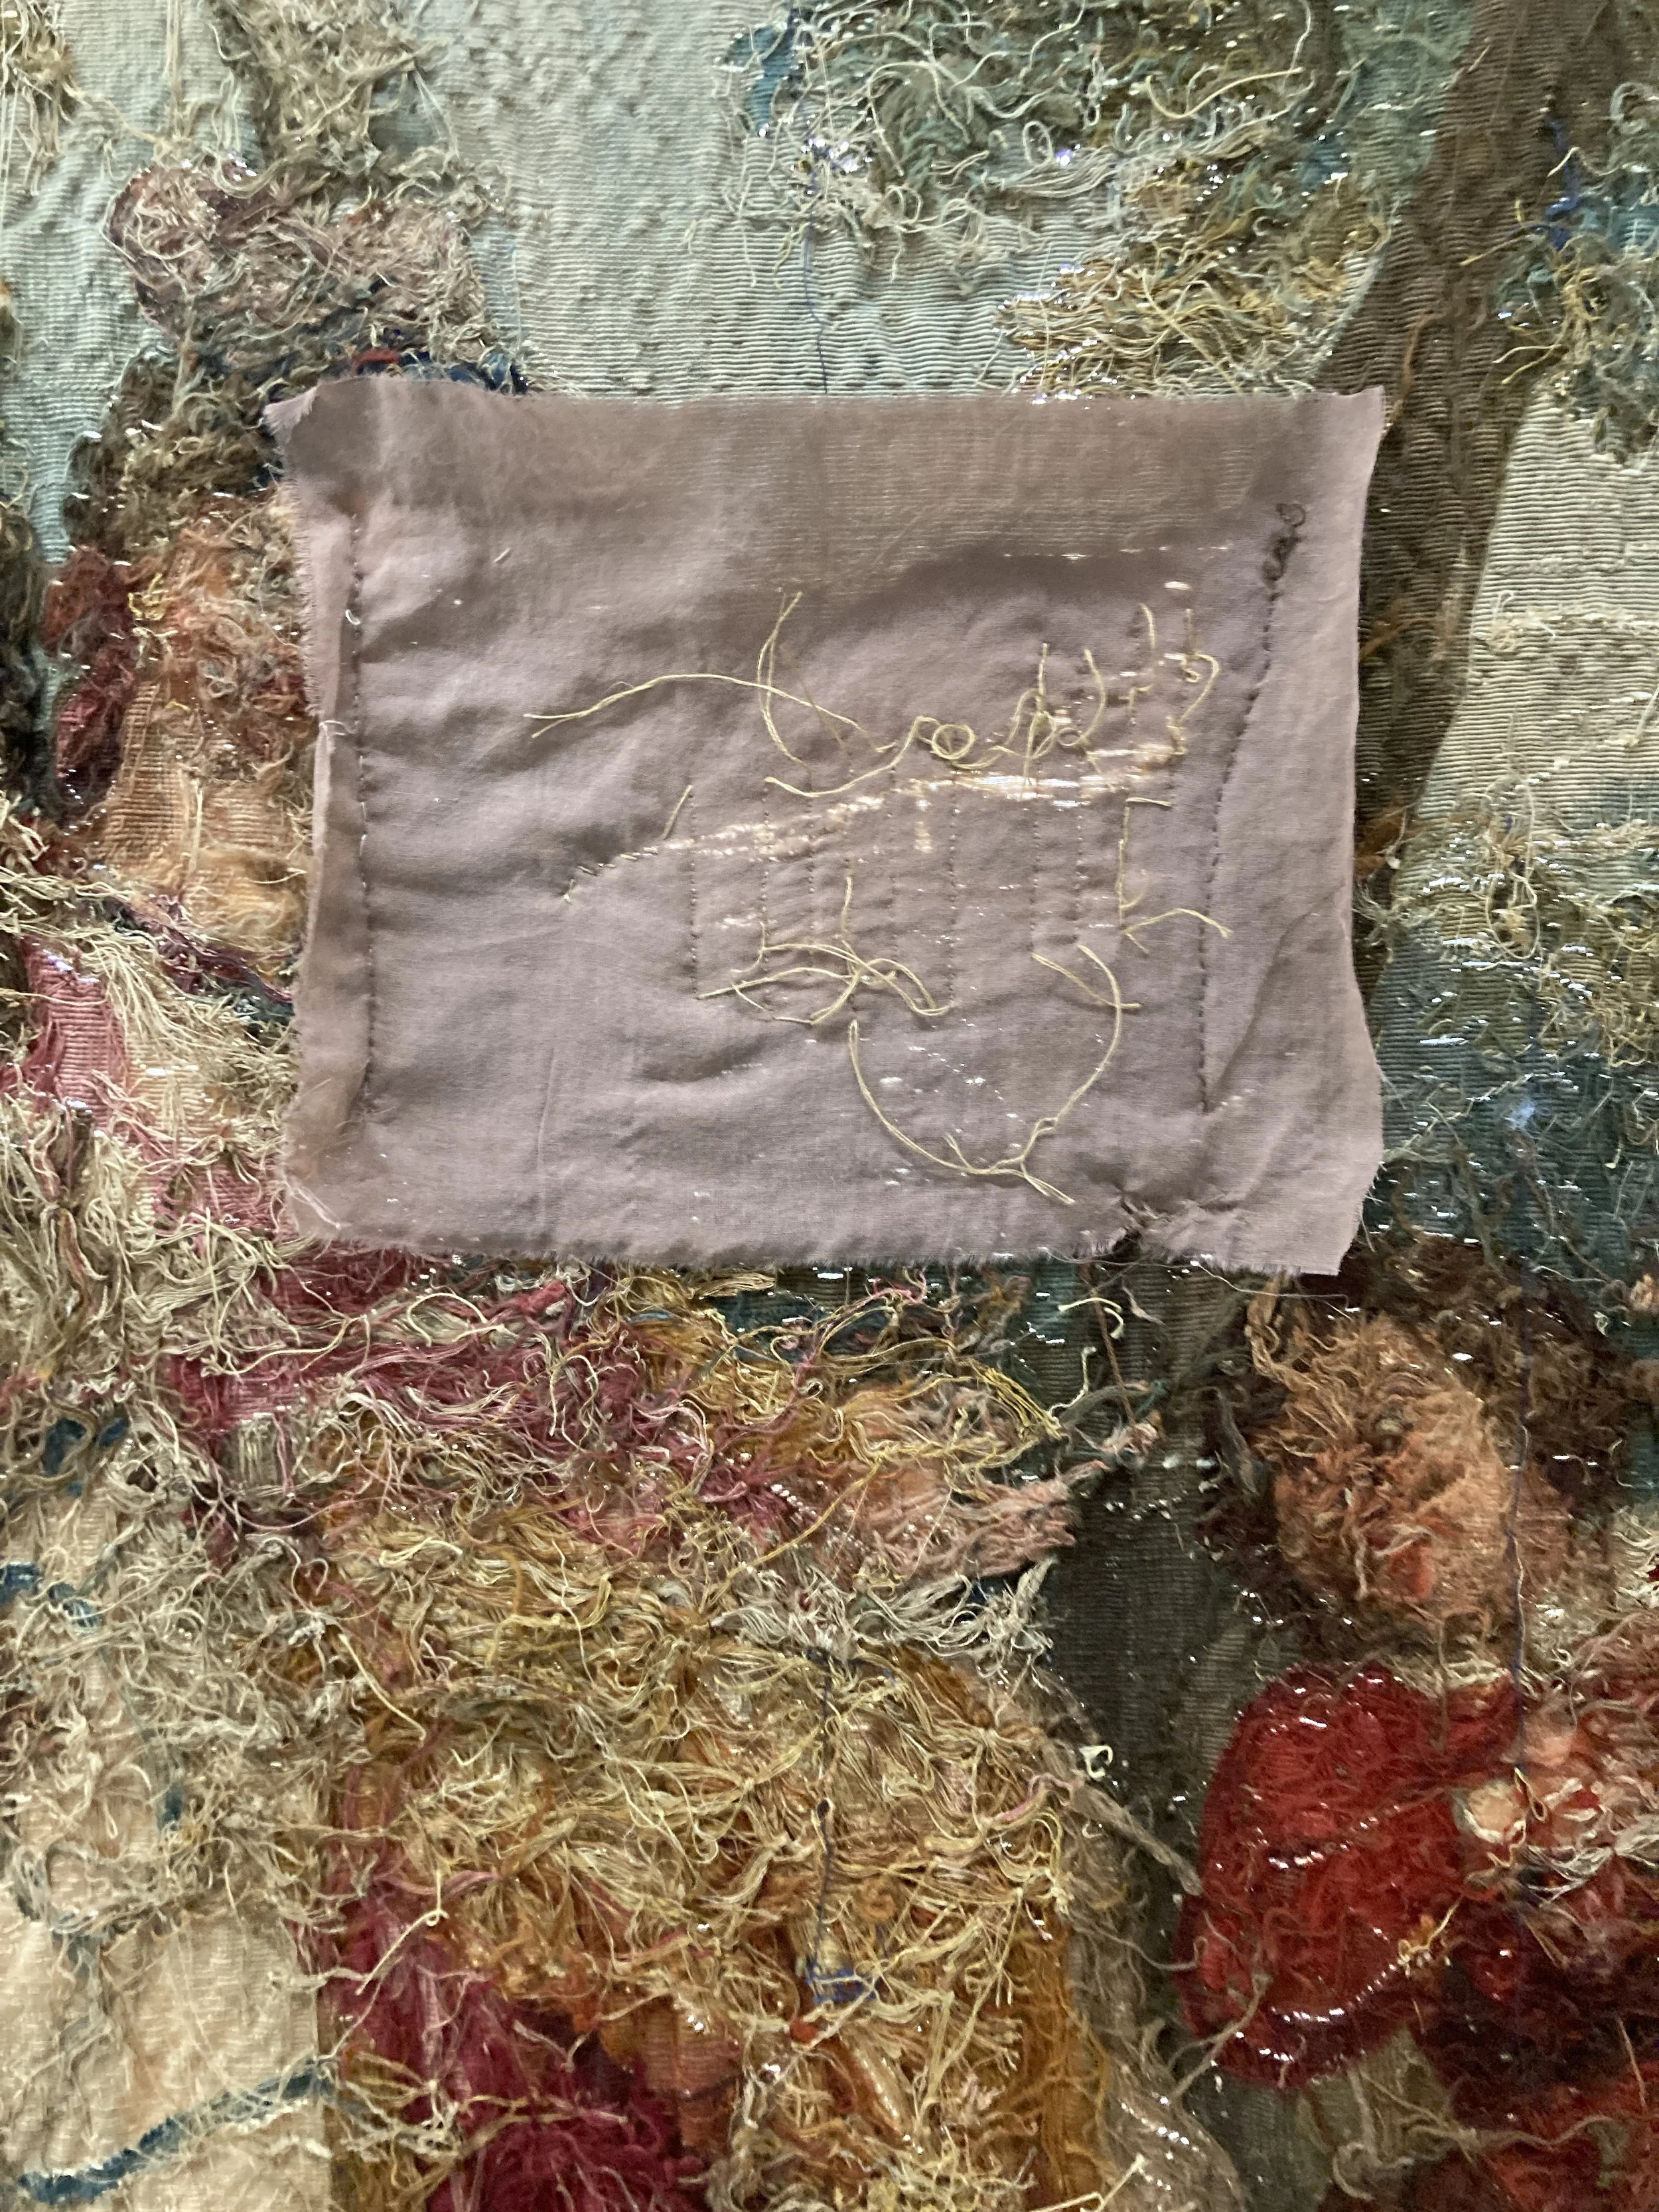
After Treatment, Patch on back on tapestry. Photo Credit: Margaret O'Neil.

After Treatment, Area with patch from the front. Photo Credit: Margaret O'Neil.
Before Treatment, Long horizontal slit in the PR frame. Photo Credit: Valerie Soll.
After Treatment, Long horizontal slit in the PR frame. Photo Credit: Margaret O'Neil.
A Monumental Backing
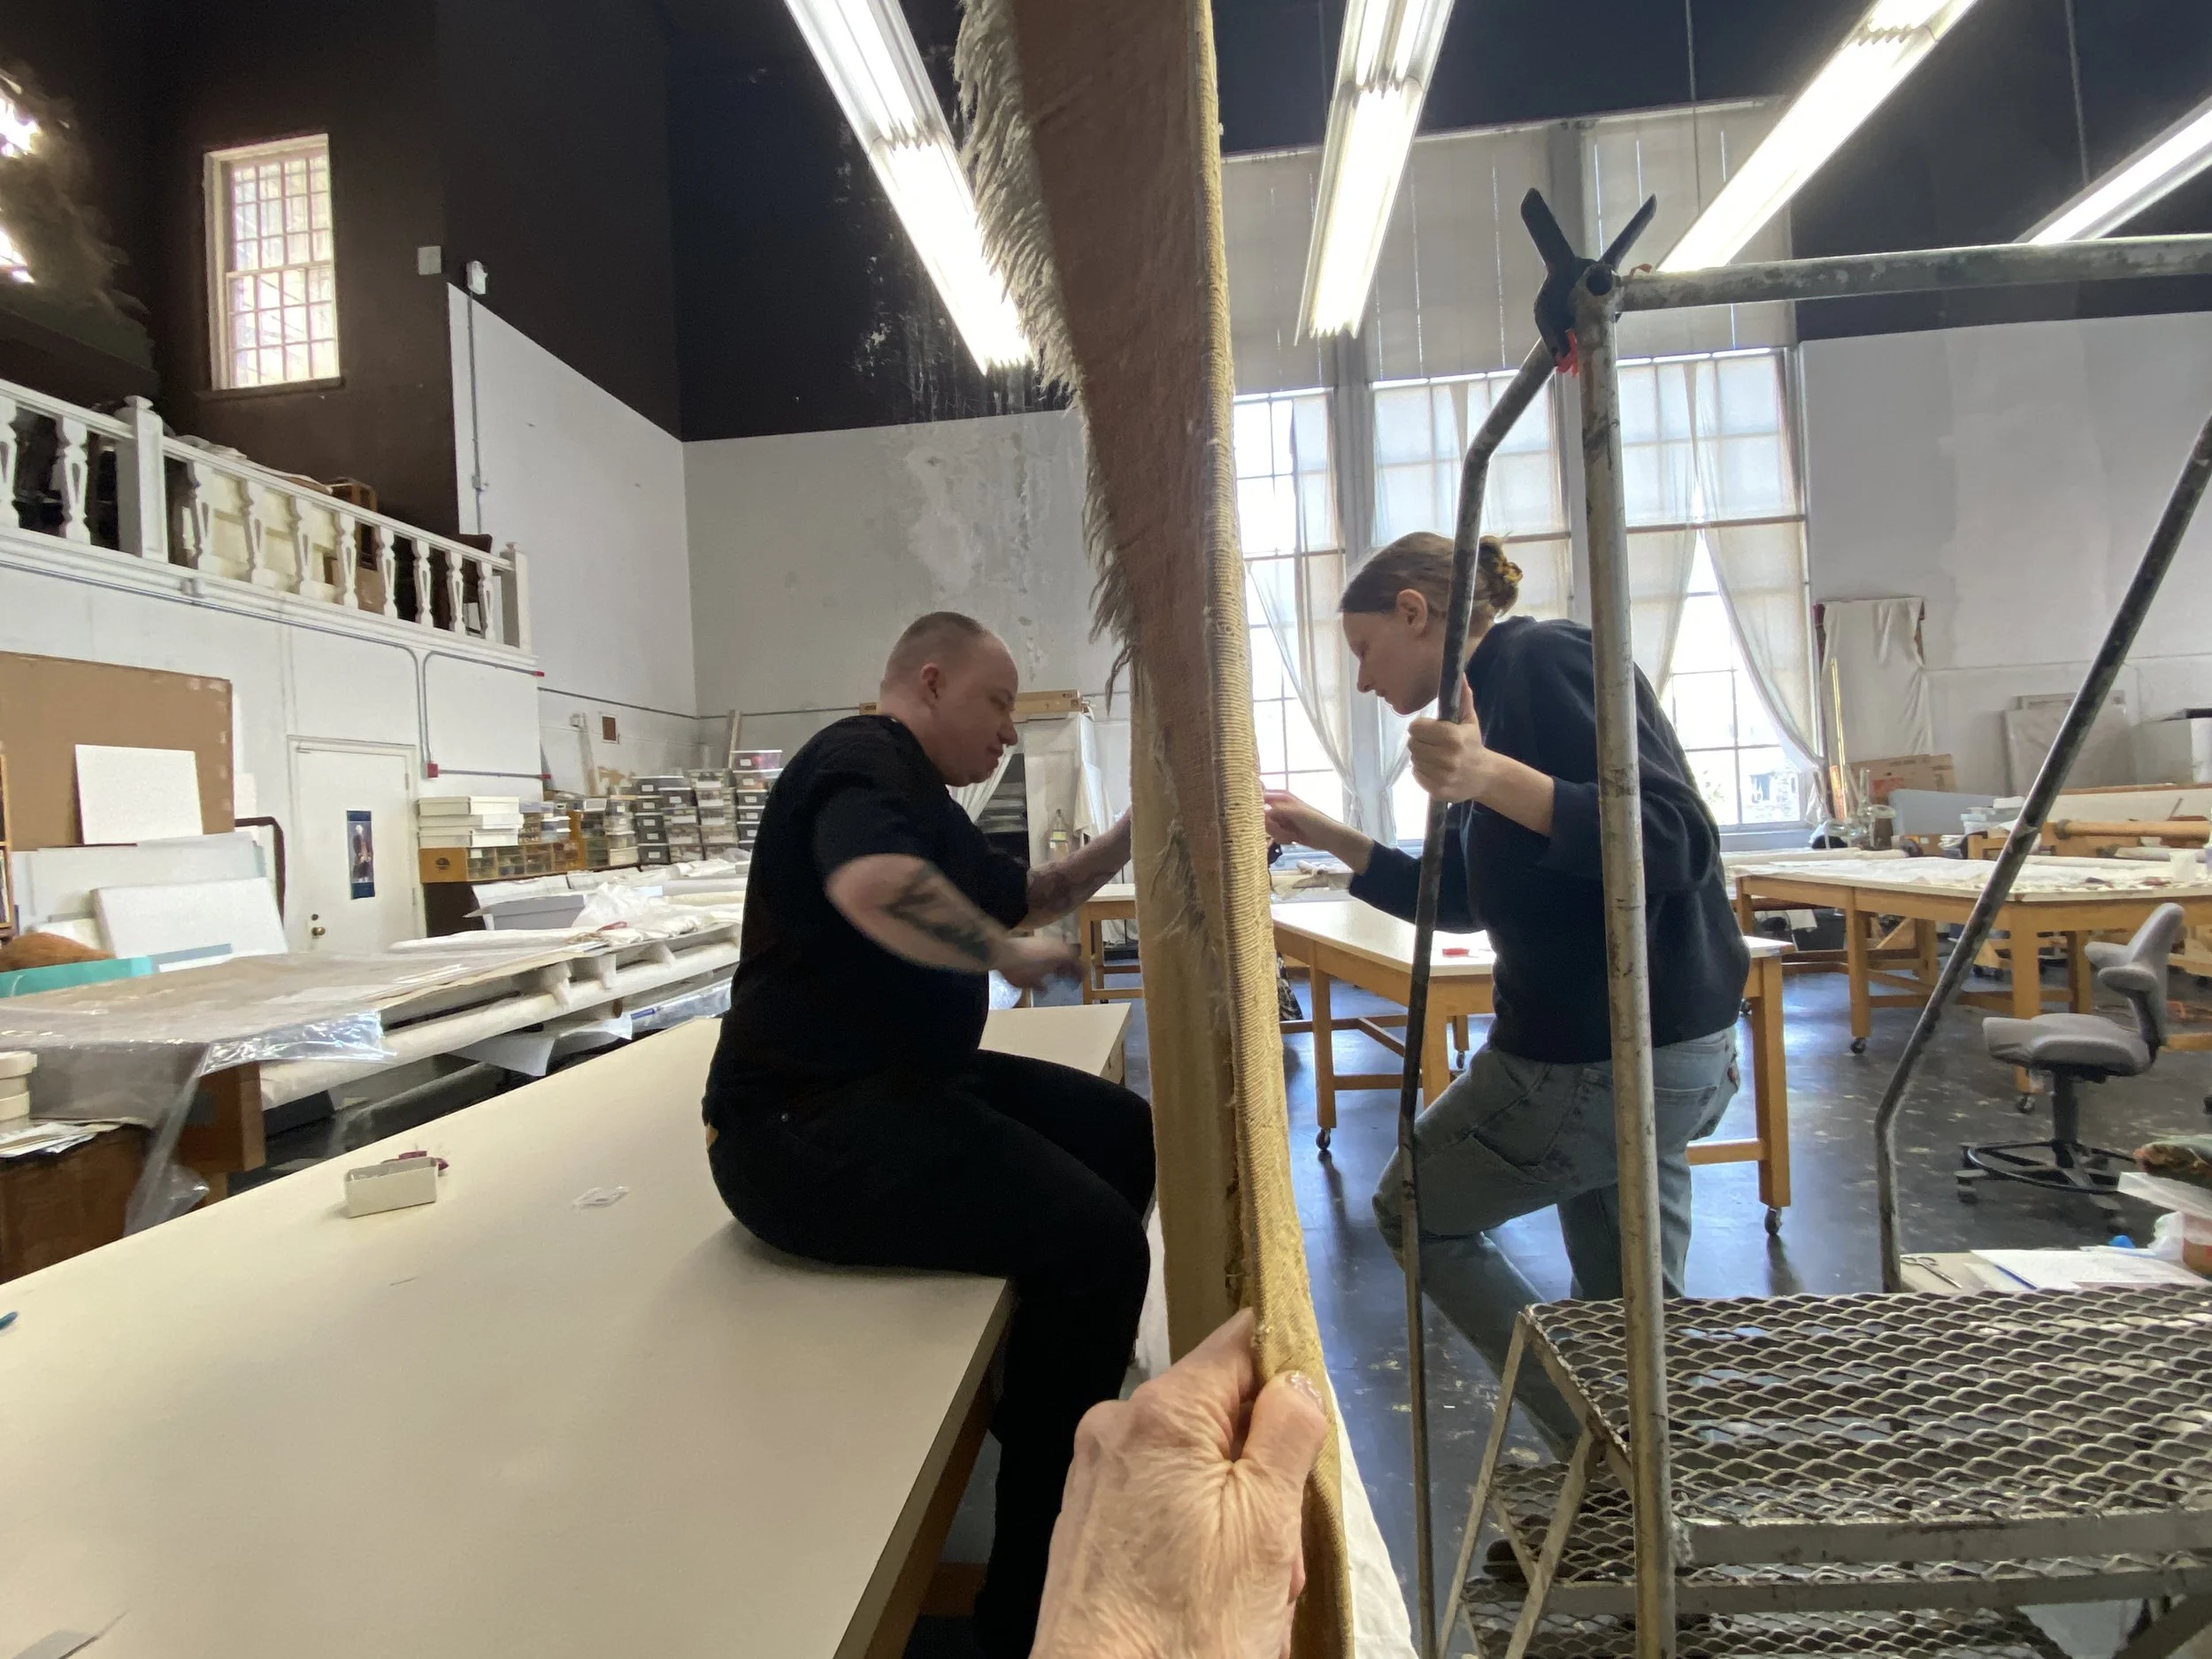
A backing of lightweight plain-woven cotton muslin was prepared. The lengths of muslin were washed, ironed, and hung with the tapestry. Long stitches, about 1” apart were sewn in parallel lines vertically down the tapestry. The lines were sewn in cotton sewing thread spaced about a foot from each other. Because of the size of the tapestry, two conservators were needed for this step- one on the back and one on the front.
Image right- Margaret O’Neil and Jamie Casbon sewing on the cotton backing. Photo Credit: Valerie Soll

During Treatment, Overall Back before backing applied. Photo Credit: Margaret O’Neil
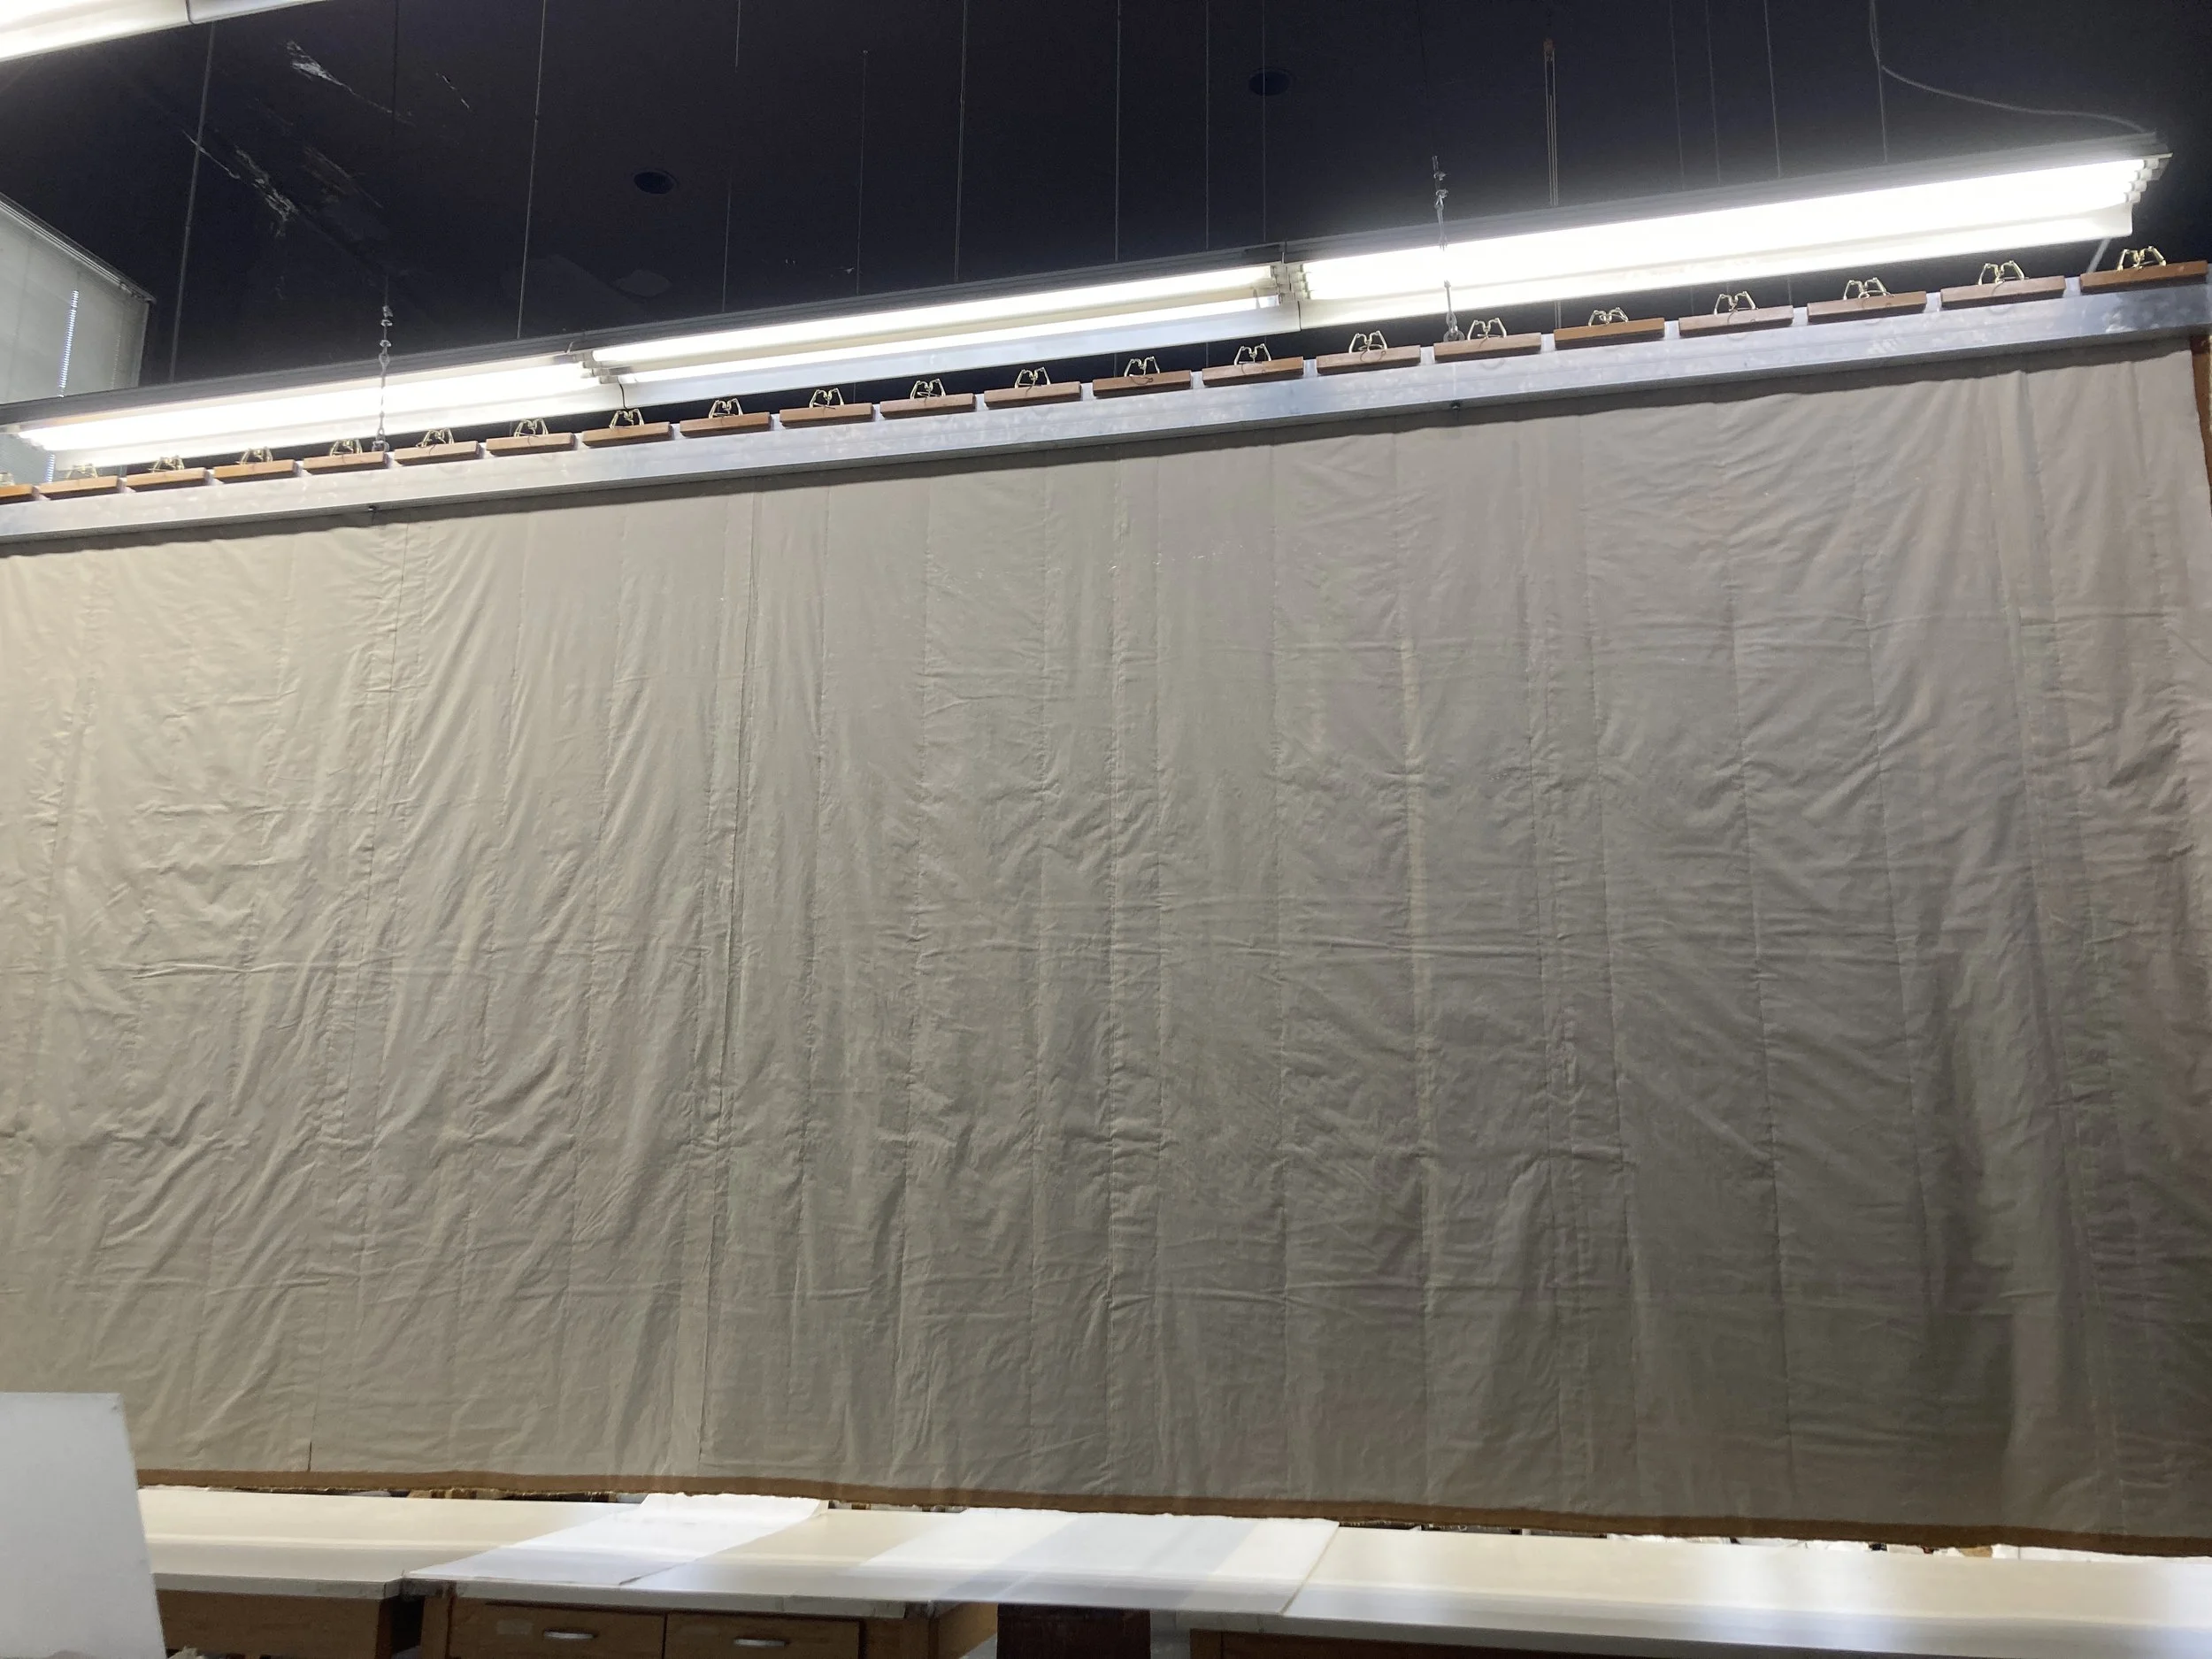
During Treatment, Overall Back after backing applied. Photo Credit: Margaret O’Neil
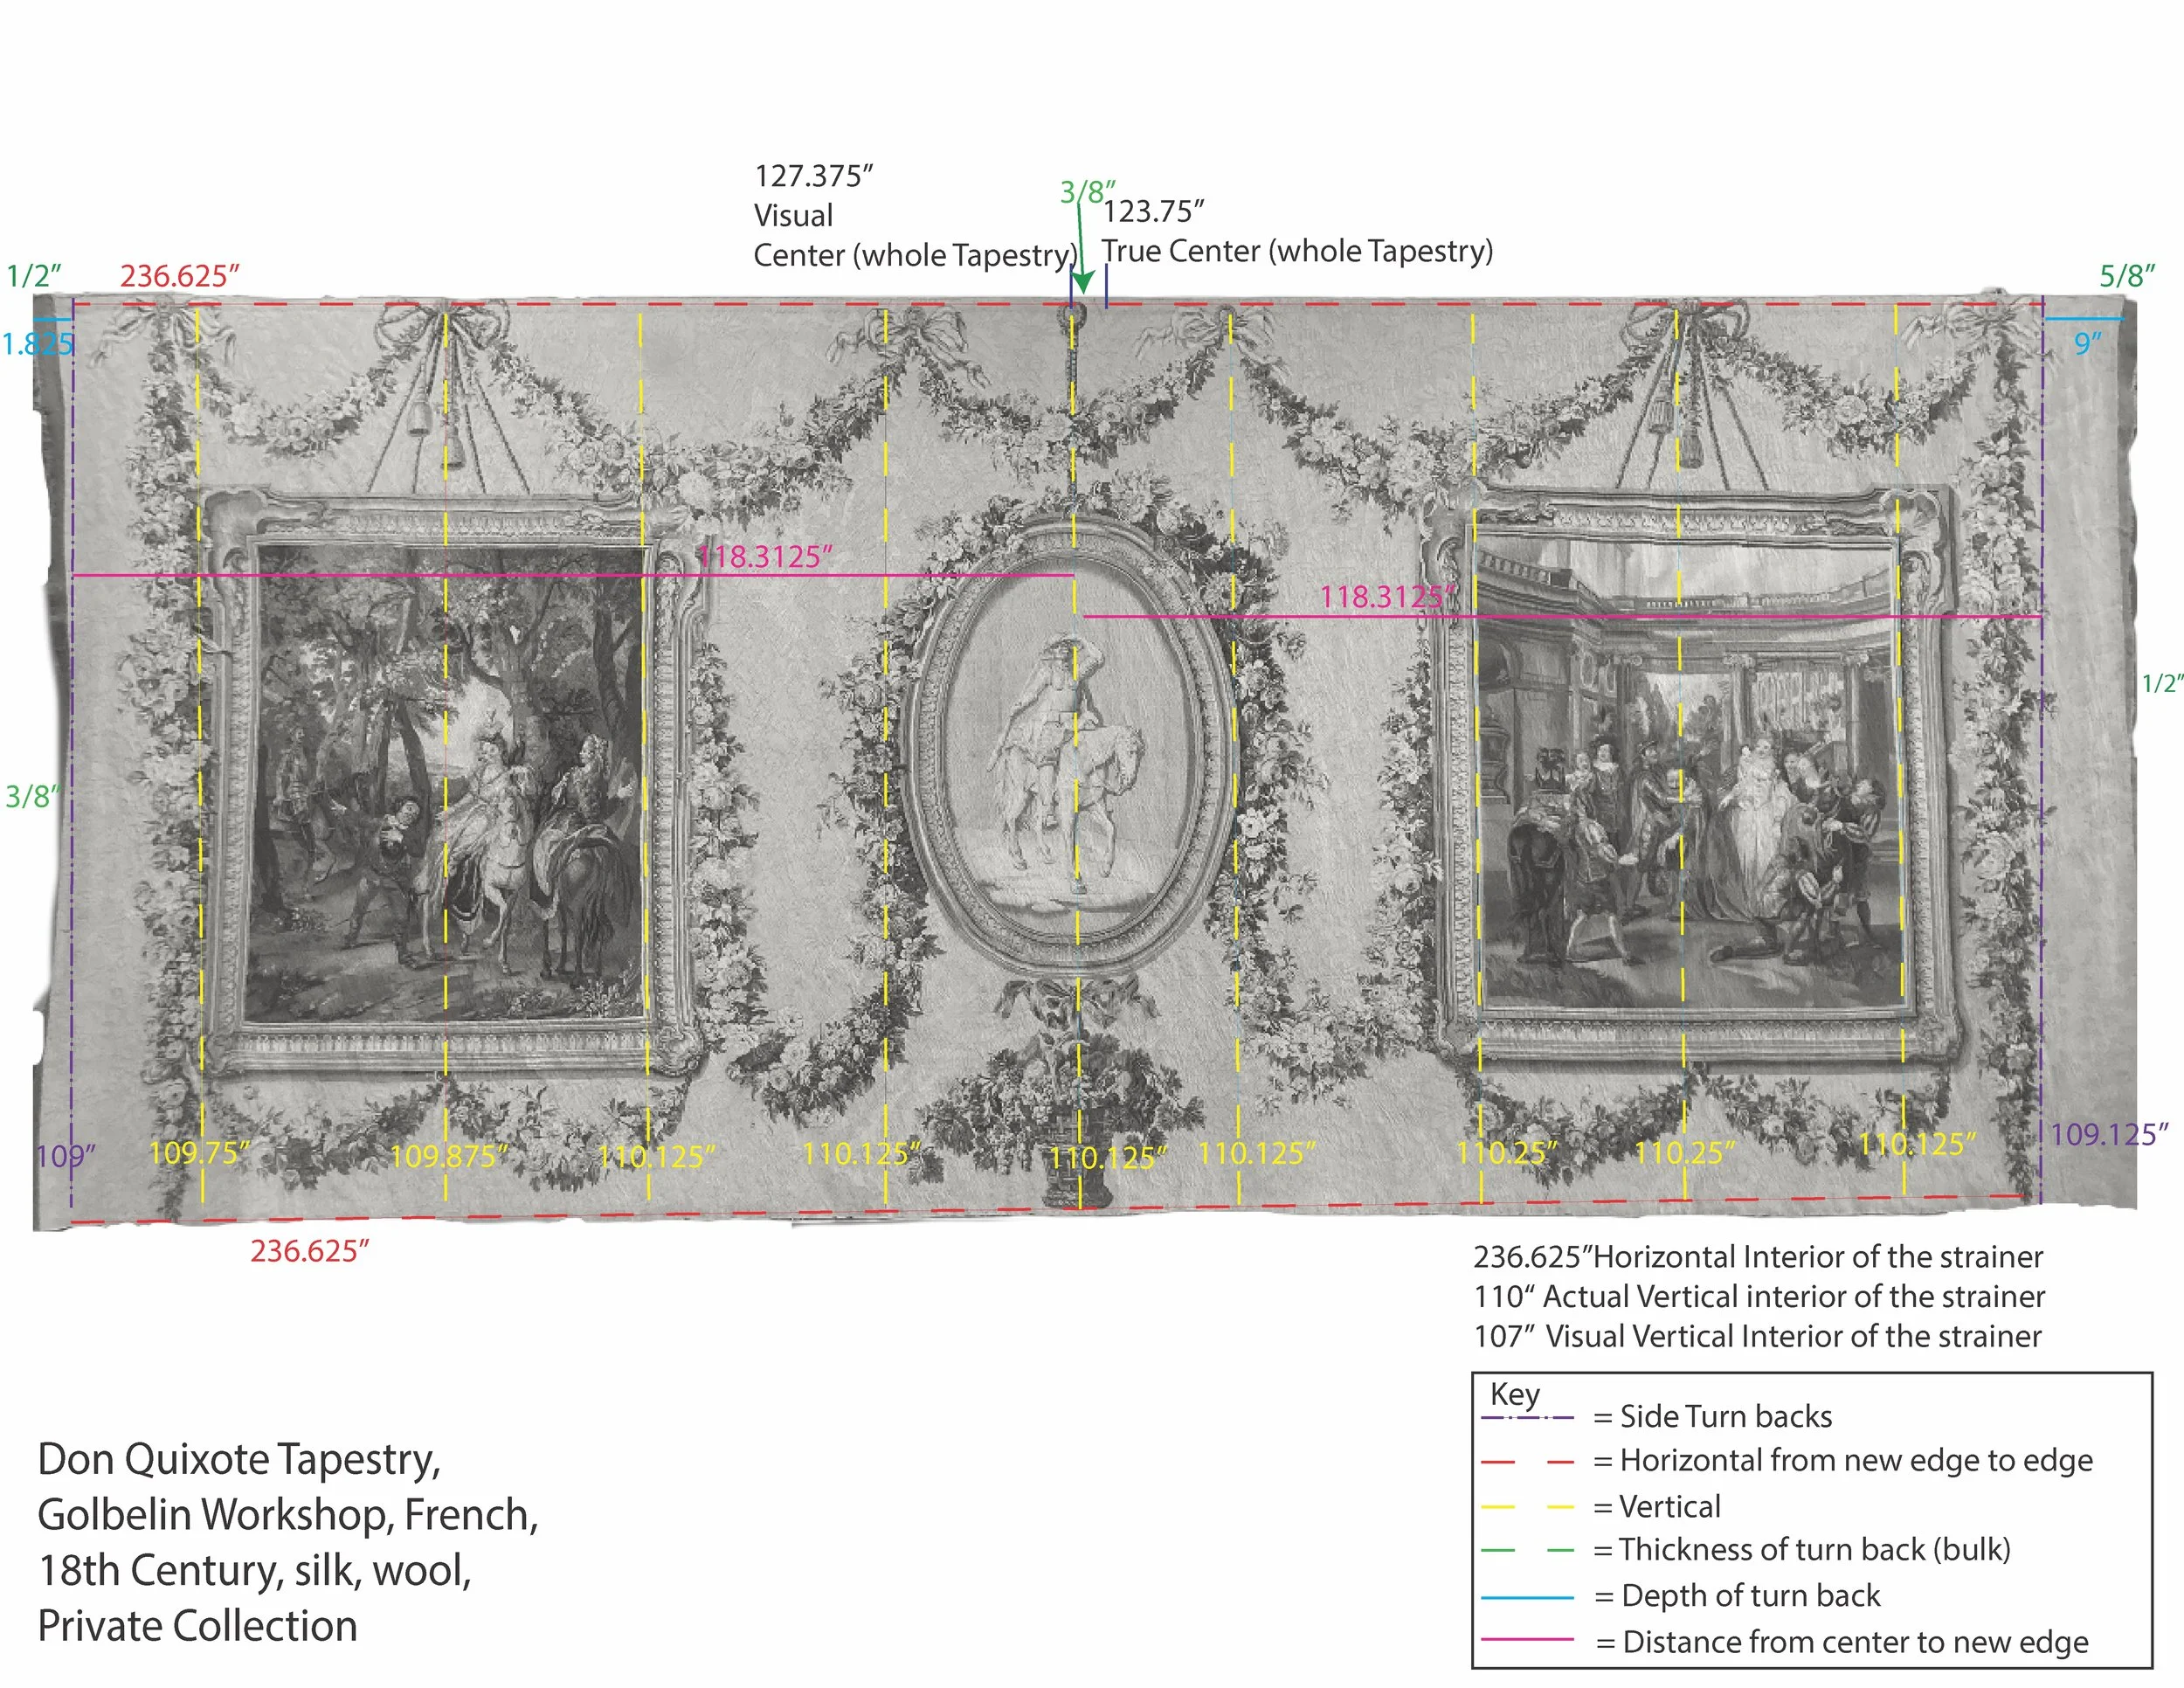
Reframing the Tapestry
This tapestry is displayed on a large wall in a frame. Thus the tapestry needs to be velcroed on all four sides to a strainer but it also has to be folded on the top and sides in order to fit in this frame.
After intense measuring and consultation with the curatorial, framing, and installation team- the measurements to the right were agreed upon.
Diagram by Margaret O’Neil
To apply the velcro the tapestry was first folded and humidified. Then the velcro attached to a wide cotton tape was secured with intermittently knotted stab stitches on both the top and bottom of the velcro. The bottom edge of the cotton tape was secured with whip stitches to the backing. This was repeated for all edges (note the bottom edge was not folded).
Before and After
Before treatment in situ. Photo Credit: Marlene Eidelheit
After treatment in situ. Photo Credit: Marlene Eidelheit